Home »
Misc »
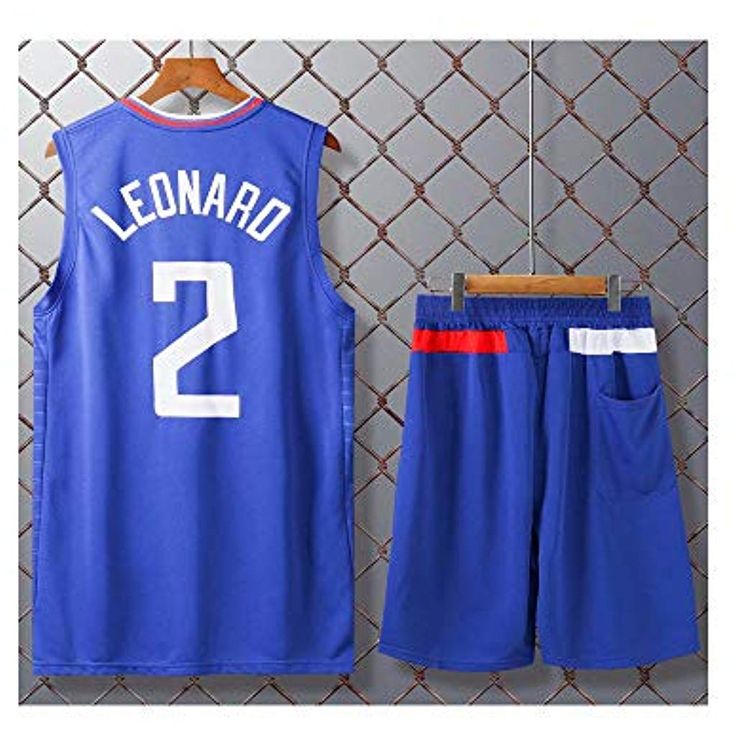
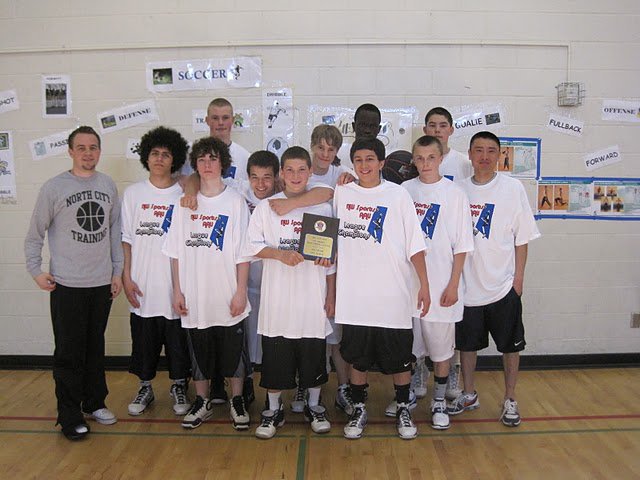
How to get wrinkles out of a basketball jersey
How to get wrinkles out of a basketball jersey
How To Wash A Basketball Jersey: Guide And Tips
Wash a basketball jersey? What wash a basketball jersey? That’s right. It is important to wash your jerseys to keep them looking new. And free from any stains, smells, or other problems. However, many people don’t know how to wash their jerseys properly! In this blog post, we will give you all the details on how to wash a basketball jersey. And what tips you should follow when washing your jersey.
[powerkit_toc title=”Table of Contents” depth=”1″ min_count=”4″ min_characters=”1000″]
How to Wash a Basketball Jersey: Step-by-Step Guide
Prepare the Washing Machine
Fill up the washing machine with cold water and add in some mild detergent or Woolite. Let the washing machine fill up until there are about six inches of soapy water inside.
Put Your Clothes in the Washer
Place your jerseys into the washer making sure to not overstuff them. Because this will cause too much stress on one part of the jersey.![]() Which can lead to tearing or ripping during spinning cycles. You don’t want that!
Which can lead to tearing or ripping during spinning cycles. You don’t want that!
Just place them in neatly without wrinkling them too badly either if possible. Since folding causes an unnecessary amount of creases around certain parts while washing only stretches out other areas leaving big bulky spots all over.
Starting the Wash
Set the wash cycle for about 20 minutes or so with cold water and delicate settings on your washing machine. It is also important not to wash many jerseys together. Since they can get tangled up around each other causing tearing, ripping, and holes while spinning inside of the washer due to too much stress being put on just one area uniforms. Instead of distributing it evenly between them. You need some space when putting more than one item into a washing machine – that’s just common sense!
Finishing the Wash
After the wash cycle is done, remove your jerseys from the washing machine. DO NOT WRING THE JERSEYS OUT!
Drying Your Jersey
Hang up the jersey to dry making sure not to hang it over any dirty surfaces like a couch or floor. Because that can leave stains that you don’t want. You also don’t want to place it on anything with lint (like carpet). Since this will stick onto the fabric of your uniform and be very difficult to get rid of.
A simple hanger should work just fine unless you have one specifically for drying sports uniforms. In which case go ahead and use that instead if possible. But make sure there are no wrinkles at all before moving forward! Wrinkles = uneven distribution when drying if you didn’t know.
Dry Naturally
Let your jersey dry naturally or use a fan to help speed up the process. But do not put it in the dryer until all of the excess moisture is gone from washing! This can take anywhere from 12-24 hours. Depending on how much water was used during wash cycles and how humid or damp it is outside.
If done correctly, about 95% humidity will be fine for proper drying conditions. Which should make things go by a lot quicker than usual. Since there won’t be any rain coming down in buckets right after this step has been completed. The best time of day to wash jerseys is at night since humidity tends to be lower throughout the evening. And this will help speed up drying times significantly.
Put Your Jersey in the Dryer
After your jersey has dried. You can put them in the dryer if needed on low heat with no wrinkles or creases present. If there are still some small wrinkles then just hand iron those out. But do not use high temperatures. That could lead to burning which nobody wants unless they want an excuse as to why they didn’t wash their uniforms properly before breaking someone’s ankles during pick-up basketball games…
Enjoy Your Clean Jersey
Enjoy wearing your clean and freshly dried jerseys around town. Don’t forget to wash them again before the season starts for optimal performance in games or even just pick-up matches with friends you haven’t seen since last year’s summer league ended!
Nobody likes playing against a sweaty opponent that hasn’t washed their uniform in who knows when so give yourself an edge over everyone else by taking good care of this sporty accessory which will come in handy when it comes time to dominate during upcoming basketball events, tournaments, or scrimmages at school without having any distractions holding you back from completing slam dunks like loose-fitting clothing.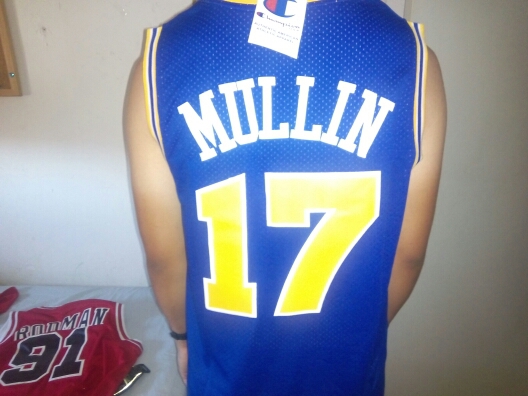
Always Wash Your Jersey After Use
Repeat steps as needed or desired! Nobody wants dirty basketball jerseys which is why we’re giving all readers some helpful tips on how they can wash their own sports uniforms without damaging them in the process.
This guide will be very easy to follow and there isn’t anything else besides washing basketball jerseys unless you enjoy wearing dirty clothes (which would make me question if you play ball at all) but whatever floats your boat I guess – do what makes sense since everyone has different preferences when it comes down to it.
Stay Fresh!
Enjoy wearing your clean and washable jerseys during all of the upcoming events or games without any distractions holding you back from finally dunking like a boss!
There’s nothing worse than not being able to perform at 100% due to clothes that don’t fit properly so make sure the jersey fits by washing it before slipping them on for optimal performance since nobody likes sweating profusely in clothing that doesn’t breathe well (or maybe some people do but they’re weirdos – wash your uniforms and stick with things that work).
Tips for Washing a Basketball Jersey
Follow the Jersey Instructions
According to the wash instructions on the tag of your jersey, you will need to wash your basketball jerseys in cold or lukewarm water. You can wash them with other items that are similar colors but do not use bleach because it could cause damage and fade the color.
Wash in Cold Water
Remember to wash a basketball jersey at a low temperature to prevent it from shrinking or running color.
Make Sure To Wash Your Jerseys Inside Out for Better Results and Less Damage.
It is best if you wash the outside of your jersey with the inside so that there isn’t any excess rubbing during washing which can cause extra wear and tear over time.
Wash Before First Use
Wash new jerseys before using them as well as older ones because they might have been treated differently at first! This will ensure even cleaning throughout your clothes!
Avoid High Spin Speeds
Avoid high spin speeds when drying your clothes after washing or else they could shrink further than expected or be ripped apart by being put through too much stress while wet. High spinning may also fade away colors more quickly than desired.
Similar Colors
Make sure to wash clothes with similar colors in one load to avoid having them bleed onto each other when wet or dry, especially when washing new clothes that haven’t been washed before.
Wash Frequently
You should wash your jerseys after every use so they don’t build up germs and bacteria over time which can cause skin problems if worn for too long without being cleaned thoroughly! Wash a basketball jersey at least once a week to keep it from getting dirty and smelly! If you have more questions on how to wash a basketball jersey, feel free to contact us online at any time! We hope this blog has answered all of your questions about how to wash a basketball jersey effectively and safely!!
Separate Immediately
After washing your jerseys separate them from any others clothing by hanging them on hangers instead of putting them into a dryer for folding purposes later. Try washing two at once if you have more than one! It may be easier this way depending on what type of washer you are using. Also, avoid drying these types of fabrics together as well since different materials often shrink differently.
Can You Machine Wash NBA Jerseys?
NBA jerseys can be machine washed on a cold setting as long as they are hung up to dry instead of being put into the wash again. Hang them up to dry instead of putting them in a tumble dryer.
Can NBA Jerseys Shrink in the Wash?
They can shrink if not washed properly so wash them on a cold or lukewarm cycle and make sure to wash two jerseys at once instead of one by itself.
NBA Jerseys should be hung up as opposed to being thrown into the dryer, immediately, because it could cause damage over time! The heat from the dryer can ruin colors and fade away materials that were used to create your jersey which makes it look old quicker than desired after repeated washings!!
Conclusion
That is it! It’s simple enough if you follow those steps when washing your basketball jersey which will help keep up its quality appearance over time while also ensuring stains don’t appear whenever possible. There are many different aspects involved in washing clothes but following step–step instructions makes it easy enough for anyone to wash a basketball jersey like a pro!
Thank you very much for reading this blog post about how we can wash our basketball jerseys! We hope everyone has learned something useful today and if there is still confusion then please let us know in the comments below and we’ll be more than happy to clarify anything anyone needs from us!
Here are Some of our Favourite Basketball Sneakers
Here we will be giving more of an opinion, rather than facts. Are the sneakers worth the price that they are being sold at? Should you upgrade from your current sneakers, depending on what boots you own? What features stand out on these sneakers? If any. Does it do the job? Speed, control, stability etc. Depending on your needs/preferences. We can also mention its durability, if we have collected enough data on the specific sneakers.
What did we expect vs. what we got. Is it maybe overrated/underrated?
Elite
Here’s our pick from the very best of the bunch.
Pro
On your way to the pro leagues? Here’s our pick.
Beginner
Want something to start with? Have a look at our pick.
How To Iron Basketball Jerseys? Step By Step Guide with Wash Tips – Basketball Word!
We have all been through it, you pull out your basketball jersey to wear and it’s wrinkled, too wrinkled, even for playing basketball when you know you’re going to sweat anyway. In this guide, there are many tips for washing and getting stains out of your jersey. Also a step by step Ironing guide for your jersey’s. There is some helpful content in this article if you play sports or are just a fan and you want to take better, care of your jerseys.
How to iron a basketball jersey? This method really will works with any type of jersey, as long as you follow the tips. You also must read the jersey’s label of what material it is and the washing instructions it suggests. Understand Do not put your jerseys in the dryer, I repeat do not put your jersey in the dryer, you want to preserve the lifespan of it.
To avoid any wrinkles to your jerseys do not put them in the hamper with other clothes. They will bunch up together and create wrinkles in the jersey if it sits too long in the hamper. Always hang your jersey’s to dry and even if they are dirty to prevent further wrinkles and grime.
Step By Step How to Iron a Jersey
Materials needed
- Spray Bottle Full of Water ( If your iron does not contain water)
- Iron
- Ironing board or flat surface
- Jersey
Here are your general materials and what setting you should set your iron too. I will give you further instructions if you are unsure what material it is.
| Low Setting: | Acetate, rayon, silk, and wool. For rayon and silk, turn the items inside out prior to ironing. For wool items, place a damp cloth between the item and the iron. A A |
| Medium Setting: | Polyester (slightly damp before ironing) |
| High Setting: | Cotton (slightly damp before ironing) |
Step 1 – Make sure the jersey is meant to be Ironed. Check the tag or label to look for instructions on proper care for the jersey.
Step 2 – Grab your ironing board, If you don’t have an ironing board use a flat surface, like a counter or table. (Place a towel under on the counter or table if no ironing board). The ironing board will absorb the heat and moisture from the iron. Be very careful not to iron anything flammable.
Step 3 – Fill the iron with water if you iron takes water, If not use the spray bottle. Use filtered water to eliminate calcium build up in your iron and avoid clogging the steam spouts.
Step 4 – Layout the jersey on the narrow part of the ironing board so that the board separates the front and back of the jersey.
Step 5 – Heat up the iron, and put it on the lowest setting to start. Once heated upstart to iron the jersey back and forth, continuously moving the iron. If the wrinkles are not ironing out, set the iron one heat setting higher. On my iron I have numbers so I would start with 1, then 2.
Step 6 – Iron with folds and creases not against them or across. Remember at any time do not let the iron rest on the jersey. After ironing one side flip the jersey to the other side.
Step 7 – hang up the jersey immediately after ironing to prevent unnecessary wrinkles.
Tip: If your jersey is really wrinkled iron the jersey inside out first then iron the jersey like you normally would.
How to Repair Wrinkled Lettering or Decals to Jerseys
If your jersey looks like it is in rough shape with deep wrinkles on the lettering or decals, you may be able to iron them out. But keep in mind the jersey may be tarnished if it has been exposed to heat such as the dryer.
I have a soccer jersey that is a knock off that was given to me as a gift. I wore the jersey once and it was extremely hot when I wore it. I washed it and it is completely wrinkled. I can not put it in the dryer as it will definitely ruin it, so I put it back in the wash. I may have left it in the wash sitting for too long and that may be the reason for all the wrinkles.
This is just a reminder do not let it sit in the wash too long, hang it up to dry as soon as it’s done to prevent the jersey from deep wrinkling. If you’re in the same situation as I continue on.
Use An Ironing Board
- Put the iron to the lowest heat setting.
- Put the jersey on the narrow part of the ironing board so that the board separates the front and back of the jersey.
- Use a towel or baking parchment paper over the area you are about to iron.
- Iron over the area moving it around, continue gradually if you feel it is not hot enough, put the iron on the next lowest setting. Do not let the iron sit in one spot for long.
- Continue ironing the rest of the jersey takin your time.

No Ironing Board No Problem
- Place a clean towel on the front and back of the jersey.
- Put the iron to the lowest heat setting.
- Use a towel or baking parchment paper over the area you are about to iron.
- Iron over the area moving it around, continue gradually if you feel it is not hot enough. Do not let the iron sit in one spot for long.
- Continue ironing the rest of the jersey takin your time
What type of iron should I use?
If you’re looking for an iron that is not too expensive and is great for jersey’s I highly recommend the Sunbeam Steam Master Iron from Amazon with an 8-foot cord along with an auto shut off for peace of mind it isn’t that expensive.
Please keep in mind if you wash your jersey and put it to hang first before you put an iron on it tips to washing further into this article. Most wrinkles should come out if that doesn’t work then proceed on to the step by step instruction.
If you need an ironing board for your jersey’s or your clothes in general, I have an ironing board that is tabletop like the one located here. It’s small and portable, easily moving around without hitting the walls like the full-size ironing board. If you are looking for a full-size one you can check this one out here.
Is Jersey a Material?
A little background on the jersey According to Wikipedia jersey is a knit fabric pattern mostly used for our everyday clothing.
Jersey is a knit fabric used predominantly for clothing manufacture. It was originally made of wool, but is now made of wool, cotton, and synthetic fibers. Since medieval times, Jersey, Channel Islands, where the material was first produced, had been an important exporter of knitted goods[1] and the fabric in wool from Jersey became well known. The fabric can be a very stretchy single knitting, usually light-weight, jersey with one flat side and one piled side.[2] When made with a lightweight yarn, this is the fabric most often used to make T-shirts.[2] Or it can be a double knitted jersey (interlock jersey), with less stretch, that creates a heavier fabric of two single jerseys knitted together to leave the two flat sides on the outsides of the fabric, with the piles in the middle.:no_upscale()/cdn.vox-cdn.com/uploads/chorus_asset/file/13128999/KELDON_JOHNSON_MBB2018_01_CW_600x900.jpg) [2] Interlock jersey is sometimes used as a knit for polo shirts, and is generally the preferred knit for those made from pima cotton. Jersey is considered to be an excellent fabric for draped garments, such as dresses, and women’s tops.
[2] Interlock jersey is sometimes used as a knit for polo shirts, and is generally the preferred knit for those made from pima cotton. Jersey is considered to be an excellent fabric for draped garments, such as dresses, and women’s tops.
Know What Kind Of Material Your Jersey Is?
There are many types of jersey almost all major shoe companies have made jersey’s for the NBA at one point or another. If we want to include jersey material from your basketball team that you had made, the materials range from polyester, cotton, and a mixture of other materials. Some are very comfortable others feel like you are wearing a garbage bag while you play flapping in the wind as you run.
Touch alone you will be able to tell if you have worn enough jerseys in your life what you can and can’t do to them. Meaning if the material feels cheap you don’t want to wash it like regular clothing by putting it in the washer. If you want to preserve the life span of it you will want to hand dry. Regardless I highly recommend not putting any jersey in the dryer. Numbers and logos that have been ironed on or steam pressed can easily come off after a few washes and or start to fade.
The NBA swingman and authentic jerseys have both stitched numbers and logos. You can tell an authentic jersey not just by the stitch but also there sizing it is usually in number where the tag at the bottom right corner of the jersey. It may have a size 48 on it.
Here is the size chart for Authentic Jerseys.
| (S) | (M) | (L) | ( XL) | (2XL) | (3XL) |
| 40 | 44 | 48 | 52 | 56 | 58 |
Swingman Jerseys: Most swingman jerseys are 100% Polyester, Machine washable, and line dried which means you hang it up to dry. Avoid putting any jersey in the dryer, Jerseys usually air dry pretty quickly. Remember they are made to dry quickly from your sweat also.
Authentic Jersey: What does Nike the sponsor of the NBA have to say about there authentic Jerseys. From there website Nike.com
This Authentic Nike NBA Connected Jersey features a lightweight, breathable design that’s engineered to help basketball’s greatest athletes perform on the game’s biggest stage.
The Only Jersey With Built-In Drops
Your Nike NBA Connected Jersey gives you next-level access to athletes, exclusive offers and the game you love. Download the NikeConnect app, then tap your smartphone to the tag at the bottom of your jersey to get started.
Made From Sustainable Materials
Each Nike NBA Connected Jersey is made from 100% recycled polyester. The premium material comes from plastic bottles that Nike has diverted from landfills since 2012—nearly 5 billion and counting.
Breathable, Flexible Comfort
Quick-drying, laser-perforated fabric delivers cool comfort with less cling. Split hems, angled shoulder seams and specially designed armholes let you move freely.
Product Details
- Imported
- Fabric: 100% recycled polyester
- Machine wash
- PowerTwill team and player details feature authentic zigzag stitching
- Taped neckline and armholes provide a clean, durable finish
Authentic jerseys are the cream of the crop and are generally expensive, so you really want to take care of them. Mitchell & Ness is another company that makes retro jersey’s and like Authentics they are of high quality. Swingman Jerseys are also of good quality and you can buy and are less expensive and reasonably priced.
Removing Blood Stains From Your Jersey
From time to time you may end up with someone else’s blood on your jersey because you crammed (dunked) one on him and he wasn’t able to get out of the way in time. So here are some tips:
1 – Turn the jersey inside out and run cold water. Flush the bloodstain out as much as possible with water. Usually, this does the trick and works. If there is still a red stain move onto the next step.
2 – Fill a bucket of cold water big enough to submerge the jersey and rub the area where the stain is with your fingers, keep doing this every 5 mins leaving the jersey to sit in the cold water. If the stain has disappeared great. If not move on to step 3.
3 – Grab a Q-tip put water on it, now put a tiny bit of dish soap on it. Now rub the bloodstain with the Q-tip and rinse in the cold water and repeat till it comes out. If the jersey is white use hydrogen peroxide instead of the bloodstain let it sit. If needed rinse the jersey and repeat.
Treating a Perspiration Stain
Make a mixture of 1 tablespoon white vinegar and half a cup of water. Soak the perspiration stained area for about 30 minutes then wash the jersey.
If the stain is white or clear and has a greasy texture, this is most likely from antiperspirant and should be treated as a grease stain.
Treating an Antiperspirant Stain
Sometimes Antiperspirant stains are very hard to get out after constant wearing of deodorants and sweat stains from everyday wear. There are two ways to get rid of them. Both products we are going to use you have at home in your house.
Baking Soda and Water
Using baking soda and a little bit of water in a bowl you want to create a paste. You don’t want it to run too much it needs to be thick like butter. Now use an old clean toothbrush and scrub the area with the paste and brush the jersey in a circular motion. Let it sit for a couple of hours and then rinse and wash it out.
Dawn Dishwashing Liquid and Hydrogen Peroxide
Mix together hydrogen peroxide with Dawn dishwashing soap. Pour over the stained area and use a toothbrush to work it in. Let sit for a couple of hours then rinse and wash.
How to Wash Your Jersey
Always read the label on your jersey and find out what material is used and if unsure use google to do a search of how to wash that particular material.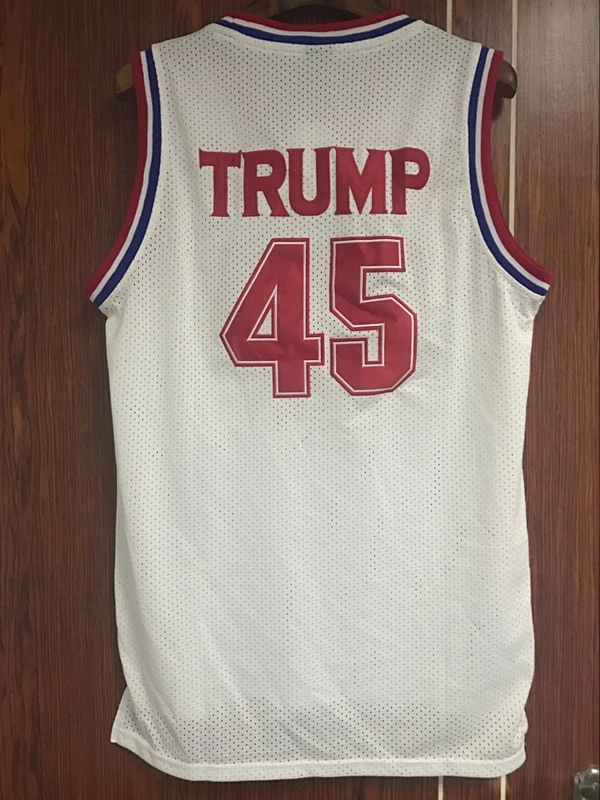 A sports jersey can be made up of all sorts of materials, but if you have more expensive jersey hand washing is your best bet. Wash with all other jerseys or separate from all other clothing.
Here some tips for washing your Jerseys.
- Wash the jersey inside out this will help protect the embroidery and or screen print.
- Wash with cold water and a little bit of laundry detergent. Do not use dishwashing soap or you will have a bubble bath in your laundry room.
- Wash your jersey as soon as you can to prevent any further permanent stains.
- Once washed take the jerseys out and unfold it so it is not inside out and hang it up to dry.
- Do not let them sit in the wash, so set a timer on your phone or watch and when done take it out right away.
- Do not put them in the dryer.
- Hang dry or towel dry will help protect the lettering and decal.
Never Use Chlorine Bleach
Never use bleach, even if the jersey is white and especially if the jersey is any other color. You are risking ruining your jersey as I have done in the past. We assume a jersey is white and we can throw it in with the white laundry, not the case. I realize sometimes clothes get trapped in the laundry and we forget about them and we see the color and we just put them all together and throw them in.
Learn the Pre-soak Fundamentals
After a practice or game, or even if you’re wearing the jersey on a hot day at the beach, you are sweating a lot its a good idea if you know you have to wash the jersey you should rinse it out as soon as possible as you don’t want the stains to set in. So soak your jersey with water and hand scrub the areas which you think are most affected.
Much credit goes to the tips in this article used from housecleaningcentral.com and wikihow. They have great life hacks and home remedies that I highly recommend. You can use their search button on their site if you need help with a household or cleaning problem.
Related Readings:
- Can you wear basketball shoes casually?
- Why do coaches wear suits?
- Can you play basketball after getting a tattoo?
How to remove a wrinkle on the bridge of the nose [horizontal] between the eyebrows - exercises, massage, an overview of 7 products
Why vertical and horizontal wrinkles appear on the bridge of the nose
In the formation of wrinkles, regardless of their location, two factors are always the culprits:
- 1
age-related decrease in skin elasticity due to a decrease in the amount of collagen and elastin;
- 2
facial habits, constant contraction of the muscles of the face, with which the skin lives one life.
Why does a wrinkle appear exactly on the bridge of the nose, what is the reason? The answer is simple - because this is an emotionally dependent zone with high mimic activity.
“Wrinkles on the bridge of the nose in the area between the eyebrows appear for a reason. This zone contains muscles that are responsible for expressing emotions such as surprise, anger or joy. The first wrinkles appear here precisely because of the action of these muscles.
There are two types of wrinkles in the bridge of the nose:
-
a vertical wrinkle on the bridge of the nose (proud wrinkle) appears as a result of the habit of frowning, moving the eyebrows angrily, the muscles of the forehead, as well as the muscle that lowers the eyebrow, participate in its formation;
-
horizontal wrinkle on the bridge of the nose looks like a transverse crease, appears in those who like to wrinkle their nose and is formed as a result of tension in the muscle located on the bridge of the nose and passing into the frontalis muscle.
“Gradually, the wrinkles on the skin become more visible. They are formed in the transverse direction in relation to the muscle fibers on the forehead. The shape, size, and depth of these wrinkles can vary markedly from person to person. Some women already at a young age have vertical wrinkles between the eyebrows and a line on the bridge of the nose, ” says Marina Andreeva.
Do you want to know in what mood you will meet the first wrinkles? Take our test.
© Getty Images
Pass the test
Return to the index
How to remove wrinkles on the bridge of the nose at home
How to remove the wrinkles on the bridge of the nose? As you already understood, you will have to deal with the facial muscles responsible for the formation of folds in this area, as well as connect cosmetic care aimed at increasing skin elasticity. The simplest option is cosmetic procedures. But first things first. First, let's talk about how to smooth wrinkles on the bridge of your nose with your own hands.
Gymnastics and exercises for the face
Exercises for wrinkles on the bridge of the nose, as well as massage, are always aimed not at toning the muscles (after all, they are already in a tense state), but at relaxing and stretching. To achieve the effect, it will be necessary to work not only directly with the transverse or vertical wrinkle on the bridge of the nose, but also with the muscles of the forehead, which are actively involved in the formation of folds and creases in this area.
A wrinkle on the bridge of the nose is formed as a result of tension in the mimic muscles of the face. © Getty Images
Forehead Anti-Wrinkle Exercise
Despite the fact that you will have to actively work the frontal muscle, this exercise will help to relax it and discourage wrinkling of the forehead for a while.
- 1
Flatten your forehead by pressing the bases of your palms against it so that your fingers are on the scalp. The grip with the forehead area should be very tight, the skin and muscles under the arms should be straightened, no folds or creases.
- 2
Try to wrinkle your forehead with an effort, resisting with your hands, alternating tension and relaxation.
- 3
Repeat 15-20 times at a fast pace.
- 4
After the exercise, tap your forehead with your fingers to relieve tension.
In order not to strain the back of the head, the exercise can be performed lying or standing, leaning against the wall.
Pinching exercise
These techniques, developed by Vichy experts, should be included in your daily practice if you already have a wrinkle on the bridge of your nose, or for prevention.
- 1
Pinch your thumb and forefinger from the bridge of your nose to the center of your forehead. Repeat 6 times.
- 2
Slowly smooth the forehead with your fingers from the middle towards the temples.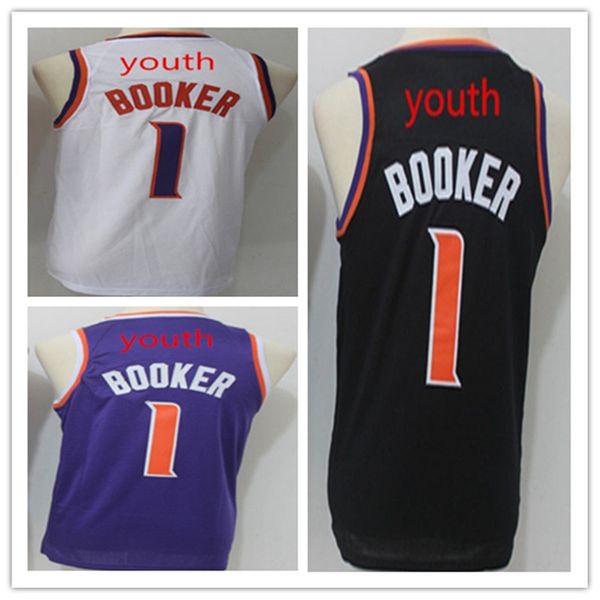 Repeat 3 times.
More brow exercises can be found in this article.
Massage
Head massage
You will be surprised, but if you have a wrinkle on the bridge of your nose and you want to remove it, first of all you need to master and practice head massage from the hairline to the occiput, as to remove longitudinal wrinkles and a crease on the bridge of the nose without relaxing the aponeurosis zone is unrealistic.
This is done slowly, thoughtfully, with strong fingers, in circular motions from top to bottom, especially focusing on the back of the head, where tension accumulates.
Nose bridge massage - rubbing
This technique will provide a rush of blood and help to relax the area between the eyebrows.
-
Place the thumb and forefinger of the left hand (for left-handers - the right hand) in the middle of the eyebrows, slightly parting them.
-
Place the index finger of the other hand directly on the horizontal wrinkle on the bridge of the nose.
-
Start rubbing this area gently and gently at first, gradually increasing intensity and pressure.
-
Stop when you feel warm.
-
Repeat the same with the vertical wrinkle, adjusting the position of the fingers to be comfortable.
Cosmetic care
No matter how much you want to get rid of wrinkles on the bridge of your nose with the help of cosmetics, alas, creams are not able to affect muscle hypertonicity. But proper care is nevertheless very important. After all, the weakening of the skin frame, as well as the slow cell renewal associated with age, also contribute to the transformation of fine lines into deep creases. This can be combated with the help of cosmetics aimed at tightening the skin and smoothing its surface.
Super Multi-Corrective Cream, Kiehl's
Formulated with Proxylan, Hyaluronic Acid and Vitamin A Phytomimetic to improve the appearance of the face and neck in 7 ways, including reduced visible wrinkles and increased skin firmness.
Hyalu B5 Concentrated Moisturizing Serum, La Roche-Posay
As if straightens the skin, filling it with moisture due to two types of hyaluronic acid. Vitamin B5 soothes and smoothes the skin. Another active component, madecassoside, is known for its ability to stimulate collagen production.
LiftActiv Collagen Specialist Day Cream for All Skin Types, Vichy
Helps to improve firmness and smooth wrinkles thanks to the synergy of peptides that can stimulate skin collagen synthesis and vitamin C.
Facial Serum Revita Laser X3, L'Oréal Paris
As you might guess, the authors of the serum were inspired by the success of laser technologies in cosmetology. The serum renews the skin with lipohydroxy acid and fights wrinkles with hyaluronic acid and proxylan, known for its property to stimulate collagen synthesis and increase skin elasticity.
Anti-Wrinkle 35+ Face Day Cream, Garnier
The anti-wrinkle cream perfectly moisturizes the skin and stimulates the recovery process.
Revitalift Filler Serum [+Hyaluronic Acid] for face and neck, L'Oréal Paris
This serum, by the very name, is reminiscent of hyaluronic fillers that smooth wrinkles on the face, and it really seems to “fill in” wrinkles contains hyaluronic acid.
Retinol 03, SkinCeuticals
Renews the epidermis, evens out skin tone, visibly rejuvenates it, smoothes it, reduces wrinkles.
Folk recipes
No matter how hard you try to remove the crease above the bridge of your nose with a homemade mask, you will hardly succeed. Folk recipes are simply not capable of this (we know that the problem is more in the work of the muscles). But it is quite possible to moisturize or nourish the skin with a homemade product. If you have an ardent desire to prepare cosmetics with your own hands, read our articles for inspiration.
Back to the top
How to get rid of deep wrinkles on the bridge of the nose with the help of a cosmetologist
To remove mimic wrinkles and a crease on the bridge of the nose, the cosmetologist will offer several options.
Botox
Blocks the muscle, it stops contracting, relaxes and returns to its original shape and length. Effective for vertical wrinkles. It is used in combination with a filler if the wrinkles on the bridge of the nose are deep.
Filler
Contouring is an injection technique that involves the introduction of hyaluronic acid, which pushes out the wrinkle from the inside. Effective for the correction of transverse wrinkles on the bridge of the nose.
Chemical peel
Retinoic and acid peels renew the skin, relieve wrinkles and other signs of age. However, for the correction of local changes are not applied - only for the entire face.
Microcurrent therapy
Relaxes tight muscles and tones up sluggish ones, affects all layers of the skin, improves tissue trophism, stimulates recovery processes and generally gives excellent results, but the procedures must be carried out in a course.
Back to index
Prevention of the appearance of wrinkles and creases on the bridge of the nose
“First of all, in order to smooth out horizontal wrinkles on the bridge of the nose, it is necessary to approach the formation of new good habits with all seriousness,” says Marina Andreeva, leading expert of the SkinCeuticals brand. Among them:
-
a full night's sleep;
-
water consumption in the amount of 1.5-2 liters per day;
-
daily skin care;
-
smoking cessation and tanning beds;
-
facial gymnastics;
-
the use of antioxidants in cosmetics and the correct selection of home care products.
Return to the Table of Contents
ᐉ Children's thermal underwear for football Thermal Underwear set r. 135-145 cm White (3358)
-37%
2 700 -999
1 701
Height: 132-144
Delivery
Seller of goods: FOOTBALL KIDS
Seller's other items
Main characteristics
- Season: demi-season, winter
- Growth: 132–144
All features
Buy with this product
Advertising
Description Thermal underwear for children's football Thermal Underwear set r. 135-145 cm White (3358)
Excellent thermal underwear for active sports: football, American football, hockey, basketball, volleyball, tennis, lacrosse, rowing, rugby, cricket, karate, gymnastics, taekwondo, fitness, skiing, biathlon, figure skating, handball, motoball, running, cycling, boxing, cross-country skiing, horseback riding, rollerblading, gym, badminton and many others.
Thermal clothing is designed for sports in the cold season and for training in a cold gym or as casual wear for cold weather. Helps to feel comfortable during exercise, retaining heat and removes excess moisture from the body and prevents overheating of the body. Polyester and polyamide do an excellent job of removing moisture, which cannot be said about cotton - during sweating, it gets wet and retains moisture for a long time, and in wet clothes the risk of cooling increases. Therefore, high-quality sports thermal underwear is produced without the use of cotton.
The main task of sports thermal underwear is to leave the body as dry as possible even during high physical activity, only then you will feel warm and comfortable in it.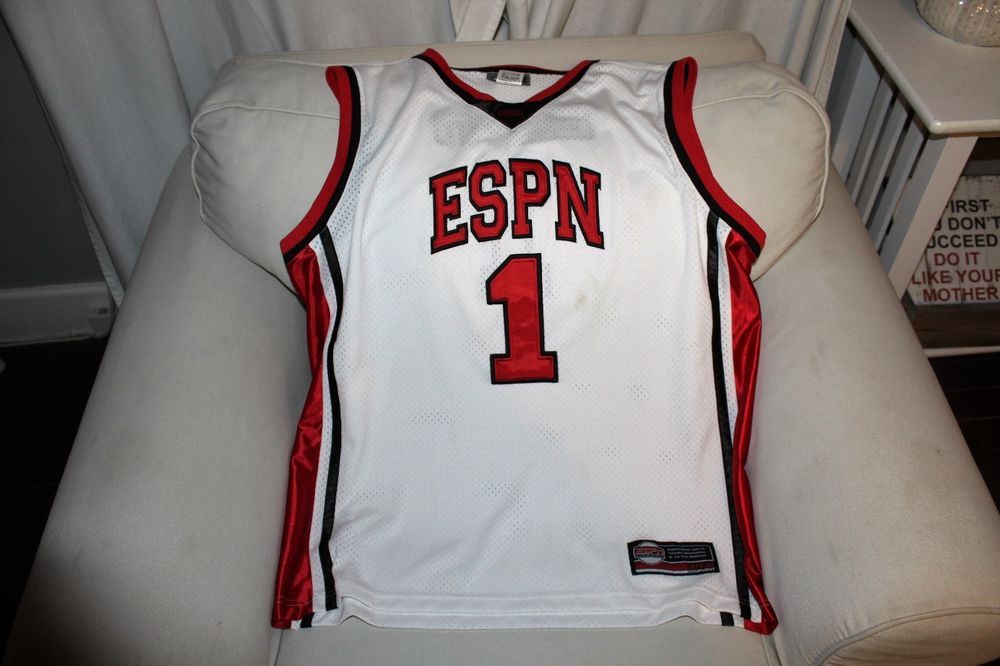
Thermal underwear has flat seams or seamless to avoid chafing. Does not constrain or constrain movements, the fabric is elastic. The main advantage of the fabric: hypoallergenic and antibacterial. Underwear is developed taking into account active use during sports and prevents the appearance of an unpleasant smell of sweat.
Important! Thermal underwear retains heat only when it fits snugly to the body and hugs it! Never buy underwear for growth. An incorrectly selected size or folds of fabric on the sides will interfere with the removal of excess moisture and it will collect in drops and flow down the skin.
Show full description Hide description
Characteristics Thermal underwear for children's football Thermal Underwear set r. 135-145 cm White (3358)
- Material: polyester
- Producing country: China
- Floor: for boys, for girls
- Base color: black
- Growth: 132–144
- Manufacturer's color: black
- Manufacturer size: 135-145 cm
- Season: demi-season, winter
- Fabric structure: elastane, polyester, spandex
Features and accessories subject to change by the manufacturer.