newspaper image by Christopher Hall from Fotolia.com
By: Kathy Adams
A basketball-shaped piñata can be made from materials found around the house. Old newspapers, flour and water are the basic ingredients for papier mâché, which forms the structure of many homemade piñatas. This is a craft that can be done by children, preferably with adult supervision. It may take a couple days to dry thoroughly, so be sure to make this well in advance if planning to use it for a party.
newspaper image by Christopher Hall from Fotolia.com
Things You'll Need:
Poster Paint Or Acrylic Paint
Plastic Wrap
Bowl Or Box Large Enough To Hold Balloon In Place
3 Cups Water
Spoon
Hard Candies
Knife
Old Newspaper
2 Cups Flour
Plastic Bowl
Large Round Balloon
Blow up the balloon until it is large enough to serve as your basketball shape. Tie it. Place the balloon in a bowl or box, knot-side up.
Mix the flour and water in the large bowl until it becomes a smooth paste.
Tear the newspaper into strips 3/4 to 1 inch wide. Dip a strip into the papier-mâché mixture, wiping any excess clumps off with your fingers. Place the strip on the balloon, at an angle so it stays in place. Repeat with another dipped strip, overlapping the first newspaper strip slightly. Work your way around the balloon until the entire balloon is covered, leaving a small opening near the knot. Allow to dry thoroughly (may take up to 24 hours). Cover any left-over papier-mâché paste and save it.
Place another layer of papier mâché over the first layer, placing the strips at a different angle so you can tell the layers apart. Repeat until the balloon is completely covered once again. Allow to dry thoroughly. Add a third layer if desired.
Pop or untie the balloon to let the air out. Remove the balloon from the papier mâché piñata shell.
Place the hard candies in the piñata. Cover the hole with papier-mâché strips (alternatively, you can cover it with thin cardboard or paper, taping it in place). Allow to dry thoroughly if using papier mâché.
Paint the piñata to look like a basketball. Alternatively, you can glue tiny pieces of orange tissue paper onto the piñata using the mache paste. Paint the black basketball markings in place.
Poke two small holes near the top of your piñata and feed the string through. Tie the piñata up high in a location where it can be whacked at with a stick.
Warnings:
Be sure the holes for the string are placed outside the original piñata opening, for strength.
References
Coolest Kid Birthday Parties: Learn How to Make Pinata
Resources
Make Pinatas: Home
Writer Bio
Kathy Adams is an award-winning journalist and freelance writer who traveled the world handling numerous duties for music artists. She writes travel and budgeting tips and destination guides for USA Today, Travelocity and ForRent, among others. She enjoys exploring foreign locales and hiking off the beaten path stateside, snapping pics of wildlife and nature instead of selfies.
Related Articles
Homemade Papier-Mâché Basketball Piñata- Third Stop on the Right
This shop has been compensated by Collective Bias, Inc. and its advertiser. All opinions are mine alone. #GameForBasketball#CollectiveBias This post is not medical advice.
It’s tournament time again! This means that we are gearing up to cheer our favorite basketball teams on to victory. I love being able to get the kids involved with all of our activities, which is why I decided to make a papier-mâché basketball piñata for them to help celebrate.
Plus, it is another activity that I know they would not only love helping to make, but would also love the finished product.
Blow up a balloon to the size you want the piñata to be. You will also want to cut some strips of newspaper into approximately two inch strips.
Making the papier-mâché paste is actually really easy. In a large bowl, mix equal parts flour and water (3 cups water and 3 cups flour is what I used). Mix to a thick paste.
Dip the strips of newspaper into the paste, making sure that they are well covered. Then smooth the strips over the surface of the balloon. Continue doing this until the entire balloon is covered.
You will then want to let it dry for 48 hours.
After the papier-mâché has completely dried, you will want to add the colored tissue paper. Cut the tissue paper into little squares. Put a small dot of glue onto the back of the tissue paper and glue it onto the balloon. Keep doing this until the balloon is completely covered. Then do the same with some black tissue paper to make the lines on the basketball.
Next, using scissors cut a small slit in the balloon to deflate it. Pull the balloon out.
Cut two small holes in the sides of the basketball and run a ribbon through them for hanging it. Now all you have to do is fill it with candy and let the kids take turns trying to break it open.
Sometimes, all these activities with the kids can lead to aches and pains the next day. That’s why I always keep a container of Advil on hand. Nothing’s stronger, longer lasting or better on your touch aches and pains than Advil.* (*Among OTC brands). Be sure to ask a doctor before use if you have a history of stomach problems, such as heartburn.
Whether I am enjoying a day on the playground or watching the big game with the kids, I know that with Advil I can enjoy the moment without having to worry about the pain. Plus, without having to worry about pain, I have more time to worry about who is winning the big game!
You can pick up Advil and a variety of other Pfizer products in the pharmacy section at your local Walmart. In addition, Walmart has a variety of food and products which are sure to make your tournament party great.
Be sure to download Pfizer’s coupons for Advil and so you are sure to stay stocked up.
Comment On: What activities do you do with your kids that requires Advil the next day.
Sharing is caring!
2 shares
Share
Tweet
DIY Piñata
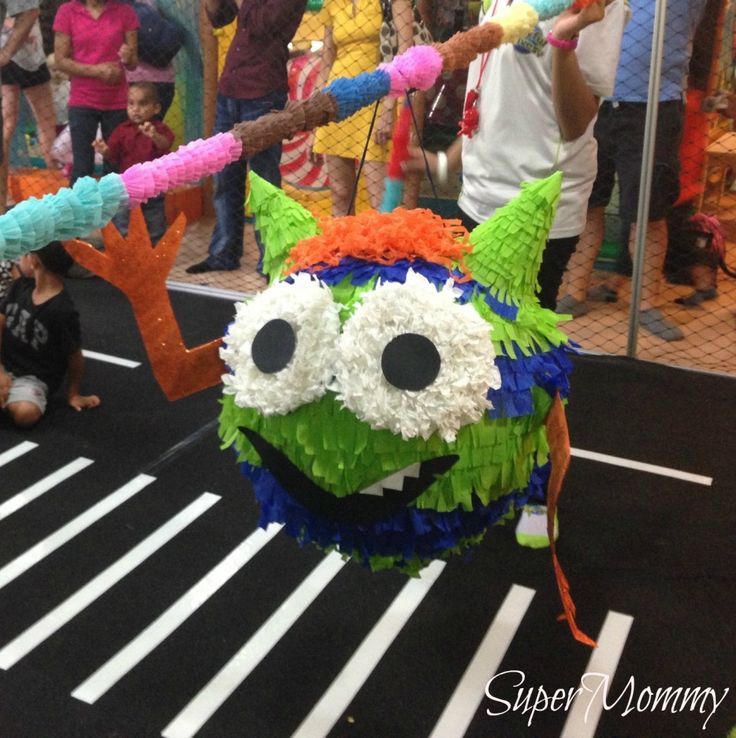
Are you planning a party and want to entertain your guests with an unusual and fun game of piñata? After all, it is very fun when both children and adults hit the colored sculpture with all their might and it scatters with a bright fountain of souvenirs of sweets and confetti.
We offer you a master class for making a piñata with your own hands. There are several easy ways to create a piñata for your holiday of your choice.
1. Papier-mâché piñata.
You will need:
- large diameter air - PVA glue - papier mache mortar / wallpaper paste - Newspapers or paper - fine wire tape / masking tape - 9019 strong thin rope - backing paper (corrugated or quilted)
Inflate the balloon and cover it with 3-4 layers of paper. Pieces of paper or newspaper can be cut into wide or long narrow strips 7-10 cm wide and thoroughly soaked with glue or papier-mâché mortar. Let each layer of the piñata dry, take a break of approx. 2 hours between applying one layer to another.
The piñata should not be very hard as it will then be impossible to make a hole in it and break it, so do not overdo the number of layers.
Decide in advance the place where the structure will be hung.
After the last layer of the piñata has dried, release the air from the balloon and take it out and make a hole through which you can fill the piñata with nice little things.
You can hang the piñata by the thin hard wire hangers by passing them through the cut hole and placing them in the toy so that the hook does not fall out of the piñata structure, reinforce the hangers with thick cardboard.
Another option: thread a strong rope through the toy, or from 4 sides, at equal distances from each other, make 4 rows of small holes in height and skip 2 ropes with large stitches, From below the ropes form a crosshair, and from above the piñata should get 4 long ends, for which it will be convenient to hang it.
Fill the piñata with sweets, souvenirs, candies, etc. and cover the cut hole with paper tape/ masking tape.
Now it remains to make the resulting structure bright. To do this, cut strips of crepe paper and make a wide fringe on it, folding the paper in several layers. Apply a very thin line of glue to the top edge of the crepe paper.
Wrap the fringe around the base of the piñata with the fringe facing down. Stick layer by layer, overlapping each other. Or you can cut out paper bowls and stick them row by row from the base of the piñata - you get a completely different texture.
You can decorate the top with additional details: tassels, muzzle, ornaments, etc.
2. Another way to make a piñata with your own hands is from a regular box.
You will need: cardboard box, scissors/paper cutter, template if the piñata is to be shaped, glue, tape, ribbons and paper for decoration.
To make your own piñata in a certain decorative shape, prepare a template.
- Cut out 2 parts and sidewalls from cardboard according to the template. - We glue the frame, fixing the parts with adhesive tape and glue. - Fill the piñata with sweets and gifts before wrapping it in decorative paper.
You can also make a piñata by pasting a regular box with colorful tiers of paper.
- prepare a box of the right size - you will also need tape for the handle and bottom.
Make a loop of tape and fasten it on one side of the box, for strength - fasten the ends of the tape on the inside on the opposite side. At the bottom of the box, make holes for decorative ribbons that do not open the piñata, or collect them in one bundle so that they can be easily pulled out.
Fill the piñata with confetti, sweets and souvenirs, cover with decorative tape and you're done.
3. An unusual and interesting mini piñata is made by hand. A mini piñata can be a decoration for a holiday and such an original gift with filling for each guest.
Making such a mini drink with your own hands is just as easy as usual, only its size is much smaller.
Do-it-yourself piñata: step-by-step instructions for making
Published:
Do-it-yourself piñata: step-by-step instructions for making: Unsplash / NIPYATA!
Piñata is a traditional entertainment at children's parties not only on the American continent, but also in Europe and Asia. Entertainment is competitive, which is why children like it so much. Suzanne Barbeza, Katerina Papathanasiou and Kim Bassing spoke about the history and significance of the piñata and shared step-by-step instructions for creating such a construction.
What is a piñata, its history
In Western culture, piñata is an integral part of any holiday. Piñata is very popular with both children and adults, because fun is guaranteed with it.
Features of the piñata
McGill University independent writer Suzanne Barbeza notes that the piñata is a figure made from a clay pot covered with papier-mâché. It is painted or decorated with brightly colored tissue paper, filled with sweets, fruits or other goodies, and sometimes small toys. The word piñata comes from the Italian word “pignatta”, which translates as ‘fragile pot’.
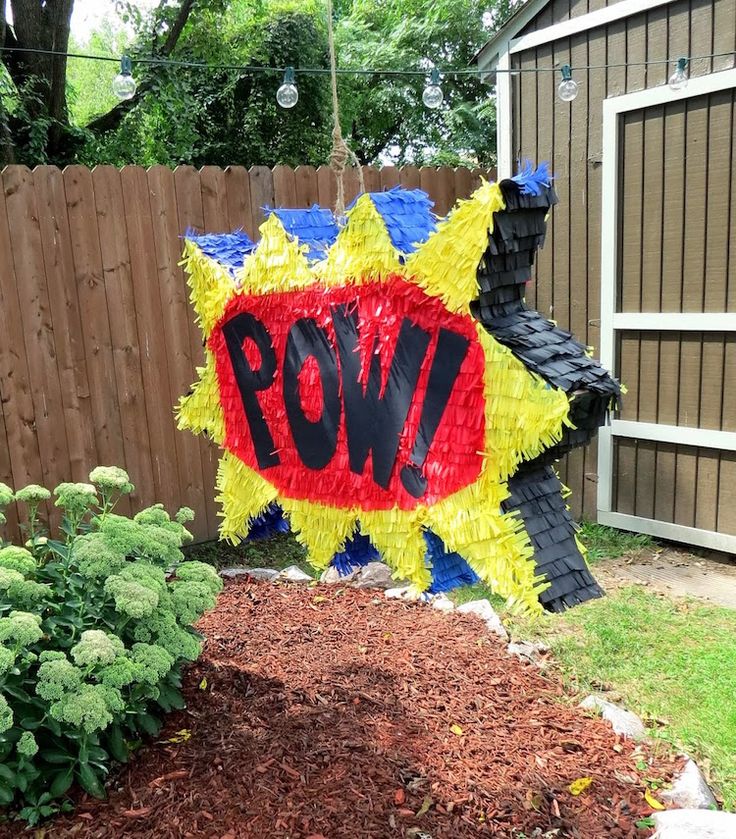
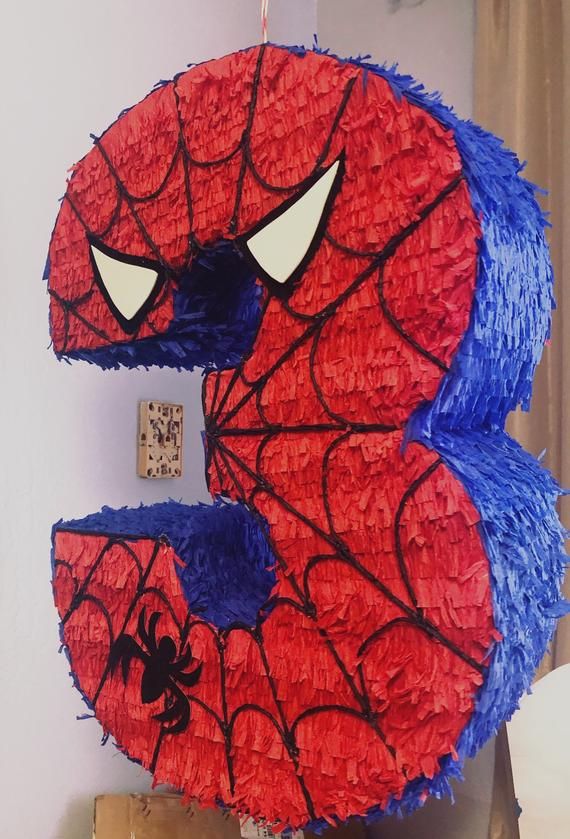
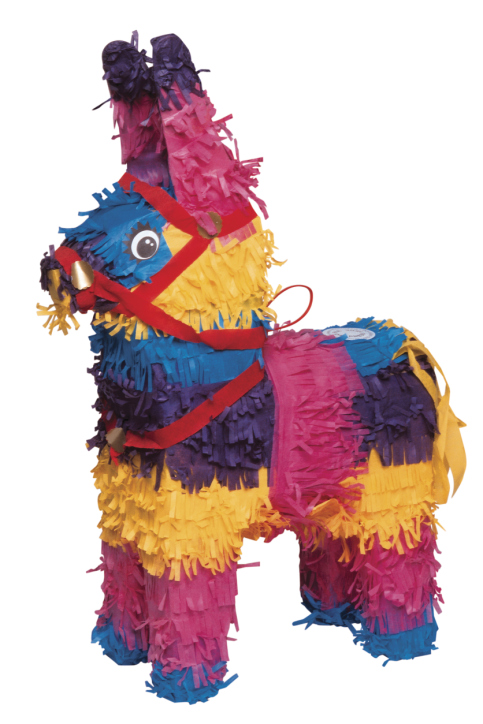
The traditional shape of the piñata is a seven-pointed star, but it is now very popular to make piñatas depicting animals, superheroes or cartoon characters. At parties, the piñata is hung from a rope. The child is blindfolded and made to spin several times before hitting the piñata with a stick to remove the contents.
At the same time, an adult pulls on one end of the rope to move the piñata and make the game more difficult. The children take turns hitting the piñata until it breaks and the candy or toys fall to the ground, after which everyone rushes to claim the well-deserved prize.
Piñata Features: Unsplash/Callum Hill
Piñata History
Vale Magazine contributor Caterina Papathanasiou points out that more than 700 years ago, Marco Polo, a Venetian merchant and explorer who traveled along the Silk Road from 1271-1295, saw how the Chinese they sculpted various figures (cows, oxen and buffaloes), and then covered them with colored paper. The figures were filled with seeds, they were made in honor of the New Year. The celebrants beat the figurines with sticks until the seeds spilled out. Then they burned the remains and collected the ashes so that the coming year would bring them good luck. The tradition described by Marco Polo was imported to Italy and became part of Lent: the first Sunday of Lent is known as Piñata Sunday.
From Italy, the custom of making and breaking piñatas spread to Spain. Here, on the first Sunday of Lent, a party known as the "piñata dance" was held. The Spaniards used a clay pot (la olla) as a piñata. Initially, the pot was not decorated, but over time, the celebrants began to add paper, ribbon, and tinsel to make the container more festive.
Piñata arrived in North America at the beginning of the 14th century thanks to Spanish missionaries. They used piñatas to attract natives to their ceremonies in hopes of converting them to the Christian faith. However, they were surprised to find that many indigenous people already practice this.
Piñata History: Unsplash/Melyna Valle
DIY Piñata Tips and Instructions
Making a kid's party or an adult's party fun and memorable doesn't require a lot of money or serious preparation. It is enough to make a piñata with your own hands.
Piñata Materials and Fillings
The DIY Nuts Portal recommends making a piñata from:
cereal boxes;
paper bag;
old cardboard box;
papier-mâché and crepe paper;
cardboard tubes;
flexible cardboard strips.
The average size of a piñata can be from 50 cm to 1 m. In order for the figurine to be easily broken, it should be large enough, but not bulky or heavy.
To fill a piñata, according to event planner Kristin Govro, you can:
Seasonal toys, eg sunglasses, soap bubbles, swimming goggles, water pistol in summer.
Art supplies (crayon sets, markers, glitter pens and rubber stamps).
The piñata does not need to be filled completely, because there must be an empty space inside for it to break. The product should move easily, because it should be interesting for children to beat on it. So fill the piñata 1/2‒1/3 full.
Make sure your homemade piñata is strong enough to withstand what you fill it with.
DIY piñata tips and instructions: Pexels/Ron Lach
Step-by-step instructions for making a cardboard piñata
To make a cactus-shaped piñata, according to Kim Bassing, you will need:
1 large cardboard box;
green crepe paper - 5 sheets;
pink crepe paper - 1 sheet;
candies for filling - approx. 30 pcs.
Now take care that there were such tools:
scissors;
pencil;
glue;
masking tape - 1 roll;
rope or twine - 4 m.
Follow the instructions below:
Unfold the sides of the box to make a flat surface.
Draw the outline of the cactus on the resulting cardboard with a pencil.
Cut out the shape with scissors.
Repeat the design on another sheet of cardboard to make two exactly the same cactus shapes.
Use the leftover cardboard to cut out the supporting pieces to form the depth of the piñata and provide space for the sweets.
Glue the support pieces along the edges of one cactus outline. Glue the second contour with tape to the other edge of the supporting parts. Make sure the two paths align correctly.
Leave a small area open on the side to fill with sweets.
Fill the piñata with treats. Then seal the hole with tape so that the candies do not fall out ahead of time.
Poke holes in the cardboard at the top and bottom to pass twine or rope through. Then secure it with tape.
Cut green crepe paper into strips to make a fringe. Fold a sheet of green crepe paper and make thin cuts about two-thirds of the way, leaving a seam at the top to glue the paper to the cardboard base. Do the same with sheets of pink paper.
Apply glue to the seam of the crepe paper. Gently glue the paper onto the body of the piñata, starting at the bottom and working your way up. Make sure that the cardboard base is not visible and that all parts of the piñata are covered with green crepe paper
Use pieces of pink tissue paper to create a colorful cactus flower on the piñata.
This piñata can be hung on a branch of a large tree in the yard, as well as on a horizontal bar, a swing or on a basketball hoop. There should be enough space around for safe play. The stick is the main tool for breaking the piñata and extracting goodies from it.


 She writes travel and budgeting tips and destination guides for USA Today, Travelocity and ForRent, among others. She enjoys exploring foreign locales and hiking off the beaten path stateside, snapping pics of wildlife and nature instead of selfies.
 In addition, Walmart has a variety of food and products which are sure to make your tournament party great.
  flour + 3 tbsp. water, mix thoroughly.

 The children take turns hitting the piñata until it breaks and the candy or toys fall to the ground, after which everyone rushes to claim the well-deserved prize.
 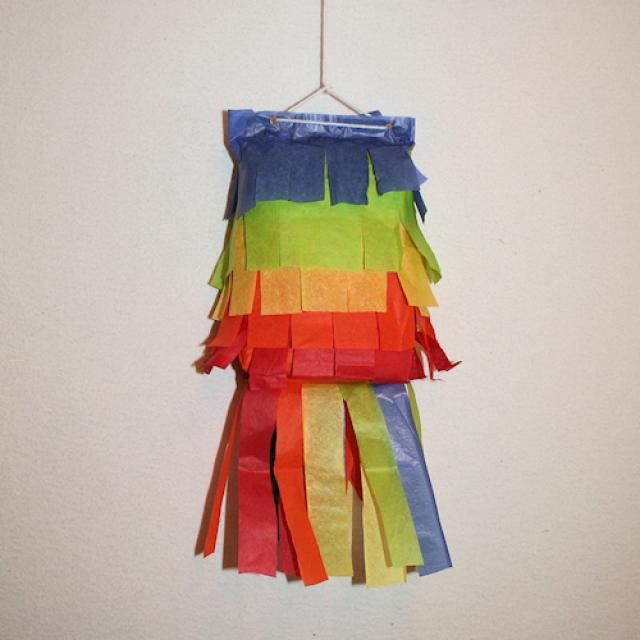 Here, on the first Sunday of Lent, a party known as the "piñata dance" was held. The Spaniards used a clay pot (la olla) as a piñata. Initially, the pot was not decorated, but over time, the celebrants began to add paper, ribbon, and tinsel to make the container more festive.
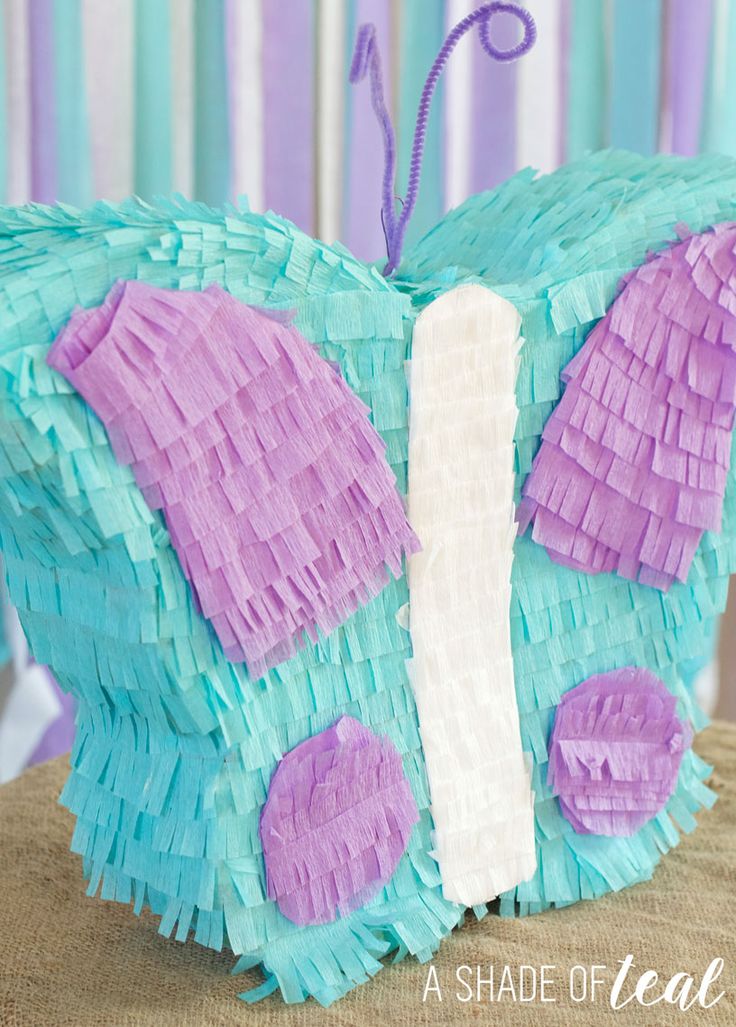
 30 pcs.