Home »
Misc »
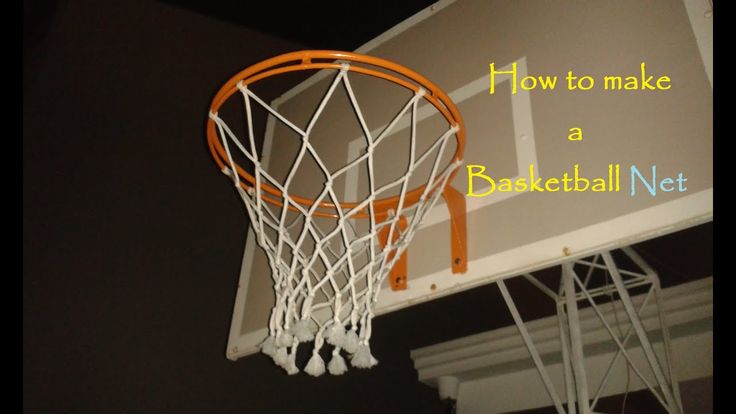
How to make basketball net with paper
How to make basketball net with paper
indoor basketball hoop. – Reading My Tea Leaves – Slow, simple, sustainable living.
I made an indoor basketball hoop. File that under Things I didn’t Think I’d Be Doing This Spring.
I wasn’t sure I’d write about it because it’s cobbled together from things we had at home, which is the most satisfying kind of project to make but a more frustrating kind of project to be presented with by someone else. Apologies in advance because I can’t offer the exact size of the screw or magnet that I used and my net tying instructions are probably wanting in both detail and technique, but I’ll try my best to show what I did.
I’m hoping you all might take this in the spirit it’s intended, which is an opportunity to dig around in your toolbox for washers and screws and to flex your creativity and make something you’ve never considered before. Mostly I’m hoping this might provide a momentary diversion on days desperate for them.
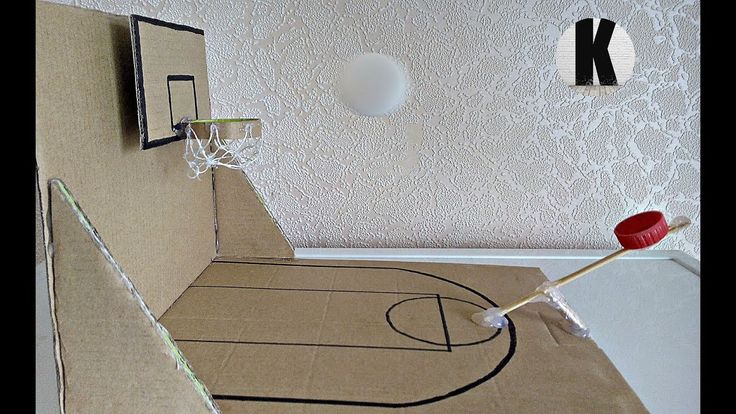
In terms of a basketball hoop specifically, my goal was to make it movable (and removable) because there are players of varying heights in our apartment and more importantly, because there’s no telling how long the interest might last.![]() I also needed it to be not too much of an eyesore and to actually work. (This replaces another iteration involving rolled up paper and blue painters tape. Believe me when I say it was more than aesthetics alone that were improved in this version.)
I also needed it to be not too much of an eyesore and to actually work. (This replaces another iteration involving rolled up paper and blue painters tape. Believe me when I say it was more than aesthetics alone that were improved in this version.)
For a ball, we’re using an oversized pom-pom. While it’s quite sturdy when fitted with a heavy-duty magnet, the hoop isn’t strong enough to support an actual basketball. More importantly, neither are our fragile nerves. We needed something that’s virtually noiseless, for ourselves and for our neighbors. We tried a small blow-up beach ball and a woolen knit ball and both worked but the pom-pom has been perfect.
For the net, I modified the macrame technique that Rose taught me last fall and I’ve done my best to offer simple instructions below.
Materials:
+ The interior ring of a 10-inch wooden embroidery hoop
+ hand drill or electric drill
+ 1 heavy duty magnet hook (the key is having one with a detachable screw hook)
+ screw
+ washers
+ screwdriver
+ cotton butcher’s twine
+ scissors
Directions:
To make the hoop:
+ Begin by drilling a small hole into the side of your embroidery hoop.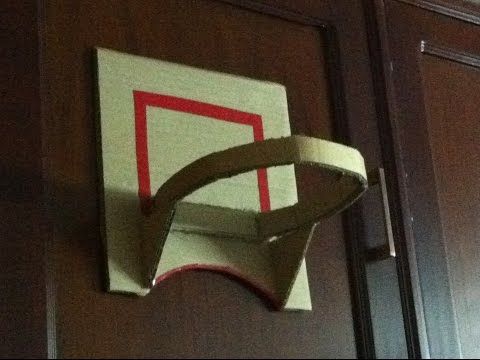
+ Unscrew the hook from the magnet. Fit a screw that matches the width and thread of the hook through the hole in the wooden hoop from the interior of the hoop, so you can screw it into the magnet post on the other side. Depending on the size of your magnet and hoop, you might need to use a series of washers, as I did, to help secure a tight fit.
To make the net:
+ Begin by attaching the hoop to a magnetic surface, like a steel apartment door, refrigerator, or radiator.
+ Cut 8 ~4′ lengths of cotton butcher’s twine.
+ Fold each piece of string in half. Place the folded loop over the top of the hoop. Loop the ends of the string through the hole you formed and pull, forming the cast on stitch. Repeat for the remaining strings, placing them at even intervals around the circumference of the hoop.
+ Take the left-hand string hanging from one loop and the right-hand string hanging from the adjacent loop and pull them together to form the point of a triangle, roughly 3 inches down from the hoop.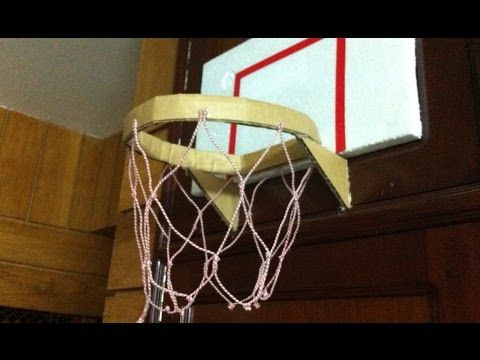 Tie a simple knot by looping both strings through each other.
+ Repeat around the circumference of the hoop until all of the strings are tied.
+ To make a second row, follow the same technique as above. This time, your knots will be forming the bottom point of a diamond. Tie your knots roughly 2 inches down from the previous knot. This will allow your net to begin to taper a bit. Repeat until all of the strings are tied. You’ll now have two rows of knots, forming large diamonds around the hoop.
+ To make a third row, follow the same technique as above. This time, form the bottom point of the diamond about 1.5 inches down from the last row of knots.
+ To finish, tie an additional final knot in the bottom of each set of strings, about an inch directly down from the last knot you tied. (You’re not pairing strings from different sides this time.) Trim any excess length.
Notes!
+ Wooden embroidery hoops are quite thin and I didn’t have any trouble using a small hand drill to make my hole, but because of the relatively fragile wood, take care not to split the hoop with too large a hole.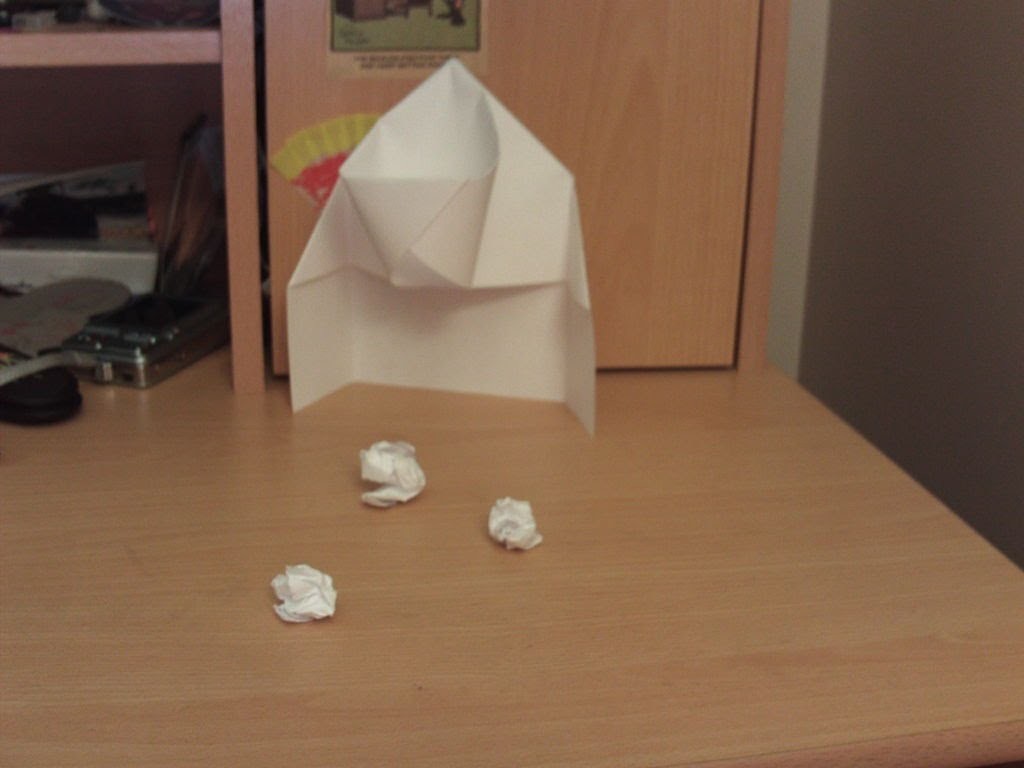
+ I attached my hoop to our steel apartment door with a magnet, but you could also place on your refrigerator or another magnetic surface. If your home is fitted with metal corner beads (the metal piece used to form sharp corners with drywall) and your magnet is very heavy duty, you might even be able to attach the hoop to a door frame.
And that’s that. If you make one of your own, I’d love to see photos. If you have more ideas for quiet gross motor play for small apartments, I’m ALL ears.
family home projects stuff
Basketball Net Paper - Etsy.de
Etsy is no longer supporting older versions of your web browser in order to ensure that user data remains secure. Please update to the latest version.
Take full advantage of our site features by enabling JavaScript.
Find something memorable, join a community doing good.
(536 relevant results)
Homemade basketball hoop with your own hands
DIY
Reading 2 min Views 5.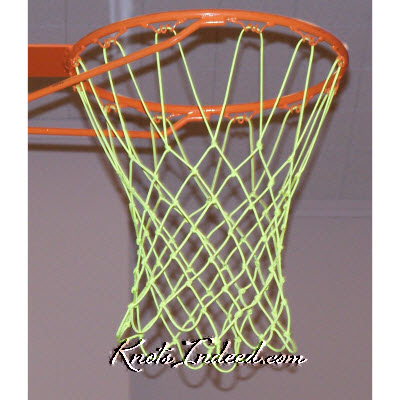 4k.
4k.
Basketball is a sport that is popular not only in America but also in Russia. Many fathers seek to build a playground for their children in the yard. What are the requirements to follow when arranging a basketball hoop.
Shield and ring standards:
- Height 105 cm;
- Width 180 cm;
- Square in the center of the shield - height 45 cm, width 59 cm;
- Indent from the edge of the shield to the red square - 15 cm;
- Ring diameter -45 cm;
- Mesh for a ring 45 cm long;
- The ring is attached at a distance of 15 cm from the shield;
The shield itself is raised to a height of 3.05 meters.
Contents
- Required materials for ring and shield
- Making the backboard
- Making the hoop
- Fixing the structure
Required materials for the hoop and backboard
A basketball circle can be made from plastic pipe, metal rod or other suitable materials. Also, the ring needs a mesh, which is made of lace, rope, braid or chain.
The shield is made of fiberboard, MDF, multilayer plywood, high-quality and thick organic glass, plastic. You also need fasteners and red or black paint for marking, white for the base.
Weather conditions must be taken into account when choosing the material for the shield. The location for the basketball court should be comfortable and allow the hoop to be hung at the desired height.
Making the shield
Steps:
- With a pencil, draw the lines along which the blank will be cut.
- Cut out the shield with a jigsaw.
- Paint white.
- In the center, draw with black or red lines a rectangle for aiming before throwing. The base of the target must be at the top edge of the ring.
- Rectangle stripes must be 5 cm wide.
- You also need to circle the outer edge of the shield.
Making a ring
Steps:
- Choose a pipe or twig 45 centimeters long with a little margin.
 Using the formula, calculate the exact length:
D(ex.). \u003d D (o) * Pi;
L(pr.) = 45*3.14=141.3 cm.
- Take a length of approx.
- Bend the ring on the round template, bolt the remainder to the shield.
- You can make a mesh from a metal chain or rope.
- On the twig you need to make ears for the net.
- Take 20 m of rope, cut it to the number of eyes, tie it to the ring. Perpendicular to the sea knot, tie all the pieces. Should be 4-5 rows.
- To prevent the ends of the mesh from fluffing, you need to tar them with fire.
Structural fastening
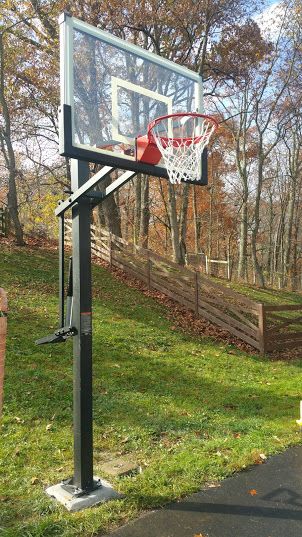
Strong steel brackets are installed on the rear side of the shield. Together with another person, securely attach the structure to the support. The bottom edge of the shield should be at a height of 290 cm, and the basket is 3 meters.
This is how you can organize a basketball ring at home.
Share with friends
Basketball hoop - how to make a stand with a backboard with your own hands
Love basketball and want to make a hoop? I wanted to make it myself, not buy it, and I ended up making it.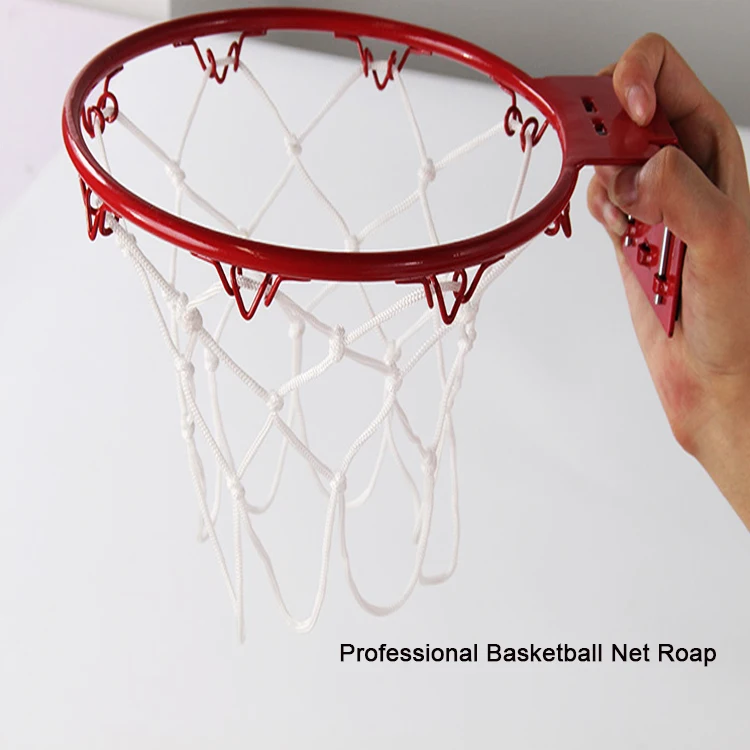 It's pretty cheap, especially if you have some of the stuff you need to assemble.
Let's start assembling a basketball hoop with our own hands.
Step 1: Shape the ring
The first thing you need is a ring, I made it with 12mm rod, but it doesn't have to be that size. The standard diameter of a basketball hoop is 450 mm.
To make it flat you need something to wrap it around, this thing should be about 400mm in diameter.
I found an old car rim of the right size, you will need to clamp it to the table with a clamp using a block of wood.
As shown in photo 2, place another clamp a little further from the first with a rod in between.
As shown in photo 3, slowly wrap the rod around the disk, once you wrap the rod and its edges overlap, cut off the straight ends.
Use a clamp to press the ends together, then weld them together.
To complete this part, place the ring on the ground and straighten out all the curves.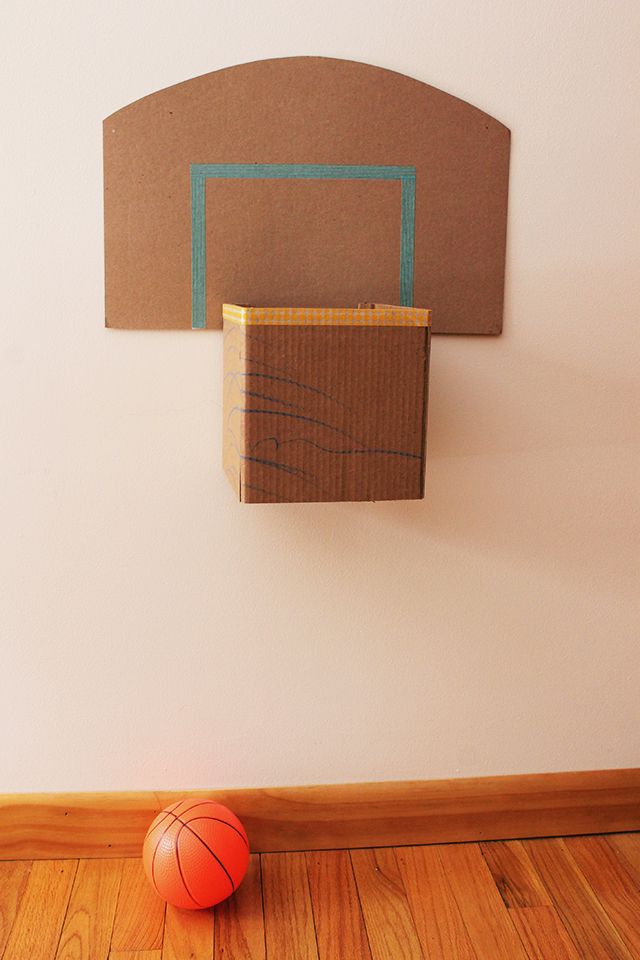
Step 2: Frame
- Bend a piece of flat metal, mine was 4mm thick.
- Weld it to a flat spot in the ring.
- Cut two rods to a length of 320 mm.
- Weld them as shown in the photo.
- Drill four holes to match your existing bolts.
- If you need a netball ring, you can simply attach it to the pole and skip the rest of the steps.
Step 3: Mesh Staples (Optional)
Show 7 More Images
Do this step if you need mesh. If you need a network, you will have to buy it.
This step is not as difficult as it seems.
- cut 12 pieces of wire 90 mm long (I would recommend making a few spare parts, as they are easy to ruin.)
- bend them in the middle (it doesn't matter if the ends are the same length)
- clamp the wire in a vise with a steel rod at one end
- bend wire over rod
- repeat this with all parts of
- retighten the wire wrapped around the rod (see photo)
- bend it
- repeat with all parts
- retighten the wire wrapped around the rod
- bend it (at this point you can't just remove the wire from the rod - you will need to slide it to one of its edges and remove it from the edge)
- repeat with all parts of
- divide into 12 parts and weld on the brackets
Step 4: Backboard
Cut the board to size.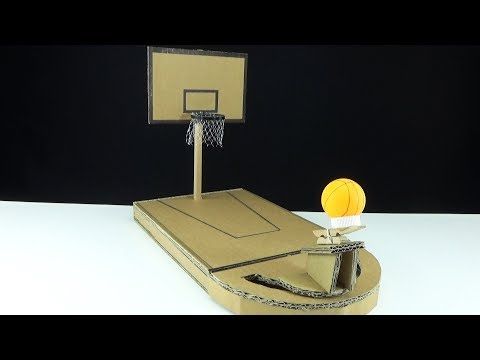 My board does not fit the full size of basketball boards. (the second picture shows the dimensions of a standard shield).
My measurements are 1100mm wide, 700mm high and 25mm thick. (You don't have to be that size.)
Step 5: Paint the shield
Once you've drawn all the lines on the shield, lay masking tape over them. If you try, everything will look neat.
If you are using MDF, you will need to take care to protect the edges from moisture (as shown in photo 2).
Carefully paint over the areas around the masking tape.
Remove masking tape after enough coats of paint have been applied and the board looks complete.
Step 6: Paint the ring
First you need to sand the metal. I used a grinding disc on a grinder.
The ring must not be black or white, it must stand out from the shield. Usually the ring is painted orange or red.
The easiest way to paint inventory is from a spray can.
Step 7: Assemble
Put it all together.