Home »
Misc »
How to mount basketball hoop on garage roof
How to mount basketball hoop on garage roof
How to Attach a Basketball Hoop to a Garage
Skip to content
Transform your driveway into a court and bring one-on-one games to life with the addition of a basketball hoop to your garage. You don’t have to be a handyman extraordinaire to tackle this project, only an owner of a ladder and a drill and the knowledge to use them.
Home Court Advantage
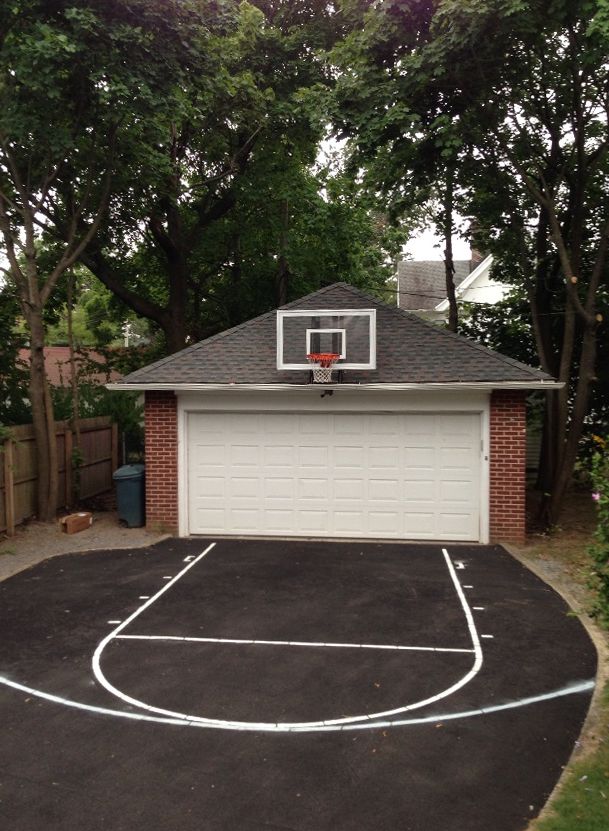
Installing a basketball hoop can turn any empty area into a playful zone of H-O-R-S-E games and casually shooting hoops with friends and family. The best places that make home-courts are roomy driveways, preferably hanging the hoop on the roof in front of a double garage. The best pseudo-courts are level and smooth, but anywhere with wide enough playing space will do the trick. Plenty of homeowners with single door garages have make their narrower driveways work in their favor.
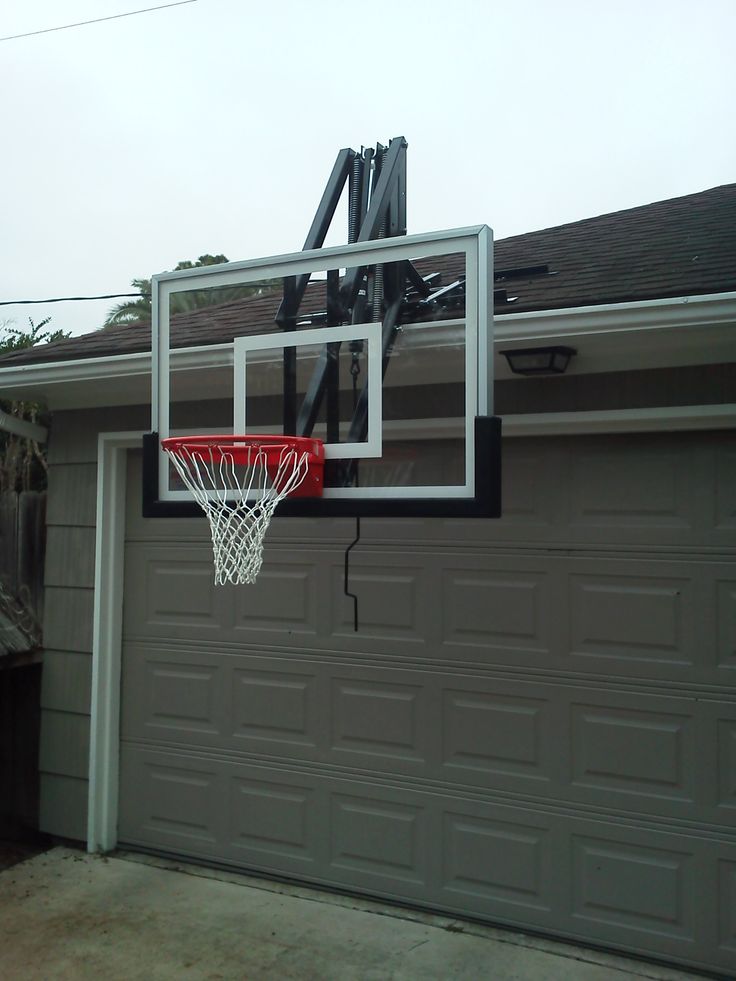
Installing a roof-mounted basketball hoop is one of the easiest ways to turn your driveway into a court.![]()
There are a few things you should consider before climbing up to your roof and installing your new garage-mounted hoop:
- Your mounting surface needs to be secured and able to support the hoop without fear of it falling or wobbling off (especially onto your car or yourself).
- Mounting on your garage means you should avoid the hoop being obstructed by the roof line.
- The hoop, when installing it on against the garage, should be as flat as possible.
- Be sure that the place where you’re installing the basketball hoop is free and clear of any mechanisms around the garage door area.
Installing Your Basketball Hoop to Your Garage: Step-by-Step
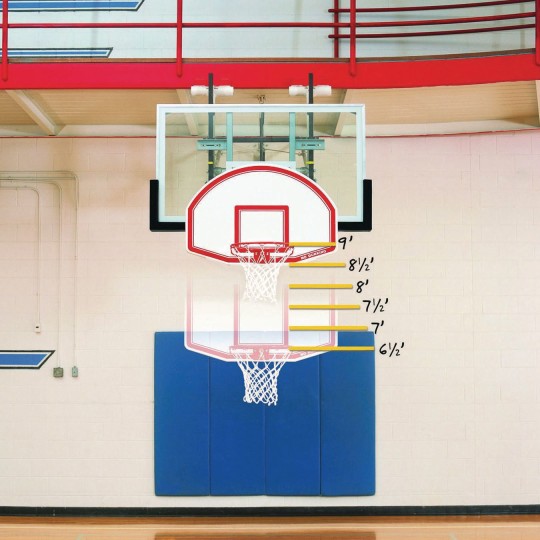
The NBA’s regulation backboard size is 72 by 42 inches and the NBA, WNBA, and NCAA’s regulation height for the hoop’s rim is 10 feet from the playing surface, with the rim measuring 18 inches in diameter and net hanging 18 inches from the rim itself. This is your court, and you certainly don’t have to follow any strict regulations to have a fun game of basketball, so just decide ahead of time how high you want your hoop and if you want to match the pros.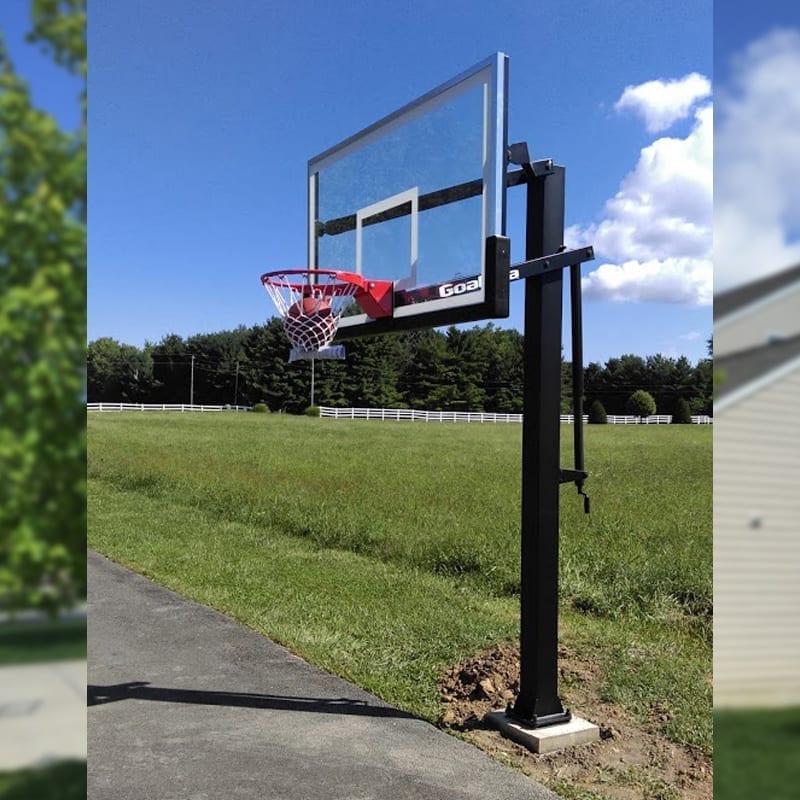
Step One
Scout the area where you’d want your basketball hoop to go. Next, mark where you’ll be putting the mounting brackets for the hoop. You’ll want to attach your hoop against the roof’s studs in the center of the roof, which you can locate with an electronic stud finder.
Now, gather your tools:
- Ladder
- Drill
- Stud finder
- Crescent wrenches
- Level
- Tape measure
- Your basketball hoop kit
- Any additional tools recommended by the kit’s instructions
Step Two
Install your mounting brackets on the places you previously marked on your garage’s roof. Do this by following your hoop kit’s installation instructions. The majority of basketball hoop kits will have adjustable brackets that accommodate for different roof pitches and other unique garage features.
You’ll be drilling pilot holes for your lag bolts, so you’ll want to use a drill bit that’s ¼ the size of the bolts you’re using. Now, line up the holes and attach the bracket to the roof with your lag bolts. Attach the mounting bracket with a socket and ratchet.
Step Three
With the help of a family member or friend, attach your backboard. Your kit will likely come with nuts and bolts, which you’ll use along with your power drill to install the backboard.
Next, use water-resistant, exterior caulking to seal any holes or gaps left behind. This will keep your newly installed bolts from rusting and stop water from sneaking into places it doesn’t belong. Rainwater can also be the culprit behind rotted out studs. Test the backboard while on your ladder to ensure that it’s installed securely.
Step Four
Finally, attach the net to the rim.
Installing a basketball hoop is an easy project that only demands a few moments of your time. Most of us have a ladder, a drill, and the appropriate wrenches lying around to mount a backboard, a task that can be completed in thirty minutes or less. Mounting a backboard basketball hoop to your garage is decidedly easier than attempting to install an in-ground basketball hoop.
Once you’ve mounted the brackets, hung the backboard, and attached the net to the rim, take a step back and remove the ladder away from the basketball hoop. Check to see if the backboard appears straight, even tossing the ball a few times to make it’s not hitting the backboard at any odd angles.
Periodically, you’ll want to check to see if you need to re-caulk around the areas where you drilled for your lag bolts. You’ll also want to ensure that the backboard is still secured as outer elements like strong winds and storms can wreak havoc on exterior installed accessories.
Do You Need A Garage To Attach Your Hoop To?
At Danley’s, we have all the garage styles and sizes that will improve the value of your home. All the stuff that you wanted to move out of the garage can be stored inside a two-car or even a three-car garage. Speak to a specialist about garage sizes and get a free quote online today.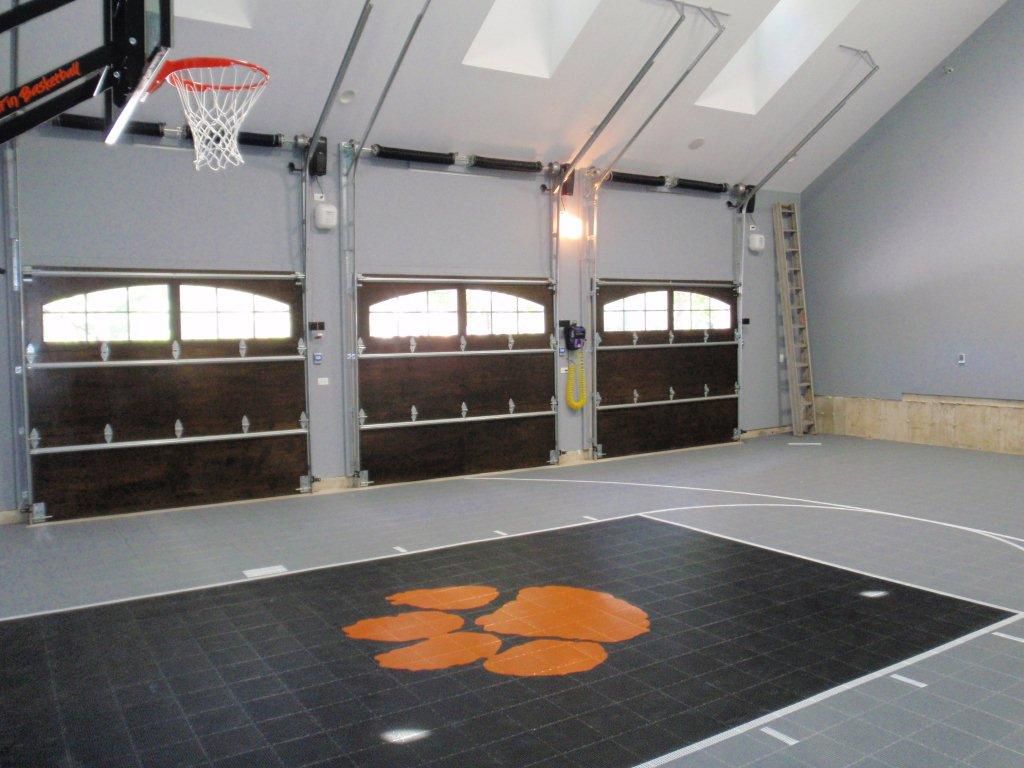
Share this article:
Facebook
Twitter
Main Menu
- Garages
- What Size Do I Need?
- What Height Do I Need?
- Roof Styles
- Electric Vehicles
Company
- About Us
- Reviews
- Service Areas
- Community
- Careers
Connect
- Contact Us
- Financing
- Pay Your Bill
877-DANLEYS®
Get a Free Quote!
Follow Us
Facebook-f Twitter Youtube
Promotional Details | Privacy Policy
© Copyright 2022 Danley’s. All Rights Reserved
Join over 100,000 satisfied customers and get a free and easy quote from Danley’s right now.
Get a Free Quote Now
How to Mount a Basketball Hoop on a Garage (Step-By-Step)
If you have a nice driveway with a garage, you might want to avoid dealing with digging and pole-mounted system and install basketball backboard on a garage roof.
In this article, we’ll try to teach you how to mount a basketball hoop on a garage as smooth as possible. Also, we’ll answer some specific questions to avoid confusion and unnecessary mess.
It’s 2019 and fortunately, manufacturers are offering basketball systems adjustable and adaptable enough to install to any garage roof.
There are two ways to mount a basketball backboard to the roof:
1. Classic way – Using a mounting bracket
2. Alternative way – Using wooden frames
Many roof-mounted basketball hoops adjust up to four and a half feet in height with the application of slide mechanisms and nut-and-bolt lock-downs.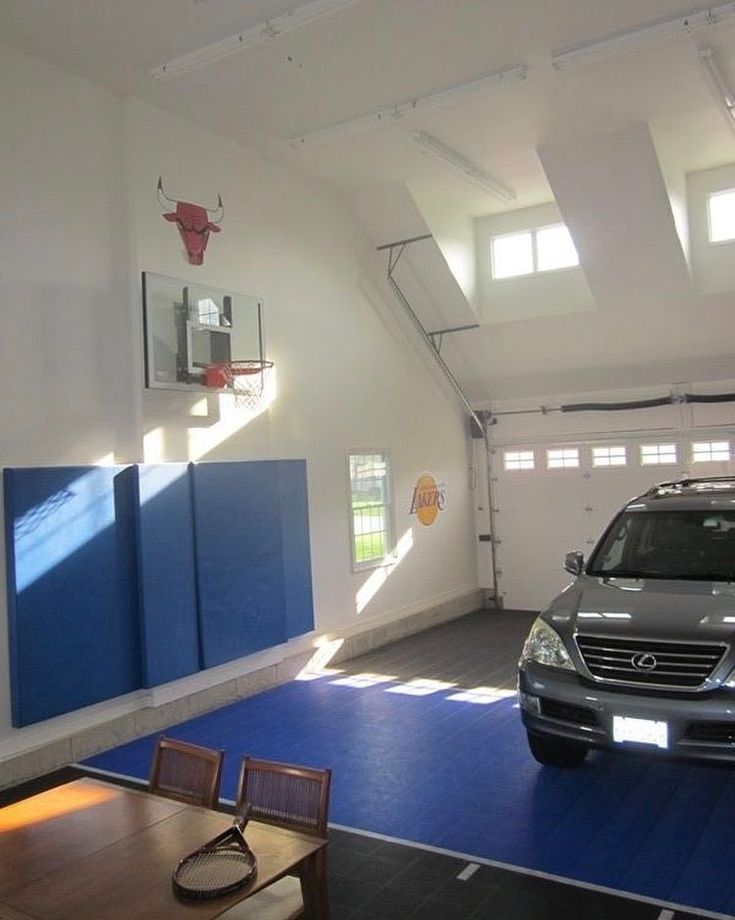 They also give the choice of various backgrounds and rims, creating a unit to your desire. Assembly instructions are included in most basketball systems, making for a simple installation.
If you’re worried about mounting bracket not fitting your roof, don’t be. There are innovative brackets with a sturdy A-frame style. Basically, the bracket is coupled with telescoping handle arms allowing you to get the basketball system level no matter what pitch your garage roof is at.
This is the table from one of our previous articles. Here you can see which mounting bracket fits your backboard.
MOUNTING BRACKETS->
| Lifetime Mounting Kit model 9594 | Spalding U-turn Lifting System | Lifetime 1044 Quick Adjust Conversion Kit |
|---|
| Shape and diameter of suitable pole | Round: 3.5'' | Round: 3.5'', 4''
Square: 4'' | Round: 3.5''
Round: 4'' |
| Compatible backboard models | Spalding 44''
Lifetime 44'' – 54'' | Lifetime 48'' – 54''
Spalding 48'' – 54'' | Huffy, Spalding 44''
Lifetime 44'' - 54'' |
How to choose the right spot to install basketball hoop on a garage roof?
Before even starting installing a backboard, you must see if you have the right spot to do it. You want to choose at least close to level and smooth area. If you have a driveway in front of a double garage, you’re good to go.
Consider the following things:
• The installing surface needs to be stable and solid. Connecting the bolts to studdings will save the basketball system from dropping or shaking.
• The installing area of the garage must be level and not blocked by the roof line. The regular backboard size is 72 by 42 inches, but smaller backboards will often do the work, especially if you’re doing this for kids.
• Regulation rim height in the NBA is 10 feet from the ground. A rim has an 18-inch diameter, and the net falls 18 inches below the hooks on the rim. While not needed for a home basketball court, these measures will help guide you. If you’re doing this for smaller kids, feel free to lower the basketball backboard to a proper height.
• Make sure that the net clears the space in front of the garage door. Also, make sure you choose the basketball backboard and hoop exactly for a wall mount application.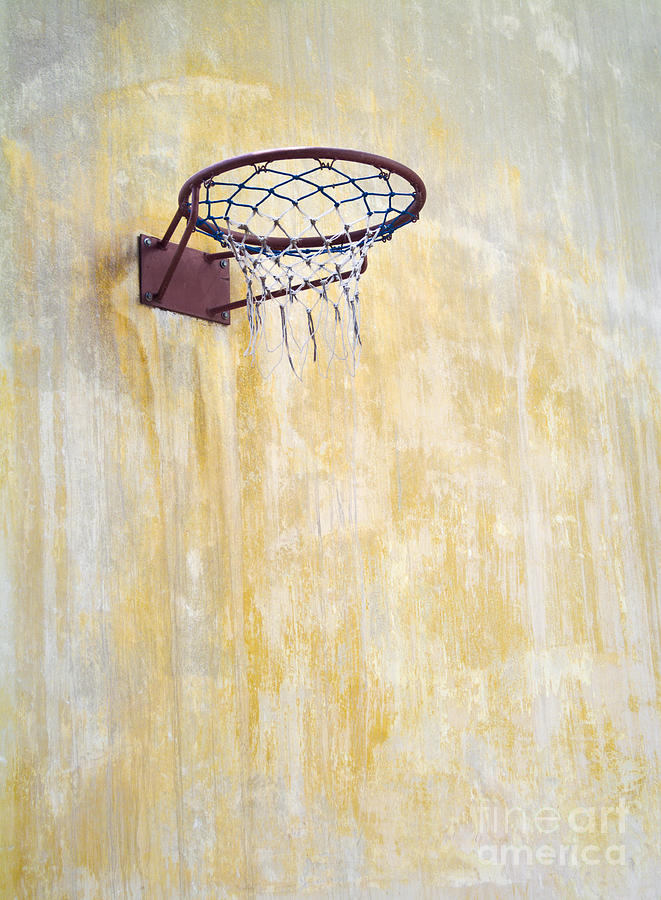 This will require extra mounting brackets that are sold individually.
How to mount a basketball backboard on a garage roof?
First, you’ll need to evaluate the area and line the spots on the roof to know where to put a bracket.
Aside from the roof-mount basketball system and mounting bracket, you’ll need the tools like an anti-seize lubricant, stud finder, marker, small level, screwdriver, and of course, a ladder.
You’ll also need extra tools which will be defined by the manual that came with the basketball backboard kit. If the instructions include perforated support tubes, don’t place them lower than 98 inches above the playing court.
Slightly loosen the bolts because overtightening them can make it difficult to crank.
Part 1: Mounting bracket
1. To assure you have enough playing space, you’ll need to pick an area on the garage roof. Regarding the playing surface, it must be level and big enough. The roof shouldn’t be too low so the rim meets the 10-feet mark above the playing court.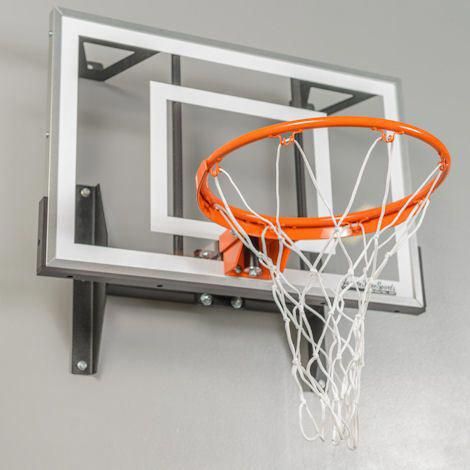 Follow the manufacturer’s instructions here.
2. Using hex bolts, lock washers, & hex nuts fasten the main support to the front tubes fixed to the front of the perforated supports. Cover all bolts with an anti-seize lubricant to secure against rust and assure decent pivot work. Don’t lubricate bolt threads. Clean the lubricant off your fingers with wipers.
3. Get an electronic stud finder and center a ladder in front of your garage roof, preferably somewhere in the middle. Have a friend to help you hold a ladder. When you determine the roof studs, mark them with a marker. It would be best to use a silver or black one, but whatever color you choose, use the one that will show up best.
4. Using a hand drill and 1/8-inch drill bit, drill pilot holes on the garage roof around a quarter the size of the lag bolts that will be used when mounting the bracket.
Don’t overtighten them with a screwdriver, and use the right number (to fit your model) of lag screws and washers to tighten the frame.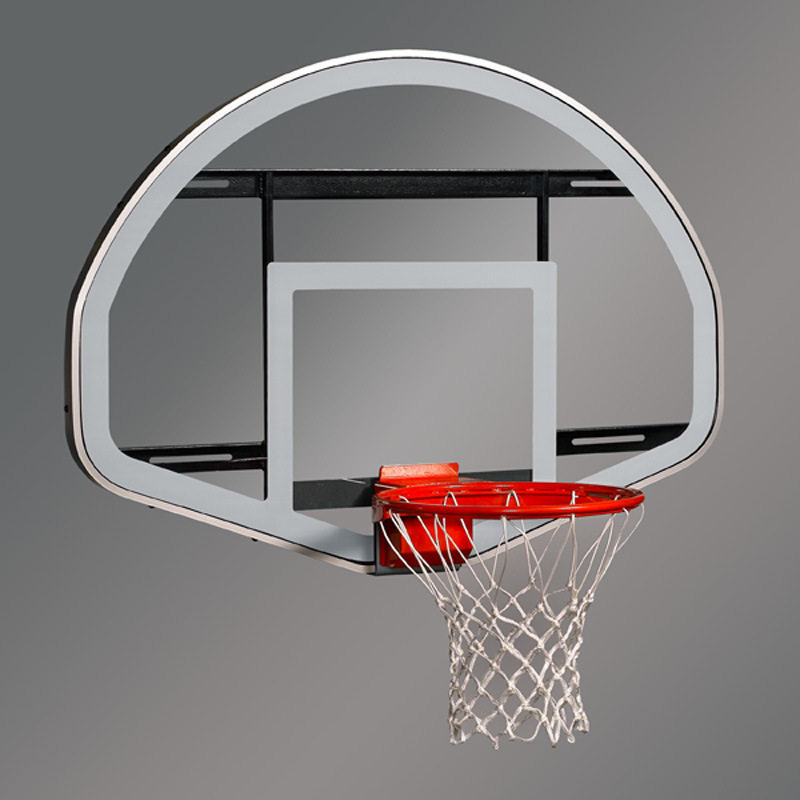
You’ll also need to cover the screws and the area around the holes with a standard waterproof silicone. Use caulk to stop water from leaking into the holes.
5. Install the bracket onto the garage roof, lining the holes and securing the mounting bracket to the roof with the lag bolts, a socket, and ratchet.
Place the small level on the front of the frame to ensure it is straight. Tighten telescoping rods with enough hex bolts according to your model with a torque or socket wrench.
6. Adjust the entire installation to the garage roof. It’s crucial that the bottom of the support tubes is not lower than 97” above the court. If it’s lower than 97” the rim may not adjust thoroughly to 10’.
Next, make sure the whole assembly is sitting straight on the roof (not at an angle) before fully attaching the structure to the roof. This will ensure that the basketball hoop will be square with your playing court.
When you’re convinced that the bracket is well attached to the roof and that the roof is sufficient to sustain the weight of your basketball hoop, continue with the process.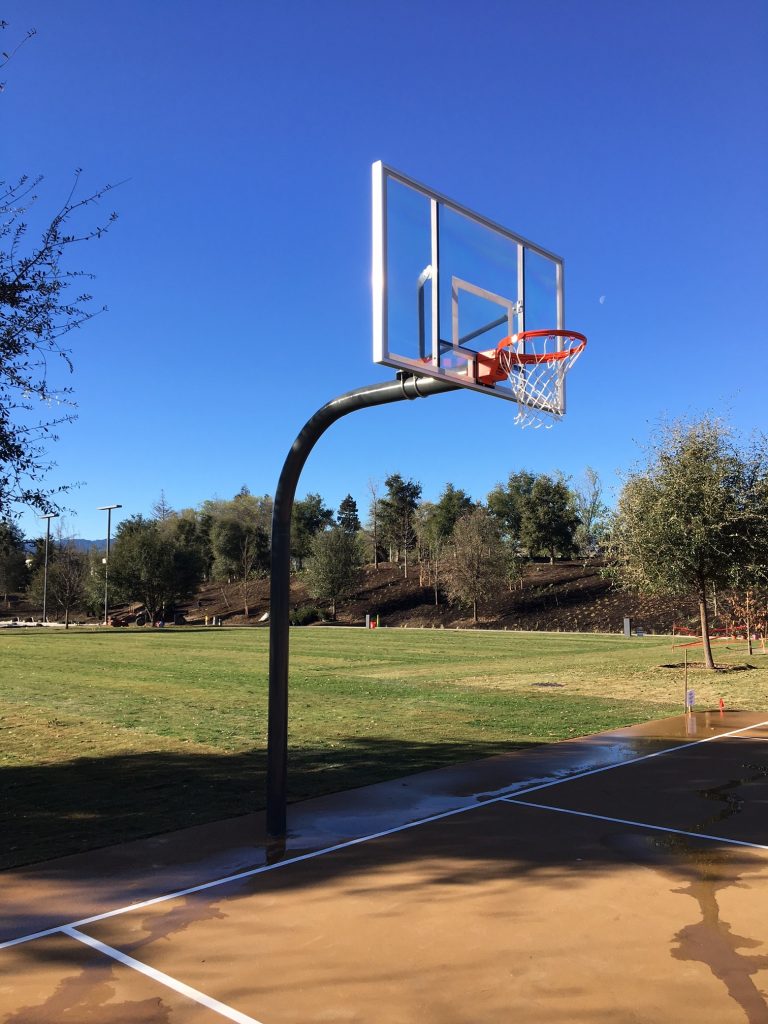
Part 2: Attaching backboard
7. It’s time to unpack the backboard if you haven’t already. When purchasing an acrylic backboard you get two rubber gaskets with it. They are used to make sure there isn’t any steel-to-acrylic contact. You’ll place one of them between the H-frame and the backboard, and the other one between the rim and the front of the backboard.
8. Line up the holes at the top of the structure with the ones in the top of the H-Frame. Hang the backboard loosely attaching backboard at those holes. Use the hardware given with the basketball hoop package. Do the same with the four holes at the bottom of the structure as well.
If you bought an acrylic backboard, remember to put the gasket between the backboard and the front of the mounting bracket. Use tape to keep it in place during installation.
9. Use a measuring rope and crank the backboard until rim reaches 10’ from playing court. Make a line with a pencil on the side of the adjustment mechanism where the height pointer stops.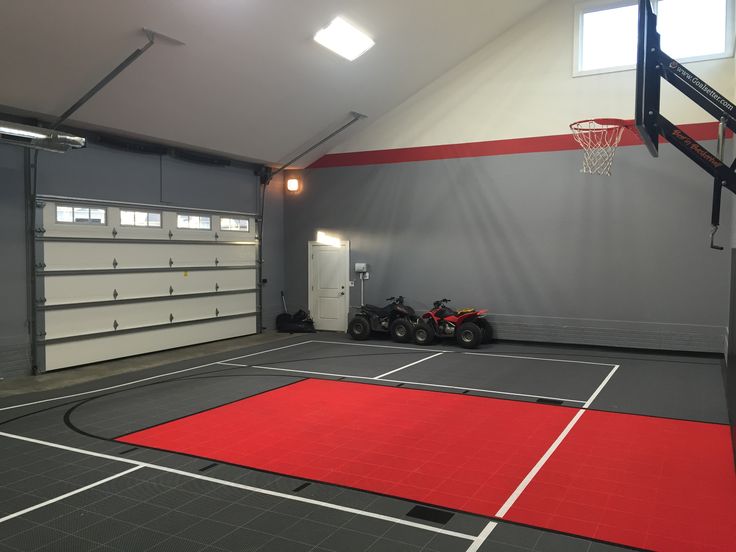 Use the handle and crank the backboard upward as much as you can.
10. Now please ensure the basketball hoop with mounting bracket has been fully tightened. If a backboard is hard to crank you probably overtightened the bolts. Try loosening them simultaneously checking over the hoop to ensure no hardware has loosened.
When the basketball system is fastened well to the garage roof, the basketball is going to bounce off the board at the right angles. A safe and secure basketball system will give you years of joy and pleasure.
Was this easier than you thought? Are there some other issues with this you would like to fix? Comment down below if there are, and for more on hoops and basketball, stay tuned to Improve Hoops. Thank you.
Sports ground in the country: How to arrange a sports ground in the country
Sports ground in the country will be useful for both adults and children. We tell you how to organize a workout in your own garden
Why do we go to the country? Relaxing in a hammock.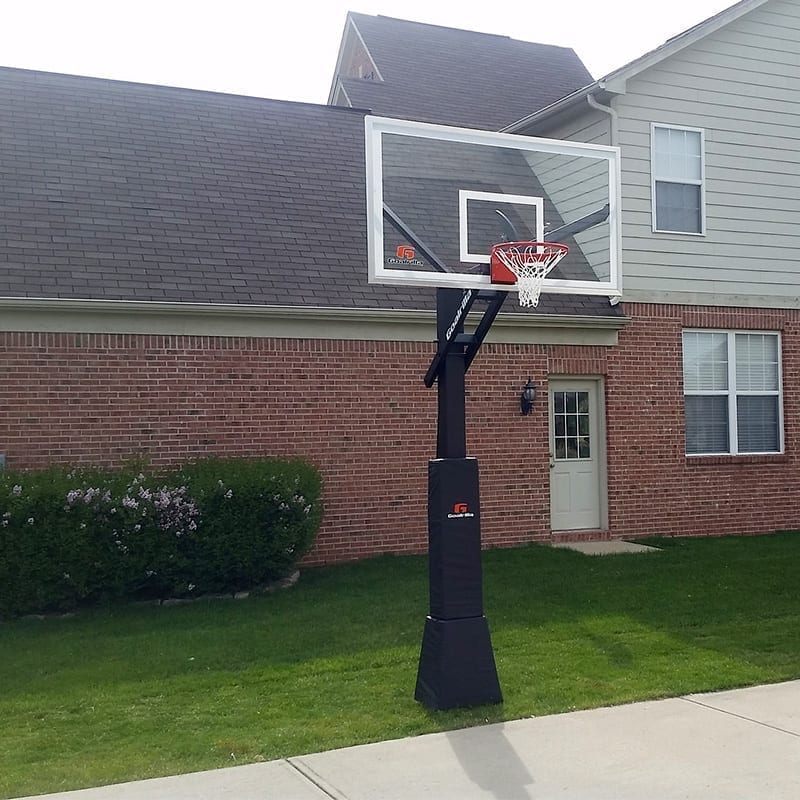 For fragrant barbecue and vegetables from the garden. And, of course, for fresh air and activity. Even the laziest vacation in the country provides much more reason to move than city life. But, in addition to natural activity, hiking in the forest and gardening, I don’t want to part with sports in the country. Outdoor sports are a special pleasure.
If evening badminton on the lawn is not enough for you, create a real sports ground in your country house. It is not enough to make a choice in favor of sports here - you need to choose a place, shape and coverage. And to think about it now, in order to start the “construction site”, as soon as the snow melts on the site.
Woodhull
What are the types of sports playgrounds for summer cottages? Let's figure it out!
B. Jane Gardens
Collective or individual
Previously, each microdistrict had its own football field and a playground with simple gymnastic equipment. Children, and adults from all the surrounding courtyards, gathered here to fight for the ball or cheer for their comrades. Horizontal bars and bars were not idle in vain. They did exercises, trained, children played. Well, in between cases they beat out carpets - also why not exercise? In any case, street public playgrounds - sports and games - were a familiar attribute of urban and rural life. And I'm glad to see that trend is coming back. In many courtyards, mini-stadiums or open training complexes are now appearing. And the presence of a basketball court is almost an obligatory item for arranging the territory of new buildings. Therefore, if you think that there are not enough conditions for sports in the country, it may be worth discussing this issue with your neighbors. It is easier to equip the training ground collectively, and it is more interesting to use it. The territorial issue and administrative subtleties can be clarified in the board of your settlement.
Harry Elson Architect PC
If you still want to have your own gym, keep in mind that most sports require quite a lot of space.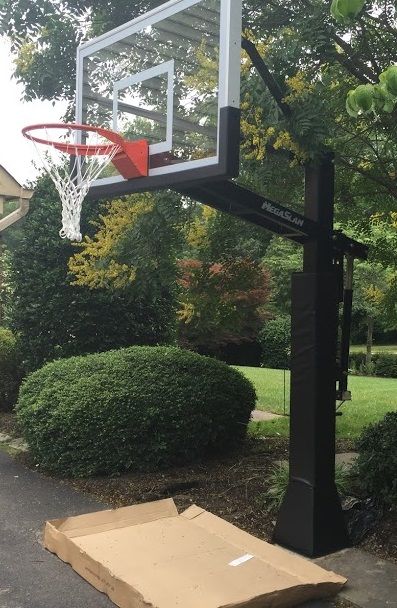 Even if it's not a professional field at all. As a compromise, you can choose local training equipment to place on your own site. And move football, tennis and volleyball to the collective field.
Whether you prefer a team approach or individual training, these tips will come in handy for both the large public field and your personal outdoor training space.
Design Focus International
Shape and size
Depends on the activities you plan to do on the court, whether you need only gymnastic apparatus or an entire field of play (and which ones).
A sports ground may well be combined, taking into account the needs of different sports disciplines. On the same field, both a basketball hoop and a mini-football goal are perfectly placed, and on the sides there are racks for a tennis and volleyball net. Sports playgrounds for summer cottages do not necessarily have to meet the requirements for a professional field. I will give recommendations for standard sizes for various active games. But for amateur dacha tournaments, they can be further adjusted while maintaining proportions.
Kate Markham-Zantvoort
- Basketball : court 15 m wide and 28 m long, baskets are fixed on backboards at a height of 3 m. Basket diameter 45 cm. The game is played on a half basketball field with one basket. The construction of such a basketball court in the country does not require serious work. It is convenient to mount a streetball basket on a blank wall of a house or garage if there is enough space in front of it.
SGDI - Sarah Gallop Design Inc.
- Futsal : a platform with a width of 12 m and a length of 24 m, at the ends of the field - gates.
- Tennis : tennis court dimensions 8.23x23.78 m, in the center a net is stretched at a height of about 1 m.
- Squash : This game is usually played on a court bounded by at least 3 walls.
 Its dimensions are 6.4x9.75 m. You can use the same training tennis court with a wall, providing it with mobile side barriers.
 - Badminton : the badminton court is smaller than the tennis one - 5.18 x 13.4 m. And the height of the net is larger - 1.5 m.
- Volleyball 5 m. Beach volleyball field is slightly smaller - 8x16 m, covered with a layer of sand at least 40 cm deep.
Southview Design
- Gorodki : 2 x 15 m or 2 x 8.5 m. A similar field, but even smaller, is useful for playing horseshoes or balls.
- Table tennis : ping-pong table dimensions - 1.52x2.74 m, net height - 15 cm. 2 m on each side. A ping-pong table can also be placed outdoors, especially if it is made of modern composite materials. But it is better to provide for it a canopy, stationary or folding. It will make it possible to play in wet weather and in bright sunshine.
PITCH Concepts
Such games as golf, cricket, rounders and others, according to sports rules, have fields of sufficient size. But they may well be adapted to the size of the site. As you can see in the photo, a place for a miniature sports field was found even within the recreation area on the roof.
TaC studios, architects
- Swimming pool : if it is intended for training, and not just for swimming, then its length is usually laid from 25 m. The width of the path in the swimming pool, and therefore the minimum width of the pool, is about 2.5 m.
Read also ...
- Design world: 15 dreams of dreams with magnificent views
- Personal beach: how to arrange a zone near the pool
In addition to the field for sports games, they will be used at the appetizer, at the summer projectiles and equipment for physical activity. Horizontal bars, wall bars, bars, boxing bag - all this will not take up much space. A mini-climbing wall will perfectly fit on a high blank wall.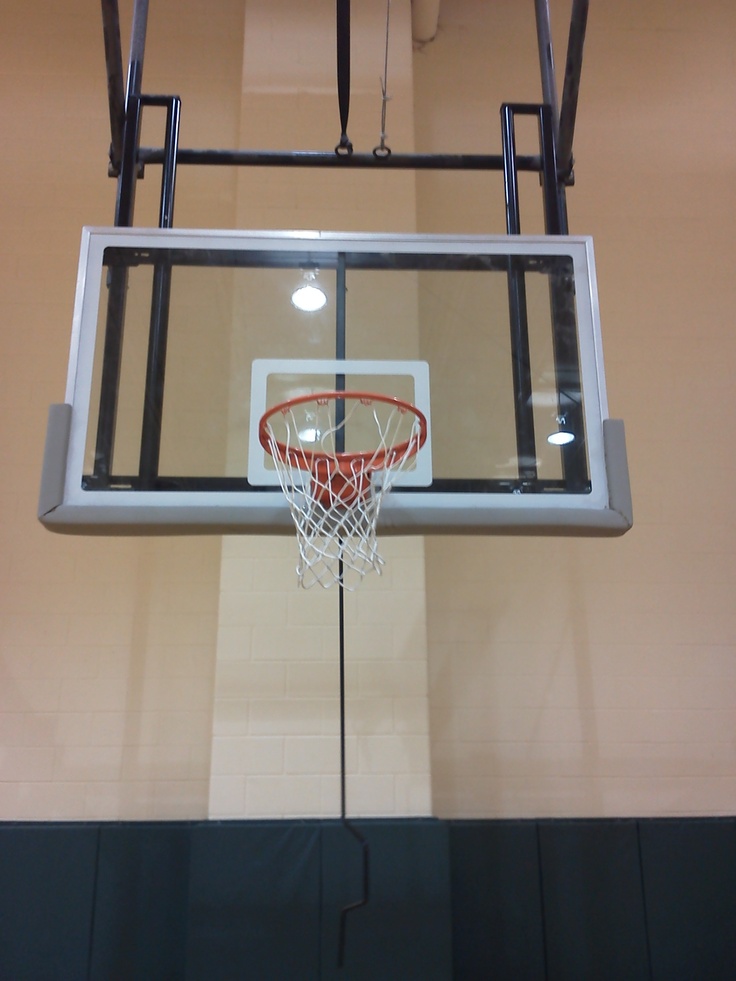 Also now there are excellent simple training complexes for the street. Interesting obstacle courses can also be made from improvised materials - logs, boards and old tires.
Read also ...
All in the garden: important tips for children's games in the garden
V.I.Photography Idea: To lure teenagers who are obviously not interested in your mushroom picking romance, put together a ramp for a skateboard and roller skates - let them hone their skills while you grow cucumbers.
Decorative Landscaping
Trampoline is an excellent sports equipment. And it only seems like children's entertainment - it gives a significant physical load. And the kids will definitely be happy with it. You can use mobile structures or a stationary model buried in the ground, as in the photo (it provides more security). In any case, be very careful about the coating.
Matthew Cunningham Landscape Design LLC
Where to find a place for a sports field in the country
Of course, the location of the court, as well as its size, depends to a large extent on the sport.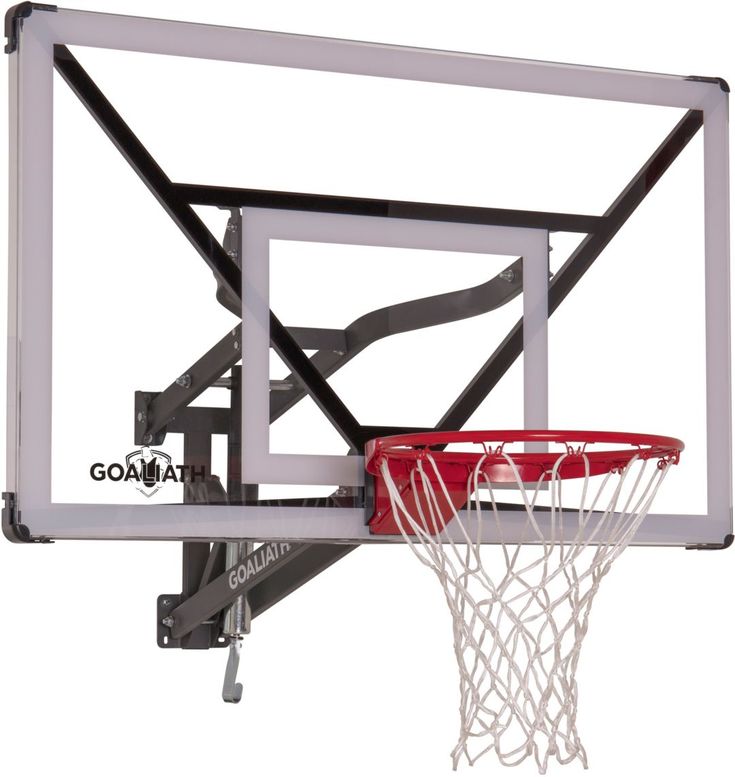 Building a full-fledged football field or basketball court will require a lot of space. Therefore, the shape of the site and the existing layout will be of decisive importance. But there are a few general points to consider when choosing a place.
Doubles and team courts, which are usually rectangular in shape, should be placed with the long side in an east-west line. So the sun will not blind the players. For the same reason, shells and platforms for individual exercises should not be oriented to the south.
READ ALSO…
My sun: How to make a plan for a summer cottage based on the movement of the sun
It's good if the site is shaded during the hottest hours. At the same time, a sharp motley shadow is not very suitable for sports activities. Active, and especially moving spots of light and shadows are disorienting. You can place a sports area on the north side of a tall building - its shadow will cover the site from the southern sun.
PanZAH
For small areas, a folding or permanent canopy can be provided.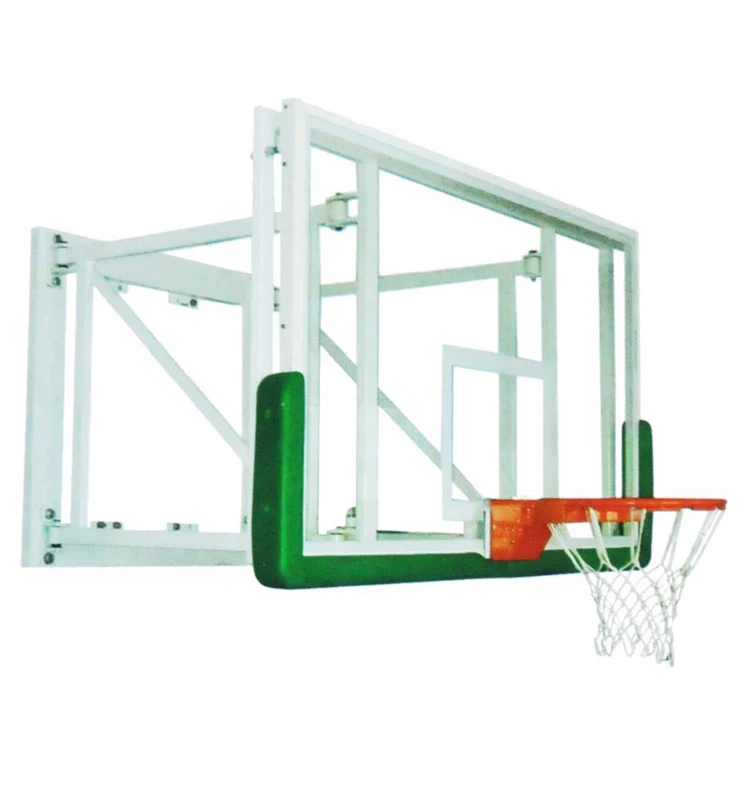 It will not only shade, but also protect from rain. In order not to create a dull shadow, use a matte polycarbonate cover. In addition, glazed verandas, outbuildings and winter gardens will be a good place for sports activities, where you can place exercise equipment or put a table for ping-pong or billiards. They provide protection from cold and rain, but retain a visual connection with nature.
SEE ALSO...
Greenhouse Life: Modern Greenhouse Applications
Total Sport Solutions, Inc.
When building a court, keep in mind that the ball may fly out of it. Make sure that there are no windows, greenhouses and other fragile structures in the direction of its flight. However, flower beds, bushes and beds can also suffer. Therefore, it is better to protect the field with a high net, at least from two sides. If the sports ground is located next to the fence, it is also worth installing a grid there. Neighbors are unlikely to be happy with the ball that has arrived.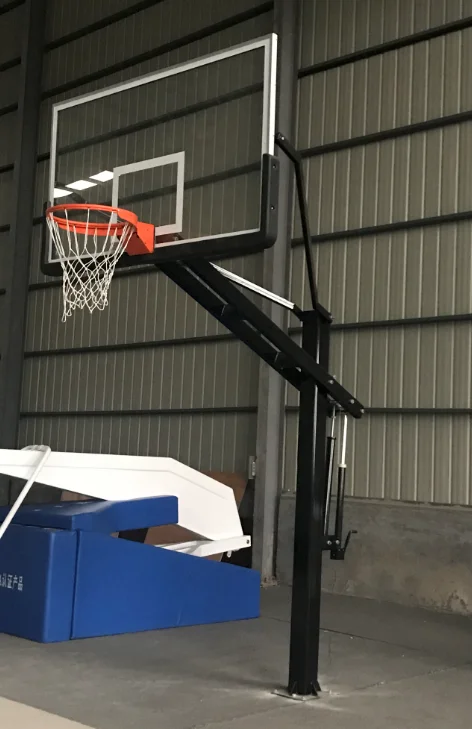 Fence off the field, even if you only intend to play badminton. Shuttlecocks do not cause such strong damage, but they are perfectly stuck in branches and on roofs.
Ames Group Chicago
A unidirectional ball court, such as a streetball hoop, is best placed near the blank walls of tall buildings. Areas near garages and even the entrance area are a traditional place for their placement. You can also play squash and practice tennis here.
SEE ALSO
Scenic Gorge: Design Solutions for Lot Narrows
Harold Leidner Landscape Architects
Classic Nursery & Landscape Co. / Alan Burke, asla
Think about the audience. It's good if the field is visible from the terrace or balcony - they will be excellent stands. Or provide an area with chairs and benches next to it. It is good to have a playground for quieter games or game equipment next to the joint recreation area. It will perfectly accommodate a mini-golf course, height chess or a table tennis table.
Please note that sports are often noisy activities. It is desirable that the windows of the bedrooms and areas for a relaxing holiday are located on the other side of the house.
LDa Architecture & Interiors
What flooring to choose for the sports ground
After you have decided on the purpose, placement and dimensions, you need to choose the flooring material. Each sport discipline has its own specific needs. They are due to both the type of activity and traditions. Some sports require a special surface. But, in general, there are a few general characteristics that apply to any outdoor playground. This is safety, high wear resistance and resistance to atmospheric factors.
Marin's Distribution
The safety of the coating is provided by its anti-slip properties and elasticity. For some sports, the rigidity of the surface has its advantages. But the elastic surface protects the joints and prevents injuries when falling. Therefore, modern professional coatings strive to maintain a balance of these characteristics. Ecological properties are also important. Weather resistance means resistance to precipitation, temperature extremes, as well as to sunlight.
Of course, in childhood we enjoyed running around the slippery trampled earthen fields and peeling off our knees with the ubiquitous granite chips. But when designing a sports ground on your own site, you should pay attention to modern materials that will create more favorable conditions for training.
PAN Terrain
Recycled rubber flooring is perhaps the favorite material for creating multifunctional playgrounds - sports and playgrounds. They are very widely used in urban landscaping for children's playgrounds, stadiums and sports areas at schools, yard training complexes. Nothing surprising. Rubber coatings meet all of the above requirements. They are safe due to shock-absorbing and anti-slip properties. They are highly resistant to both abrasion and dynamic loads, as well as to atmospheric factors. In addition, this coating is available in various colors. This means that the marking and zoning of the same basketball court can be done by the material itself. And, importantly, crumb rubber surfaces are easy to repair. And in winter, rubber coatings allow you to fill the ice rink from above.
Revival Arts | Architectural Photography
This type of coating consists of crumb rubber itself, a polyurethane binder and a dye. The crumb is a product of processing of old automobile tires and waste of their production. That is, the material is also environmentally friendly. It is suitable for seamless application, but is also available in the form of tiles and rolls. On the street, a seamless or tiled rubber coating is usually used.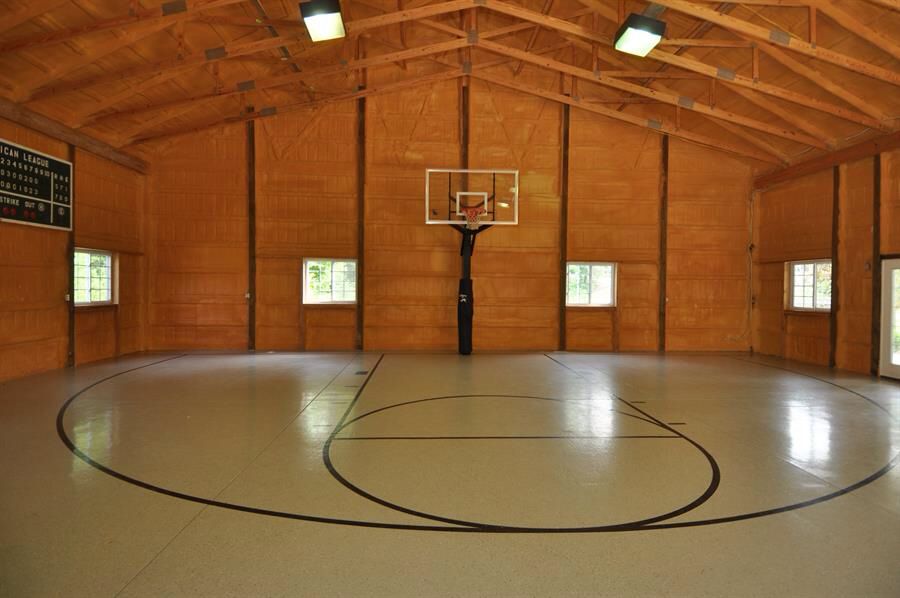
Rubber crumb coating can be used alone, but to ensure greater wear resistance and expand the color palette, it is supplemented with a layer of EPDM crumb (synthetic rubber granules). These granules are colored in mass, which means they are even more resistant to abrasion. In this case, they usually talk about EPDM coating, but you need to understand that it is laid as a finishing layer 7-10 mm thick on a rubber crumb substrate 10-15 mm thick.
Seamless rubber coatings applied directly on site. The viscous mass is distributed over the base, and then solidifies. For sports, and especially for playgrounds, the general application layer is usually recommended to be 20-25 mm thick. The base for the screed must be firm and well prepared. The advantage of seamless application is the ability to create patterns and markup from it.
Gregory Davis & Associates
Rubber tiles are manufactured industrially.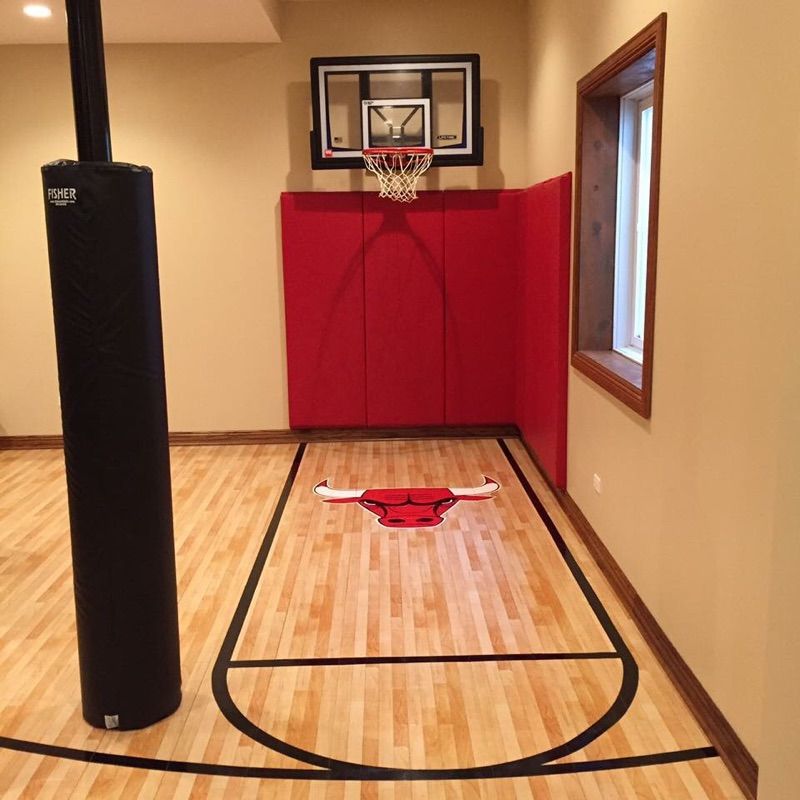 A mass of crumb rubber and binders is molded and pressed under high pressure. Often such tiles are made immediately multi-layered - with an elastic substrate and a more stable top layer. Tiled rubber coating is less demanding on the base and can be laid on a sand cushion or soil.
Manufactured from environmentally friendly polymer materials. And, as the name implies, they are assembled as a constructor. Soil and a compacted sand cushion are suitable as a base. But the modularity of the coating places high demands on the quality of alignment and compaction. The lattice structure ensures water flow. This coating is also convenient for self-laying. Compared to rubber compounds, it is more rigid.
Easy to apply, but demanding on the base and rather expensive formulations. They are used in the creation of professional grounds for team sports: tennis, basketball, volleyball. Mixtures for liquid sports grounds are produced on the basis of acrylic resins or polyurethane. The hardness of the coating differs depending on its chemical composition, the number and characteristics of its layers.
Southwest Greens Atlanta
This surface is used for football fields, tennis courts, golf courses. It is also suitable for a combined playground - sports and play, you just need to choose the right pile length. The main advantage over natural grass is wear resistance. A living lawn needs care and attention. Even a sports turf mixture will not be happy with constant active loads on it. Artificial turf is completely unpretentious. And in a modern version - and it looks quite good.
Semi-infill and infill artificial grass is used in professional sports. The pile, fixed in the substrate, is covered in the first case with sand, and in the second - with sand with rubber granules.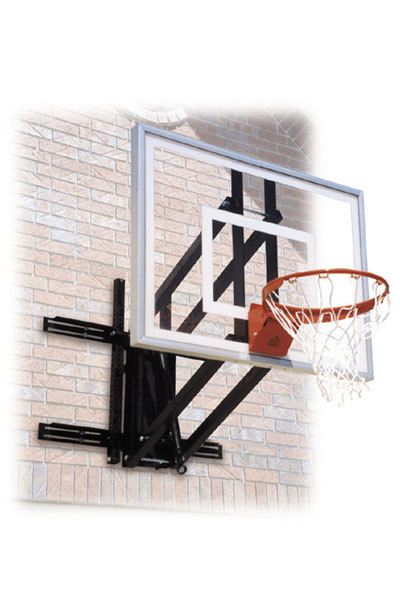 This creates elasticity comparable to natural soil, which can also be adjusted by choosing the thickness of the backfill.
The type of fibers also differs. Monofilament grass has unsplit whole fibers. Fibrillated - consists of wide polyethylene fibers with cuts. It is less wear-resistant and tough, but cheaper.
Motionspace Architecture + Design
Decide on the base
The base on which the flooring is laid depends on its type. In general terms, the preparation of the base for a sports ground is similar to the technology for arranging tracks. It bears the same load. But, in view of the larger area, it is worth taking the preparation with special responsibility. The base must be level, sloping and draining for water to drain. Also, keep in mind that some sports equipment may require a foundation or penetration into the base. Special recommendations for the selected type of coating and equipment can be obtained from the company where you will purchase it.
SEE ALSO...
Good question: How to build garden paths?
Land & Water Design
Mark out
Typically, dacha sports playgrounds require marking. Its nature depends on the purpose of use. On multifunctional sites, as a rule, the markings are applied in different colors for different games. If you do not have a seamless rubber flooring and the lines were not made when laying, they must be applied from above. For this, use permanent paints suitable for road markings. Reflective compositions will also look good here. Then even in the evening with artificial lighting, the game will be interesting and beautiful.
YOUR TURN…
What kind of active games do you like on vacation? Do you have a sports ground? Tell us about its device and equipment in the comments.
RELATED ARTICLES…
Landscaping: Growing Indoor Plants | Plants in the garden Garden decor | Houzz in the garden
Building a garage with your own hands © Geostart
Category: Garages and sheds
Building a garage with your own hands
Every car owner dreams of a small cozy garage.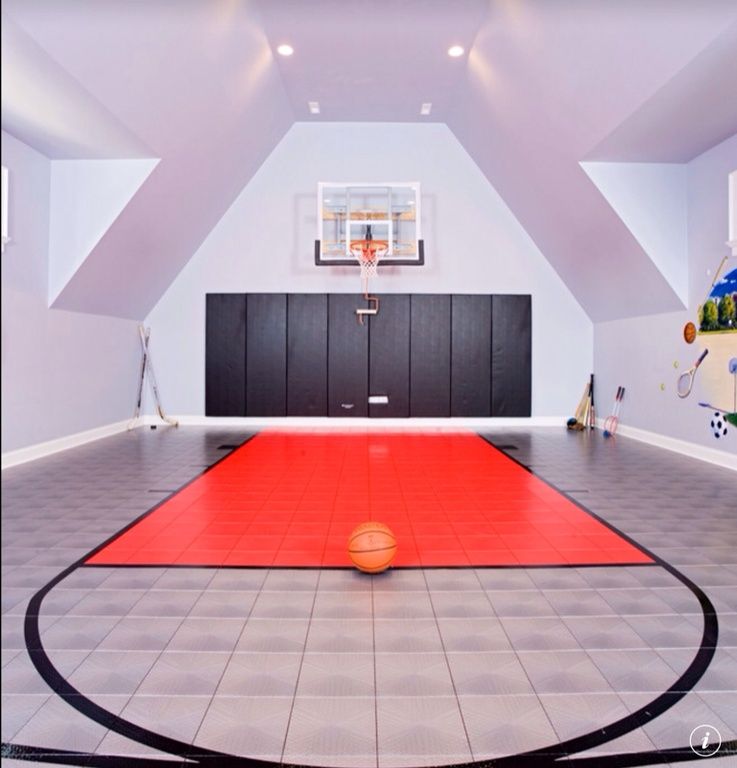 This dream is easy to turn into reality with your own hands by building a garage yourself.
Construction features
Before you start building a garage, you need to carefully consider and disassemble the construction plan. First of all, you need to obtain a building permit.
Pay special attention to the following documents:
- SNiP 2.07.01-89 Urban planning. Planning and development of urban and rural settlements”;
- SNiP 01/21/97 "Fire safety of buildings and structures".
If the fire regulations are not met, then the building can be declared illegal and demolished.
You also need to decide what kind of building will be. It is divided into several types:
- temporary - has a short service life;
- mobile - requires frame construction;
- combined - suitable for subsiding soils;
- capital - has a long service life, but will be expensive.
Tamper protection needs to be considered. It is better to spend money on an alarm system than to calculate the losses due to stolen property and a stolen car later.
Dimensions
In order to calculate the required dimensions, you should determine the number and size of machines that will "live" in the building. You should also understand whether any other things will be stored in the garage. It is necessary to consider whether a large car will be bought in the near future. For example, if in the near future the owner is going to purchase a large truck, then building a passenger car is pointless, it is better to immediately consider the option of building a large garage.
For one machine, the size will be calculated based on its dimensions. Add half a meter on each side to this value. This is necessary for a comfortable exit from the car and free movement around the garage. It should be remembered that with such small sizes for tires and various devices there will be no room.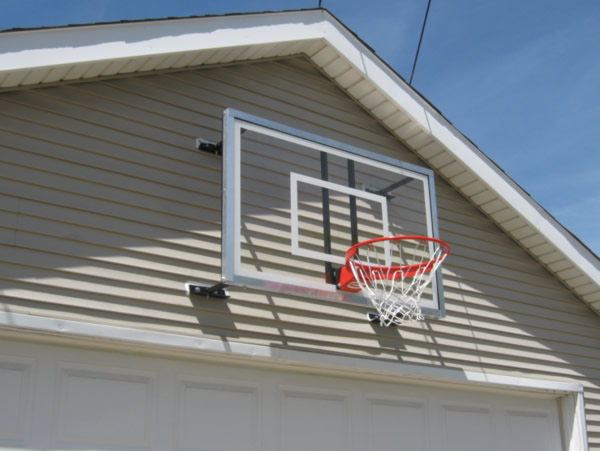 Therefore, it is worth increasing the length by 3 meters and adding a few more meters to the width. The height of the building must be more than half a meter from the height of the car.
All measurements are best taken with the trunk open.
For several vehicles, it will be more difficult to calculate the size. Between them you need to create a distance of a fully open door, you can add 30-40 cm for comfortable parking. Between the wall and the door, the distance should be more than half a meter. The front and rear of the vehicle must be positioned so that a person can pass freely. The distance should be left at about one meter.
As for the gate, here you need to take the width of the car and add 60 cm on both sides. If there are two cars, then it is better to take the width of the gate from 2.5 meters and 20 cm in reserve on each side. The height of the building is calculated in the same way as in the case of a single machine.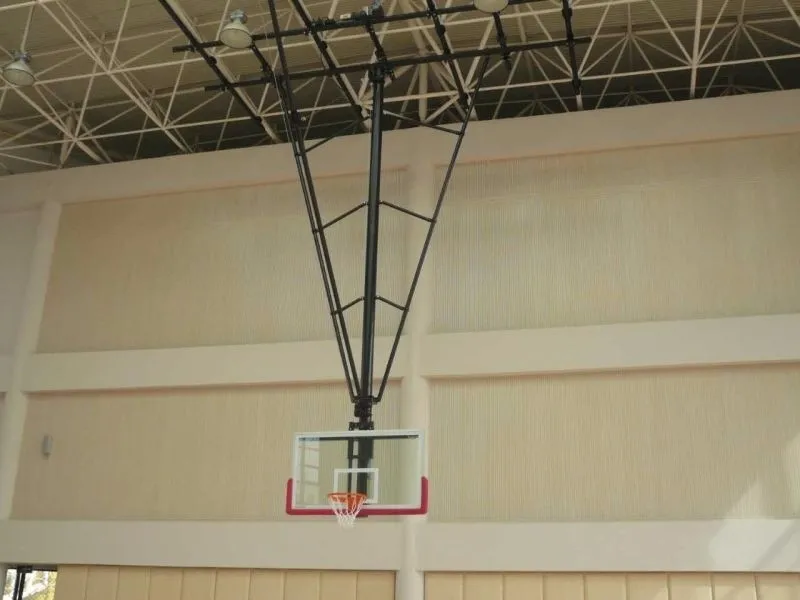
These were examples of the simplest small boxes. If the owner wants to use the garage space not only for storing his "iron horse", but also for other purposes, it will be enough to calculate the dimensions of the items and take into account the space for a free approach to them. Then add the data obtained to the existing dimensions of the garage, which were calculated from above.
Drawing will help determine the dimensions, it is made on paper or in a special program. For advice, you can turn to professionals, they will help and tell you how best to fulfill this or that idea. You can take the finished scheme. The main thing is its presence. The drawing is very important for subsequent work.
Choosing a location
If the garage is located on a summer cottage, you can consider the option of adding a structure to the house. There is no need to obtain permission here, construction does not require special conditions, because such a building is considered part of the house.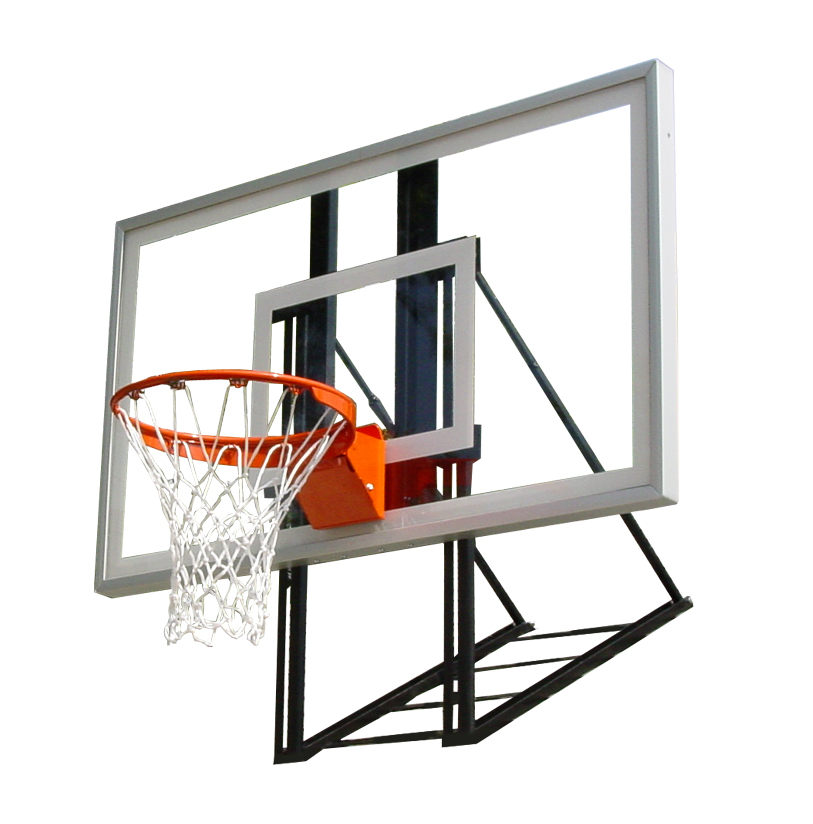 Here it is possible to make the exit as close to the gate as possible or immediately to the street.
Free-standing garage type will be tricky. The SNiP states that there must be a distance of at least one meter between the garage and the boundary of the site, if there are no buildings on neighboring land plots. In the case when they are, then the distance should be at least 6 meters. When erecting a building, make sure that there are no sewer pipes, heating pipes, water pipes and power lines nearby. Construction in lowlands should be avoided - this can lead to flooding. The best option would be a small hill.
If there is not enough space on the plot, then the way out of the situation is to build a garage underground. Departure must be done on the street. It is impossible to have a garage directly under the house itself; it would be more rational to make an extension to the strip foundation. The area under which the building is located should not be used for the installation of structures with a foundation depth of more than 55 cm. But if there are underground springs or wetlands at the site of the future building, then it is better to refuse construction, such soil will require an extremely expensive drainage system.
The premises should be located as close as possible to the exit and motorway, but without sharp turns.
If you don't have a dacha and you need a garage, you can buy a privatized piece of land in the city. After that, having received permission, start construction. This process is very lengthy, so be patient. You should choose a place as close to home as possible, but you need to be prepared for the fact that there may not be free land for building within the city, but only on the outskirts or outside the city. Such a garage needs careful protection from intruders.
Design options
There are many types of garages to suit all tastes and budgets. The simplest and cheapest options are “shell” and “pencil case”. They can be easily made with your own hands, and the “shell” can even be moved. But they are not durable.
The next type is one-story, it can be made with a pit or utility block. In the city, the monolithic version is most often built, and although it does not look very attractive, it is very durable. No thief will be able to get into it. If the garage is located in a summer cottage, then a panel frame garage can be an inexpensive option. It is built many times faster than monolithic and brick.
A two-story building can serve not only for storing cars, but also suitable for living in the summer. The residential floor should be warm, equipped with light, a toilet and a kitchen. And the second floor with a gable roof can turn into a cozy attic.
The garage can also be an extension to the main house. The advantages of such a building is that you do not need to think additionally about heating and other communications, the entrance to the extension can be made directly from home. But a significant disadvantage is that exhaust gases enter the house upon arrival and departure of a car. This option is suitable for those owners who have not completed the main house, because an extension to an already finished building requires large investments and thorough preparation.
To build an underground space, several conditions must be met:
- When building a deep garage, waterproofing is considered the biggest problem. It will require the arrangement of a drainage system for the roof of the garage and enhanced waterproofing of all supporting structures.
- The roof frame of the garage must be made using concrete slabs with a mandatory support system.
- The room must have an emergency exit in the event of a house collapse or fire.
- After choosing the construction of the garage, you should decide on the material and find good suppliers of all the necessary attributes for the construction.
Materials
The market offers a huge range of quality materials that will last a long time. Each has its own pros and cons, you should remember this and choose the option with which it will be comfortable to work.
Polycarbonate is a lightweight and cheap material, but should only be used for a small garage. For example, for shells.
If the owner prefers metal, then you can opt for sandwich panels or corrugated board. Sandwich panels in the section resemble a sandwich: between two metal sheets there is a heater. Construction is carried out in a very short time, and the design is lightweight and lends itself to any upgrades. Their price is very low, and installation can be carried out at any time of the year. But such material is short-lived, the metal frame requires rust treatment, and the wooden base must be treated with antiseptic substances.
Profiled sheeting is a cheap, high-quality and beautiful material. Garages from corrugated board are built quite quickly. You should pay attention to the brand: it is better to choose S-20 or PS 0.5 mm thick. In no case should you take grades -8, these sheets will not last long due to poor wind resistance and low frost resistance.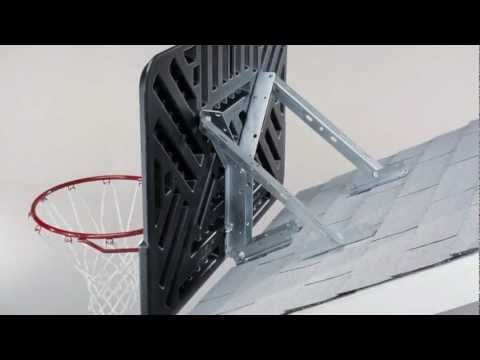
Red brick construction will be much more durable than metal. This material has high frost resistance, low thermal conductivity. From an aesthetic point of view, brickwork looks pretty decent, but the material is expensive.
The foam block is cheap and lightweight, so it can be built by one person. The only catch is that the gray blocks don't look very attractive. This problem can be solved with the help of finishing materials.
Gas silicate blocks are gaining popularity. Despite their low weight, they have high strength and are easy to process. Also, the blocks have low thermal conductivity, do not require additional treatment with antiseptics. With such material, you can not be afraid of the appearance of mold, bacteria and fungus.
In terms of environmental performance, gas silicate blocks are on a par with natural materials.
Minus gas silicate blocks - high water absorption. The plaster layer on the walls can crack and flake off. This problem can be solved by treating the walls with penetrating primers. Since blocks are a weak basis for fasteners, it will be problematic to fix massive objects. They do not have high frost resistance. The material has high rates of free lime, which allows you to activate the corrosion processes of metal inclusions: fittings, pipelines, frames and others.
Another artificial but environmentally friendly material is cinder block. You can buy it or make it yourself. The second will require a vibroforming machine. When buying, you should pay attention to the filler. It is better to choose crushed stone, sawdust, shell rock, expanded clay. A cinder block garage is not afraid of natural disasters, it has a high fire safety, and is easily repaired. With this material, you can vary the thickness of the walls. In addition, it is not amenable to biological destruction, its price is quite small, and its service life is about 100 years. Reduces the dignity of the cinder block unpresentable appearance, complex laying of pipes and cables, high thermal conductivity.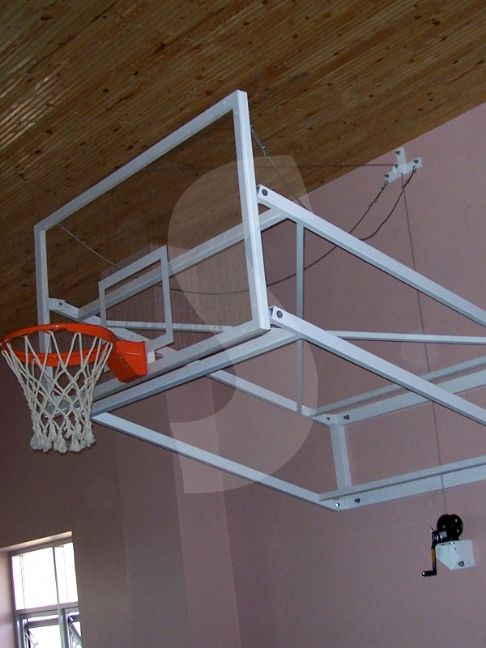
Arbolit has been known since the times of the USSR. It is light in weight and has low thermal conductivity. It is a flame-retardant material, resistant to stretching. He is not afraid of cracks and deformations during foundation movements. It is immune to rot and mildew. The material is distinguished by high frost resistance. It is also easy to fix various designs on it. In such a garage there will be good sound absorption. Of the minuses - a high coefficient of water absorption - from 40 to 85%, and a rather high price.
Expanded clay block will be an assistant in the embodiment of bold design and architectural ideas. Almost all types of finishes, both internal and external, are suitable for it. The material has low thermal conductivity, it is strong and durable, with high sound insulation. The vapor permeability of the blocks creates a favorable microclimate inside the building. The process of building a garage will move quickly due to the large size of the block.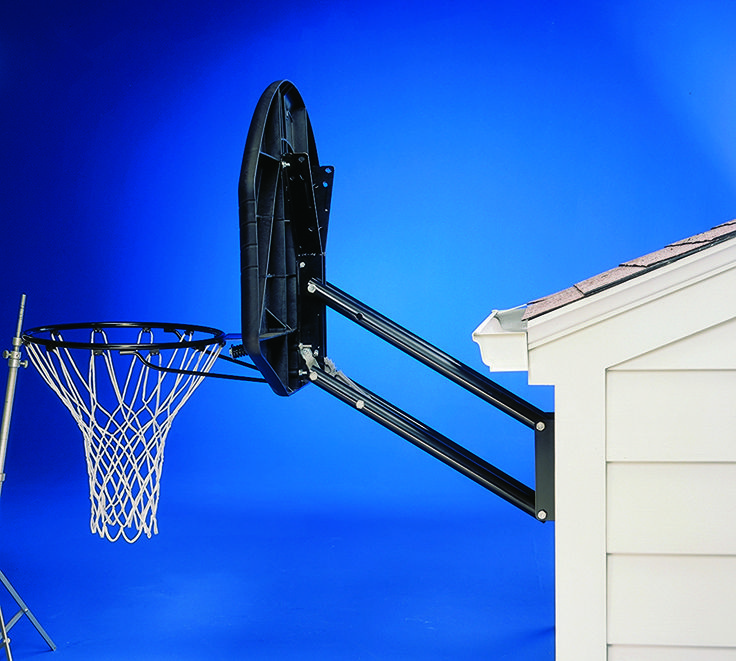 And simple production contributes to an affordable price.
The downside of expanded clay blocks is the formation of cold bridges, but with the help of cladding and additional thermal insulation, the problem can be solved. The material has low water resistance, is quite heavy and requires a strong foundation, but this building material cannot be used as a foundation.
A more natural material is wood. The material is inexpensive, beautiful and allows you to make bold design decisions. With the help of various impregnations, fire resistance can be achieved. Minus - a short service life and high thermal conductivity.
Railway sleepers are wooden beams. A special blend that works as an antiseptic helps protect your garage from rot, bacteria, sun, moisture and small rodents. You can buy sleepers at the nearest railway department, where the tracks are being repaired. A garage made of such material will turn out to be dry and warm, able to withstand even an earthquake. But you should never build a garage from new sleepers. The smell of creosote is very dangerous, it can cause chemical burns and poisoning. The period of their use in the air should be 12-30 years, during this period the mixture is washed off and loses its unpleasant odor.
The methods of making and processing sleepers are different, some products are impregnated through, and others by 2.75 centimeters. It is better to use the last option. Such a building requires careful processing inside, which reduces the risk of contact with creosote residues. Outside, it is necessary to make a well-ventilated facade.
Many building materials do not have high frost resistance , so the garage must be insulated. The cheapest insulation is foam. It is very easy to install. But you need to remember that this is a fragile material that wears out quickly.
Another cheap insulation is mineral wool. It is safe for health, has high thermal insulation and a high level of sound absorption. Such material must be covered with an additional layer of vapor barrier.
More serious insulation - reflective insulation. The material consists of a layer of heat insulator, covered with a metallized film on top. Of the advantages - low thermal conductivity, excellent sound insulation, low weight, immunity to moisture. This material is easy to install. The disadvantage is that the material has been used not so long ago and all its properties have not been studied. It is only known that this insulation is susceptible to corrosion.
Basalt cardboard is a durable material that is highly resistant to temperature extremes, deformation and moisture. The material has low heat capacity and good sound absorption, is not afraid of fire. It is not cheap, but very high quality and will last for many years.
Heat-insulating paint and "warm" plaster will help to additionally insulate the garage.
The finish on the outside of the building must combine resistance to external environmental influences and have a presentable appearance.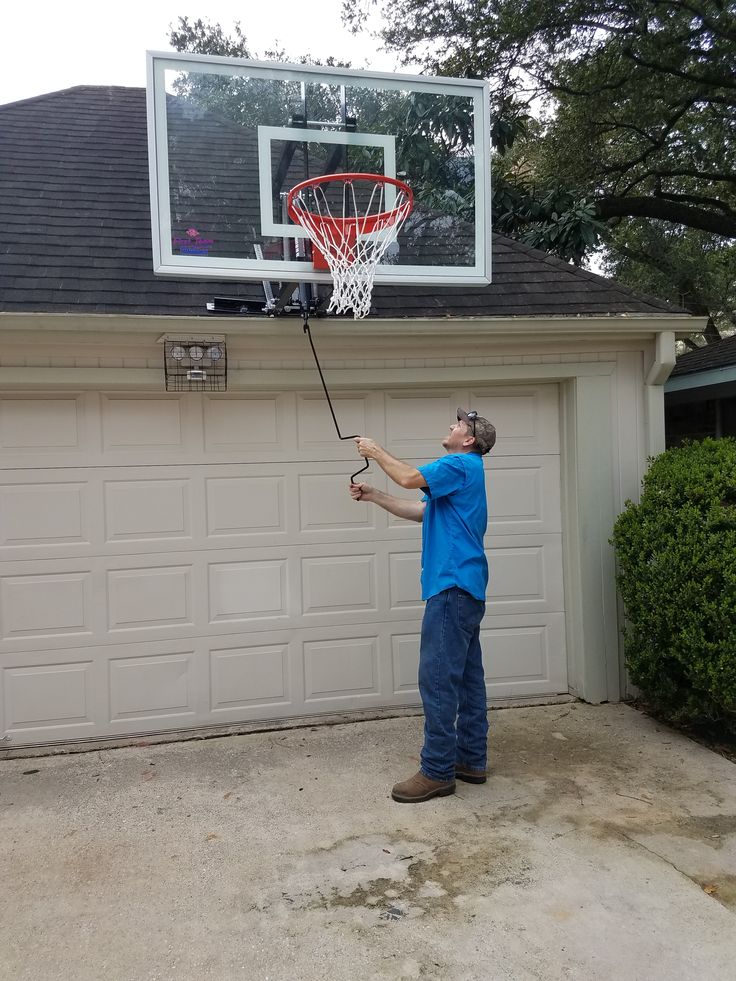 The modern market offers a wide range of options that meet these conditions. The simplest and cheapest ways are jointing, plastering, siding. More expensive ways are wooden lining, natural or artificial stones.
If the garage has two floors, the space between the first and second floors is covered with reinforced concrete slabs. It is desirable to do this with a hollow-core slab, because it is easier to install and low in price.
Roof covering materials can be divided into two groups: soft and hard. The former are suitable for a flat roof, and the latter for a gable roof.
Soft tiles include:
- Flexible tiles. The material serves up to 55 years, is resistant to corrosion and decay and can be of any color. It is better not to use the material in the northern regions - under the influence of frost, it becomes brittle.
- Ruberoid. Service life - about 15 years. The material is cheap, resistant to frost and sun exposure.

- Self-leveling roof lasts 22 years, is easy and quick to install, and can be repaired. The application surface must be perfectly smooth.
- Fused roll roofing (gidroizol, stekloizol) has been in operation for about 50 years. The material is durable, does not burn, it has good sound insulation, and is immune to temperature extremes. The only negative is the high price.
Rigid include:
- Reinforced concrete slab – has a long service life, also suitable for flat roofs, can withstand a lot of weight. On such a roof, you can even set up a garden.
- Flat slate - easy to install, inexpensive, does not lose its qualities in any climatic conditions. Its very easy to fix.
- Polycarbonate - lasts about 25 years, does not burn or react with solvents, low price. Such material is easy to install, resistant to temperature extremes, but under their influence it can slightly change shape.
- Seam roof - does not require a powerful frame, durable, resistant to mechanical damage and temperature changes.
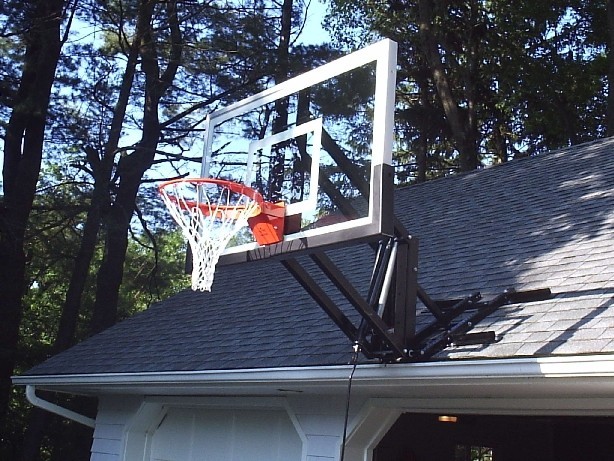 Cons of the material - high price, difficult installation, low sound absorption.
The garage needs electricity. Here you can use self-supporting insulated wire (SIP).
There are several brands of SIP and they all have different properties:
- SIP-1, SIP-1A are resistant to ultraviolet rays;
- SIP-2 is used in the installation of power lines with voltage up to 1000 V;
- SIP-3 is used for overhead power lines;
- SIP-4 UV resistant;
- SIP-5 is suitable for temperate and cold climates, resistant to high temperatures.
Wooden pallets are required to store and safely move building materials. A good choice would be a pallet made of white acacia, birch or boxwood.
To save money, you can buy a used pallet, the main thing is good quality.
Building process: basic steps
Once the blueprint has been created, materials selected, and step-by-step instructions prepared, construction can begin.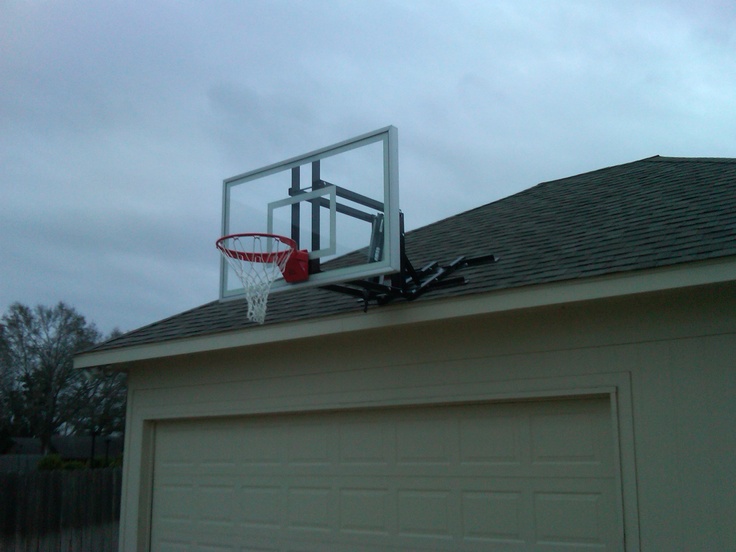
"Penal" and "shell" do not require a solid foundation. First you need to make several separate sections and then assemble them.
Assembly steps:
- you need to drill technological holes in the structure;
- coat finished elements with an anti-corrosion agent and paint them;
- assemble the segments into a common structure and fix;
- protect and paint all welding defects.
Electricity can be connected to the garage. To do this, a lamp and two sockets are installed, then the wires are passed through the corrugation. For work, copper wires with double insulation are taken.
Building a more complex structure starts with a solid foundation. For a garage, options such as a monolithic slab, pile material, tape shallow or buried foundation are suitable. If a pit or cellar is planned, then the best choice is a recessed tape. A garage with a quality foundation will last a long time and will not bring problems, so more attention should be paid to this stage.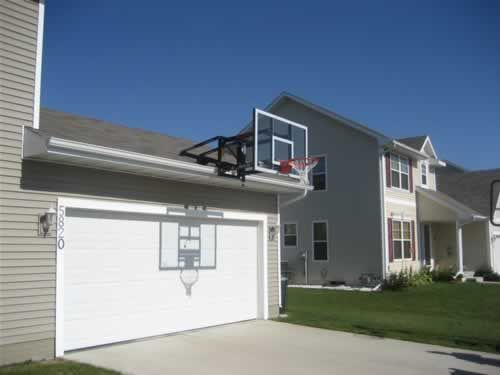
Separately, it is worth considering the construction of a pit. The size depends on the car itself. For a passenger car, a width of about 70 cm is suitable, for a truck, you need to add 20-25 cm to the standard size. The height depends on the height of the owner of the garage, but, in any case, it is better to make the garage a little deeper.
An important element is the plinth, its height varies from 0.5 to 2 meters. There are two types of plinth: protruding and recessed. The first option is more elegant, but it will require the construction of an additional ebb along the protruding upper edge - this prevents moisture from entering. The second option is more practical and the building receives maximum protection from moisture.
When building walls, two methods are used, it all depends on the material chosen. The first way is block building. With it, the garage will not need to be heavily insulated, but additional finishing on the outside will be required.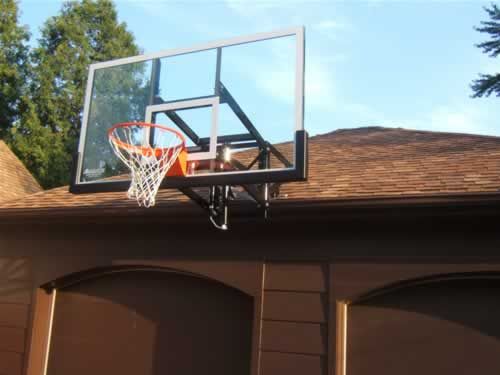 The second way is wireframe. The frame is made of a metal profile pipe or a wooden beam. The advantage of this method is the rapid construction of the premises.
The next step is to prepare the gate for installation. First you need to take measurements. It is necessary to measure the opening, paying attention to the distance from the right edge to the left. It is also necessary to measure the height of the lintel.
There are different types of garage doors: single swing, sectional, automatic or manual. Most car owners prefer sectional. Such products are very comfortable, take up less space, sealed and strong. But they are high in price and have a complex device.
Before installing the gate, carefully read the instructions and properly prepare the opening. If the material is light, the opening is reinforced with a special metal frame. For a brick garage, such a frame is not required.
The room needs to be vacated, this will help to cope with the assembly and installation of the gate much faster and easier.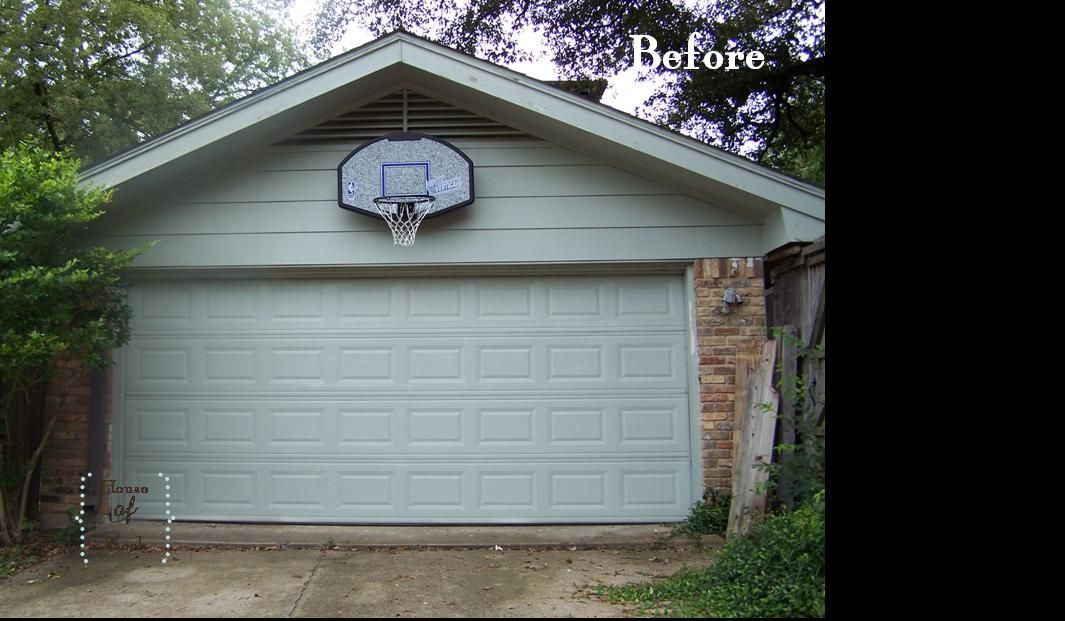
The next stage depends on the number of floors: if the garage is two-story, then it is necessary to cover between the first and second floors with a reinforced concrete slab and re-erect the walls.
When building a roof, you need to be careful and observe safety precautions. The easiest way is a flat roof with a slight slope, about 15 cm. So it will be better to go down and drain the precipitation. The only disadvantage of such a roof is the lack of an attic.
A gable roof will be more difficult to implement and it will take more roofing. But on such a roof it will be possible to make an attic with a rest room. Still such a roof needs a heating system. Additionally, a canopy should be made, under it you can park oversized vehicles and protect the car from the sun and rain without driving inside.
Don't neglect ventilation. It is needed to remove moisture, remove harmful fumes. This is protection against rust of metal products and surfaces, creation of a microclimate.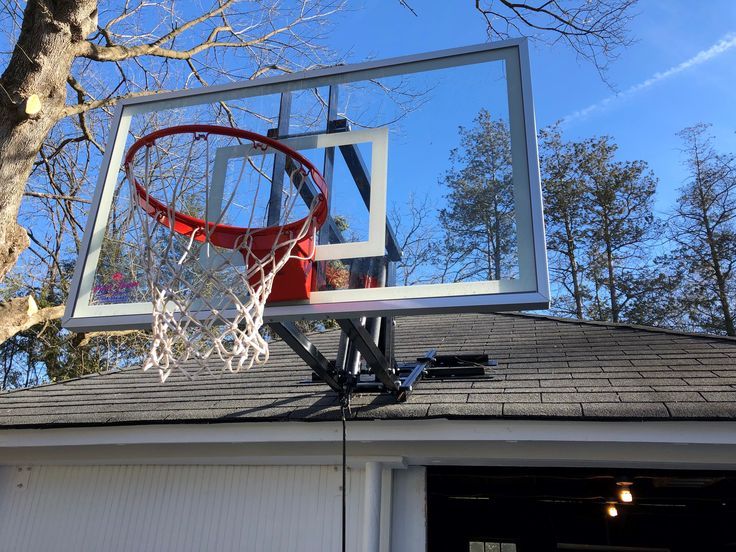 The cheapest way is natural ventilation: air flows out through the supply and exhaust openings. But in hot weather, such ventilation does not work. Expensive installation methods - forced and combined ventilation. They provide proper air circulation at any time of the year, and in winter they can even heat it up. In addition, they are easy to install with your own hands.
Next, you can move on to interior and exterior decoration. It is necessary to take care of waterproofing, treat the floor and walls of the garage with special mixtures. For walls, Penetron will be an excellent tool, and the floor can be coated with polymer varnish or bitumen.
The surface must be thoroughly cleaned and sanded before starting to coat.
Floor materials such as paint, screeds, ceramic tiles, wood or rubber flooring are used. Walls can be lined with the same materials as the floor, or plastic panels can be used. The material must withstand temperature extremes and direct impacts.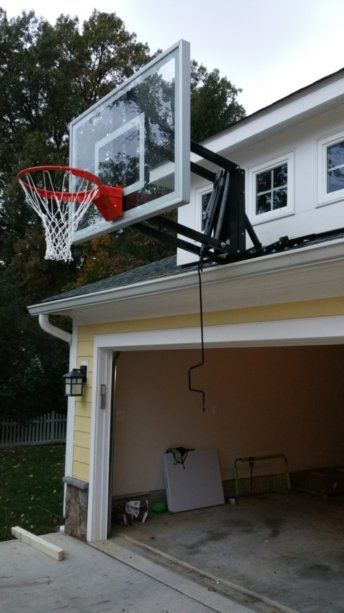 And the ceiling must be resistant to evaporation.
Exterior decoration should not be afraid of bad weather. The quality of the material must be carefully monitored and the cladding must be carried out reliably. And you can decorate the appearance with the help of decorative elements.
The progress of the underground garage is very different. At the planning stage, it is necessary to decide whether the building will be completely or partially in the ground. Next, you need to dig a pit of the desired size and place the slabs on the bottom or fill with reinforcement. It is important to take high quality concrete. With the help of reinforced concrete slabs, the foundation of the walls is formed, then the ceiling is installed on the side slabs.
Ceilings and walls are covered with waterproofing, reinforcing mesh is installed on them and plaster is laid. Additionally, surfaces are treated with antifungal agents and primed.
After that, you can proceed to the installation of the garage door and the formation of the driveway.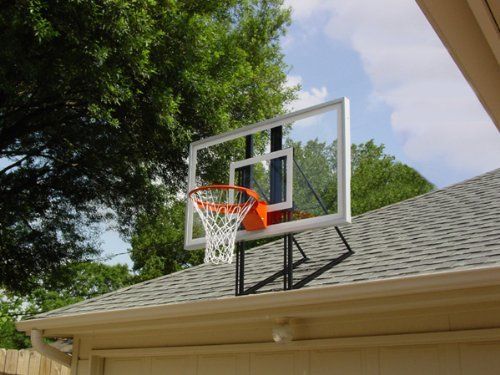
It is important to take into account several conditions:
- the slope of the entrance must be 140-150 degrees;
- retaining walls should be on the sides, they prevent the collapse of the soil;
- The length of the driveway depends on the length of the garage - the longer it is, the longer the driveway;
- for a safe exit and descent to the garage, a path with a handrail should be made;
- do not use sliding materials for the track, but additionally you need to make braking notches, they will come in handy during rain and ice;
- a heated storm sewer must be made near the gate to prevent the water from freezing;
- after completion of construction, heating, electricity, ventilation and additional waterproofing will be installed.
Waterproofing is carried out in several stages:
- a drainage system is installed on the outside of the garage, and the surface is once again covered with waterproofing material;
- a filter pad is formed on the sides and under the floor;
- final stage - interior decoration.
 The material is better to use waterproof and warm.
Helpful Hints
Here are some more tips for creating a cozy garage:
- A home and a garage will look more harmonious and beautiful if they are designed in the same styles and colors;
- if there is an inspection hole in the garage, then you can organize a small service there, having previously received official permission for it;
- from the garage you can make a small workshop and do your favorite thing or hobby;
- a basketball hoop can be fitted outside;
- you can rent a garage and get a good monthly income;
- Organize your space with various shelves, holders and stands;
- curtains on the shelves will give the interior an extra coziness;
- folding chair and chairs will allow you to gather here with friends, they are also useful for snacking when staying in the garage for a long time;
- shelves and shelving should be done at a distance of 20 cm, so it will be easier to clean the floor;
- sloping screed at an angle and drains for the exit of water from the room will make it possible to wash the car without driving it out into the street;
- labeled boxes make finding the right part much easier;
- for additional insulation in winter, you can use an electric heater or a potbelly stove.
