Home »
Misc »
How to set up basketball net
How to set up basketball net
How to Put on Basketball Net (8-Step Guide with Pictures)
Is it time to replace the net on your basketball hoop? If you have a basic nylon net and you’re one of those sharp shooters who get nothing-but-net, you may find that your net wears out quickly. Even if you have a tougher rope type net, like you see in the NBA or NCAA, eventually it is going to wear out, especially if you have an outdoor hoop.
Even if it is not worn out, it may start to get dirty and dingy looking, or you may just want to change your aesthetic by getting a net that is a different color, design or type.
Quick Navigation
Why Do I Need a Basketball Net?
Some may think that a net is a trivial part of a basketball hoop, but it is, in fact, a very important part of the game and your hoop. Have you ever tried playing without one? If you haven’t, give it a try and you will see the difference immediately.
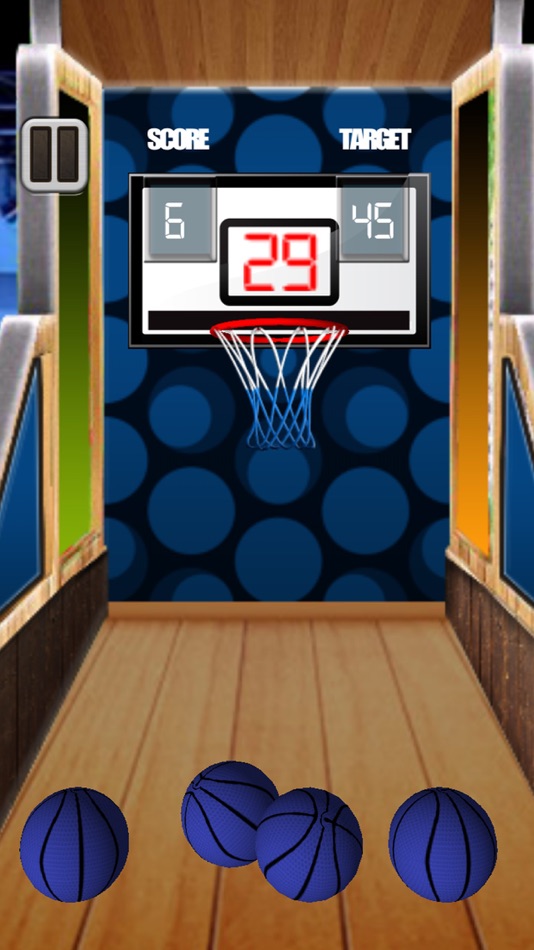
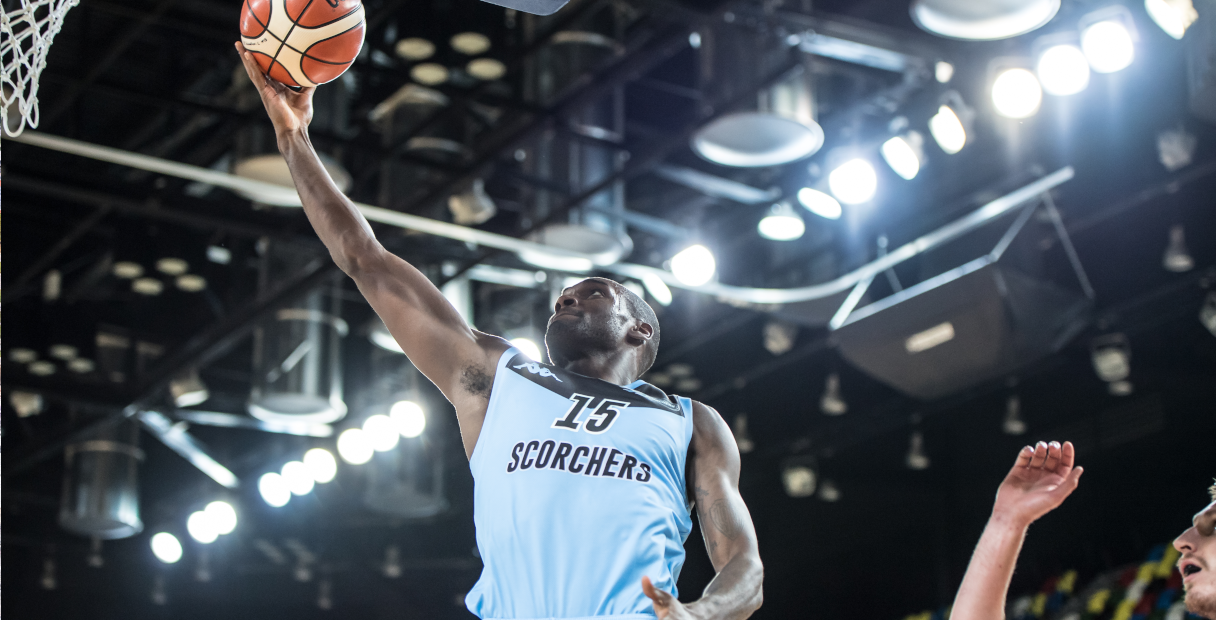
The ball is slowed down as it goes through the net. Photo by Melissa Medina.![]()
See the net slows the ball down after it goes through the hoop. An important effect that allows us to see that a basket has definitely been made. Without it, it can sometimes be very hard to see if the ball actually went through. The speed of the ball can sometimes trick the eye, and if the ball does not contact the rim it can make it really hard to tell.
My Personal Experience
I’ve had to play quite a few times without a net. Whether it was at a public court, where the net was just gone, or at my own court where it wore out during a game and we didn’t want to stop to go to the store to get a new one.
In any case, it’s just not the same, playing without a net. Shooting those long 3 pointers and not hearing the swish sound, can be very disappointing. The net really does give that extra feeling when you make a shot. Without a net, there is just something missing.
Very Important!
Replacing a basketball net will most likely involve you getting up on a ladder. Please be cautious and make sure your ladder is on stable ground and that you do not stand on the top step or rung of the ladder. If possible, get a helper to hold the ladder steady for you.
Don’t have a ladder at home? You can get one from Amazon.
Resources You’ll Need
- A new basketball net (like this or this).
- A step ladder.
- A helper.
- A pair of scissors (like this).
How to Put on a Basketball Net: A Step-by-Step Guide
The following are general instructions for putting on a basketball net. These instructions are for a standard regulation basketball net and rim.
Step 1: Set up your ladder.
If you have an adjustable hoop, it might be best to lower it as low as you can. Once you lower it, make sure that it is secured. If it goes low enough, you may not need a ladder, but it can still make the job much easier. Set up your ladder up so that it is centered under the front of the rim.
Center the ladder under the hoop.
Step 2: Remove the old net.
If the old net is still on the rim, you will need to remove it first. Carefully climb the ladder and have your helper hand the scissors to you once you are stable and in a comfortable place. Carefully cut each loop near the rim and pull the remaining parts of the net out of the hooks on the rim.
Cut the net.
Step 3: Figure out which side of the net to attach to the rim.
Have your helper hand the net to you, so you can start attaching it to the rim. If you can’t tell which side of the net to attach. Look at the net. The end with the longer loops, will be the end that you attach to the rim.
Long loops on net.
Step 4: Push the net loop through the rim hook.
Grab one of the long net loops and hold it between your index finger and thumb. Squeeze it so that you can push it through the rim hook from the inside of the rim to the outside of the rim.
Push the net loop through the rim hook.
Step 5: Attach the net loop to the rim hook
Open up the net loop enough that you can loop it around the front of the rim hook. Hold it in place with one hand and with your other hand, firmly pull the net loop from the inside of the rim, so that the loop tightens firmly in the rim hook.
Attach the net loop to the rim hook.
Step 6: Hook the remaining net loops to the remaining rim hooks.
Repeat steps 4 and 5 for the remaining net loops and rim hooks. There are 12 hooks on a standard rim, so you should have 11 more to go. Make sure that you don’t skip any loops or hooks. Also, make sure that you keep the net loops straight and do not get them entangled with the other loops. If so, you may need to remove the entangled loops and re-attach them.
Step 7: Pull the net tight.
Grab the bottom of the net and firmly pull it downward to ensure all the loops are attached and to stretch and straighten the net out a little.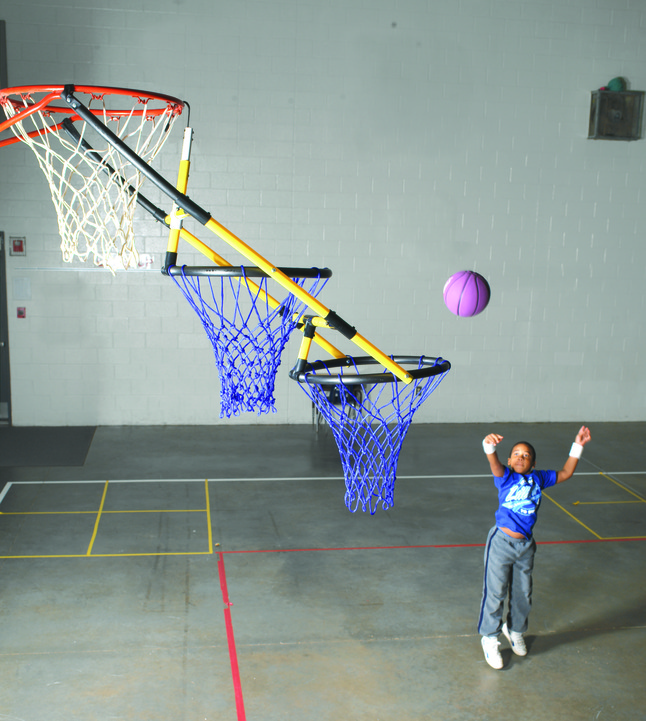
Pull the net tight.
Step 8: Play ball.
Start shooting some hoops and have fun playing basketball with your new net.
Final Words
Having a net on your basketball hoop is an important part of being able to enjoy the game. You can replace your net with a good heavy-duty net, or you can go with one that adds some color to your hoop.
Whatever you choose, replacing your net is fairly simple, so don’t hesitate to replace it whenever it starts to feel worn or you just want to give new life to your hoop.
How to Replace the Net on a Basketball Hoop
Written By: Kevin A Walker (and 6 other contributors)
- Favorites: 0
- Completions: 3
Difficulty
Very easy
Steps
5
Time Required
10 minutes
Sections
1
Flags
0
- BackSporting Goods
- Full Screen
- Options
- History
-
- Download PDF
- Edit
- Translate
-
- Embed This Guide
-
Introduction
If you have an old basketball net that needs replacing, check out this guide!
No tools specified.
-
Edit
-
-
Loop the first net loop through the basketball rim.
-
Push the net through each loop on the basketball rim.
-
Pull the net loop down and spread the rope across the rim coil as shown
-
Pull the net tightly to the rim.
Edit
-
-
Edit
-
Edit
-
Edit
Almost done!
Now that you've replaced your net, you're ready play some basketball.
Conclusion
Now that you've replaced your net, you're ready play some basketball.
Cancel: I did not complete this guide.
3 other people completed this guide.
Author
with 6 other contributors
Badges: 8
+5 more badges
Team
Basketball hoop - how to make a stand with a backboard with your own hands
Love basketball and want to make a hoop? I wanted to make it myself, not buy it, and I ended up making it. It's pretty cheap, especially if you have some of the stuff you need to assemble.
Let's start assembling the basketball hoop with our own hands.
Step 1: Shape the Ring
The first thing you will need is a ring, I made it with 12mm rod, but it doesn't have to be that size. The standard diameter of a basketball hoop is 450 mm.
To make it flat you need something to wrap it around, this thing should be about 400mm in diameter.
I found an old car rim of the right size, you will need to clamp it to the table with a clamp using a piece of wood.
As shown in photo 2, place another clamp a little further from the first with a rod between them.
As shown in photo 3, slowly wrap the rod around the disk, once you wrap the rod and its edges overlap, cut off the straight ends.
Use a clamp to press the ends together, then weld them together.
To complete this part, place the ring on the ground and straighten out all the curves.
Step 2: Frame
- Bend a piece of flat metal, mine was 4mm thick.
- Weld it to a flat point in the ring.
- Cut two rods 320 mm long.
- Weld them as shown in the photo.
- Drill four holes to match your existing bolts.
- If you need a netball ring, you can simply attach it to a post and skip the rest of the steps.
Step 3: Mesh Staples (Optional)
Show 7 More Images
Do this step if you need mesh. If you need a network, you will have to buy it.
This step is not as difficult as it seems.
- cut 12 pieces of wire 90 mm long (I would recommend making a few spare parts, as they are easy to ruin.)
- bend them in the middle (it doesn't matter if the tips are the same length)
- clamp the wire in a vise with a steel rod at one end
- bend wire over rod
- repeat this with all parts of
- retighten the wire wrapped around the rod (see photo)
- bend it
- repeat with all parts
- retighten the wire wrapped around the rod
- bend it (at this point you can't just remove the wire from the rod - you will need to slide it to one of its edges and remove it from the edge)
- repeat with all parts of
- divide into 12 pieces and weld on the brackets
Step 4: Backboard
Cut the board to size. My board does not fit the full size of basketball boards. (the second picture shows the dimensions of a standard shield).
My measurements are 1100mm wide, 700mm high and 25mm thick. (You don't have to be that size.)
Step 5: Paint the Shield
Once you've drawn all the lines on the shield, lay masking tape over them. If you try, everything will look neat.
If you are using MDF, you will need to take care to protect the edges from moisture (as shown in photo 2).
Carefully paint over the areas around the masking tape.
Remove masking tape after enough coats of paint have been applied and the board looks complete.
Step 6: Paint the ring
First you need to sand the metal. I used a grinding disc on a grinder.
The ring must not be black or white, it must stand out from the shield. Usually the ring is painted orange or red.
The easiest way to paint inventory is from a can.
Step 7: Assemble
Put it all together.