Home »
Misc »
How to wrap your ankle for basketball
How to wrap your ankle for basketball
How to Correctly Wrap an Ankle for Basketball
How to Tape a Foot for Soccer
Calf Exercises Without the Ankles
by Scott Cavanagh
Taping your ankles for basketball requires practice. Doing it properly can be the difference between sustaining and avoiding an injury. If you need to tape your ankles, it is best to have someone help you, but it can be done on your own.
Prepare the Ankles
In preparation for the tape job, shave the ankle region at least 12 hours in advance to avoid painful removal of the wrap. Products known as prewraps, which allow easier removal of tape, are readily available and can be used as an alternative to shaving. Elevate the foot and place it on a comfortable surface, keeping the ankle at a 90-degree angle, with the toes pointing upward.
Creating the Anchor
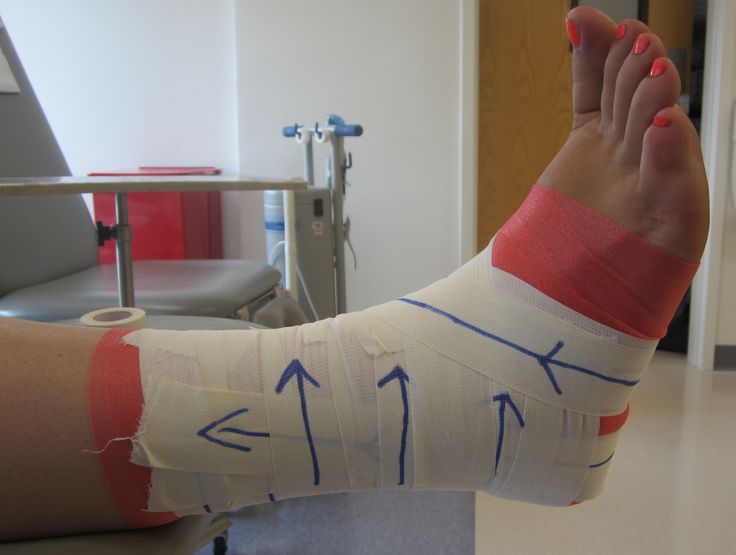
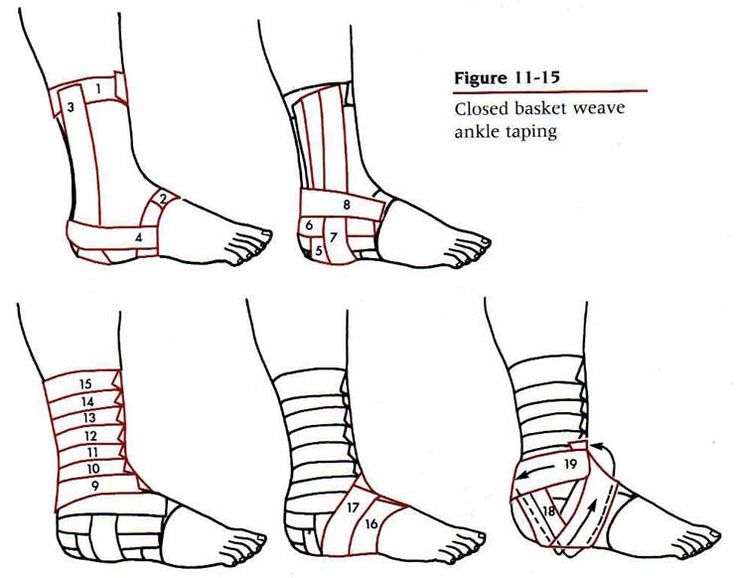
The first section to complete, the "anchor," is created by wrapping a piece of athletic tape around the lower shin just above the ankle area.![]() This anchor serves as a base point where other ascending pieces of wrap tape will be attached later in the process. Make sure the anchor is not wrapped too tightly so that it does not restrict circulation.
This anchor serves as a base point where other ascending pieces of wrap tape will be attached later in the process. Make sure the anchor is not wrapped too tightly so that it does not restrict circulation.
Attaching the Stirrup
The stirrup forms a brace based under the heel. Begin at the anchor by applying a long piece of tape to the side of the leg; run the tape under the heel and back up the other side of the leg to the other side of the anchor. The tape should form a "U" resembling the stirrup of a horse saddle.
Creating a Heel-to-Toe Segment
To brace the ankle from front to back, wrap a piece of tape around the back of the heel and continue it up either side of the foot until it reaches the base of the toes. This piece should run at a 90-degree angle to the tape that forms the stirrup.
Building the Second Wave
The second wave of taping consists mostly of repeating many of the steps already taken. Wrap a piece of tape under the heel slightly in front of the first stirrup and run it up the sides of the leg to the anchor in the same manner as the original.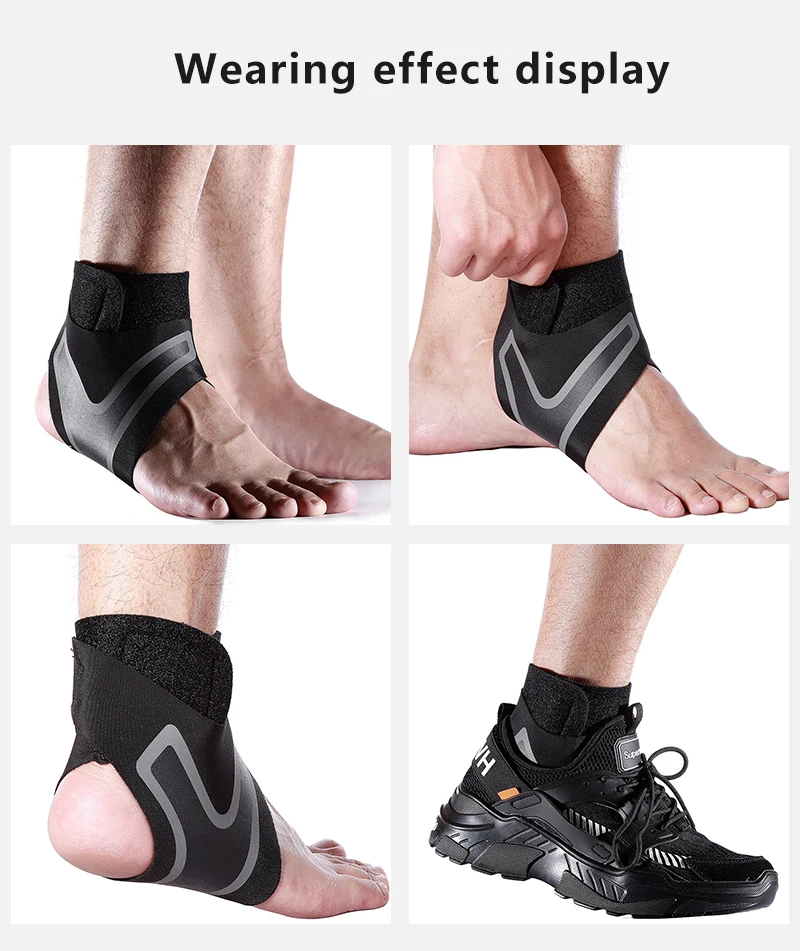 Make sure this piece is as close as possible to the protruding knob of the ankle bone. Repeat the process of the original heel-to-toe--taping directly over the first piece.
Applying the Overwrap
Complete your tape job by creating the overwrap. This requires applying one to three layers of tape around the entire ankle area, starting at the front base of the foot and using a crisscross diagonal pattern until you reach the anchor. Leave the heel exposed for easier movement.
References
- Mueller Sport Care: Taping and Bracing Techniques
- Marshfield Clinic: Athletic Taping the Ankle
- Sportstek: How to Tape an Ankle
Writer Bio
Scott Cavanagh has been a writer, reporter, editor and photographer for more than 20 years. His work has appeared in newspapers, magazines, business publications and websites including ThisWeek Newspapers, "The Columbus Dispatch," "The Historian," "Wired," "The Delaware Gazette," and "The Columbus Messenger. " Cavanagh was the co-creator and editor of Wired.net and is the editor and publisher of BarkBackNews.com.
Image Credit
Brian Bahr/Getty Images Sport/Getty Images
SHARE SHARE TWEET EMAIL
More Articles
How to strap your ankle to prevent injury on court in 5 steps
A useful guide on how to use a sports bandage and tape to strap and protect a sprained ankle when you’re on the court.
All kinesiology tape and strap
Sprained ankles are one of the most common injuries among basketball players. We have put together a useful guide on how to use a sports bandage and tape to prevent a sprained ankle when you’re on the court.
Sprained ankles don’t just affect basketball players – many people also sprain their ankle while hiking or walking down steps. Minor sprains result in redness and swelling, while severe sprains can cause pain when walking. Research has shown that 30% of people who sustain a sprained ankle will experience a recurrent sprain due to torn ligaments, which increase susceptibility to sports injuries.
The most effective way to prevent a sprained ankle is to use sports tape to strap your ankles and support the joints. In this video, physiotherapist Bosco Hing Nin Leung will show you how to strap your ankle to reduce the risk of sprain injuries on the court.
How to strap your ankle
1. Starting at the forefoot, wrap a sports bandage around the foot. This will ensure that hair will not come into contact with the adhesive surface of the tape. Next, form an anchor by applying a circle of tape over the top of the bandage, approximately 3 inches above the ankle.
2. Place the injured foot at a 90-degree angle, and make a stirrup by applying a strip of tape in a U shape, starting at the anchor and going underneath the foot until you reach the other side. This helps to support the sides of the foot and has a balancing effect when your feet touch the ground.
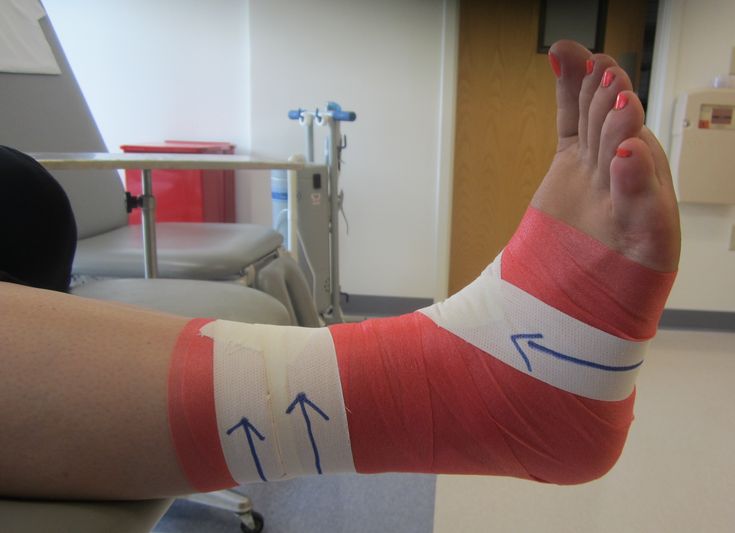
3. Next, make a figure of eight, starting at the anchor and passing the middle of the joint until you reach the other side of the anchor.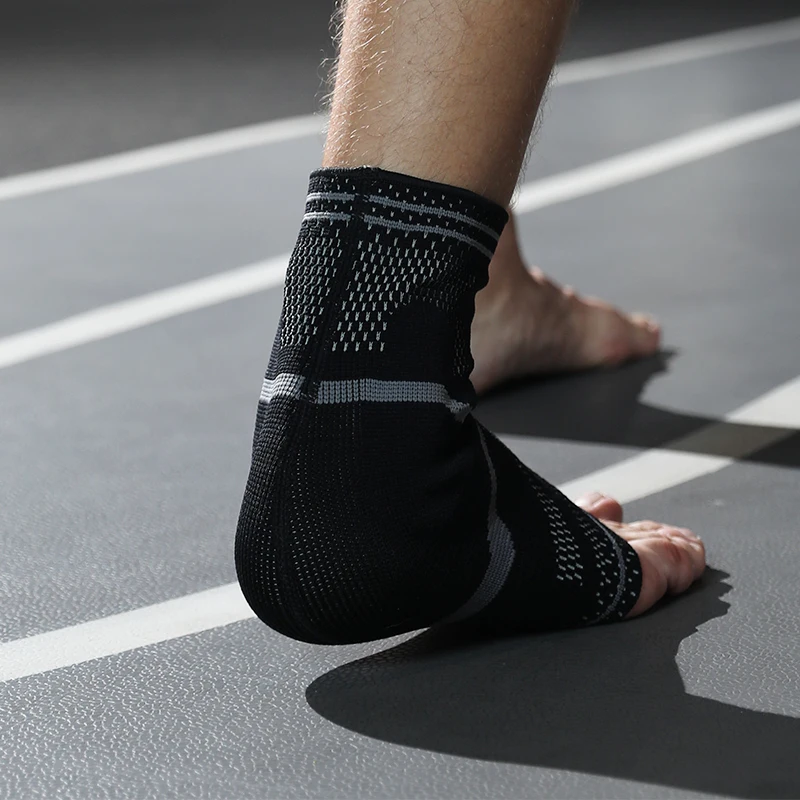 The figure of eight helps to support the midfoot and reduces the impact on the joints if you lose your balance.
4. Apply a circle of tape to stabilize the base of the foot, and then pull the tape around the ankle, passing the instep and sole, until you reach the other side of the ankle to form a heel lock. Finally, work upwards in a clockwise direction to form an anchor.
5. To ensure proper circulation, squeeze a toenail for 3 seconds. If the skin underneath does not return to its original colour within 3 seconds, the bandage should be looser.
Rigid support strap
Rigid support strap designed to strap joints or muscles which have been weakened during your workouts, it is recommended for sprained or strained ankles.
Adhesive, non-elasticated, 3.75 cm x 10 m white or black tape. Handy when strapping up joints and muscles for support and protection.
Buy now
More offer on support products
Support products can also help prevent, support and recover injuries.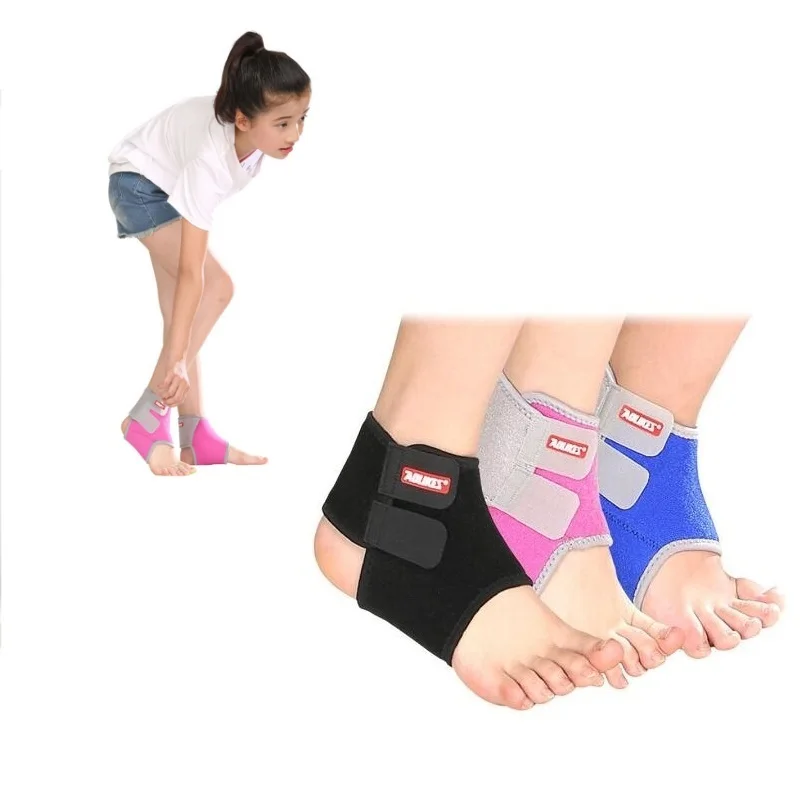
Mueller elastic ankle support
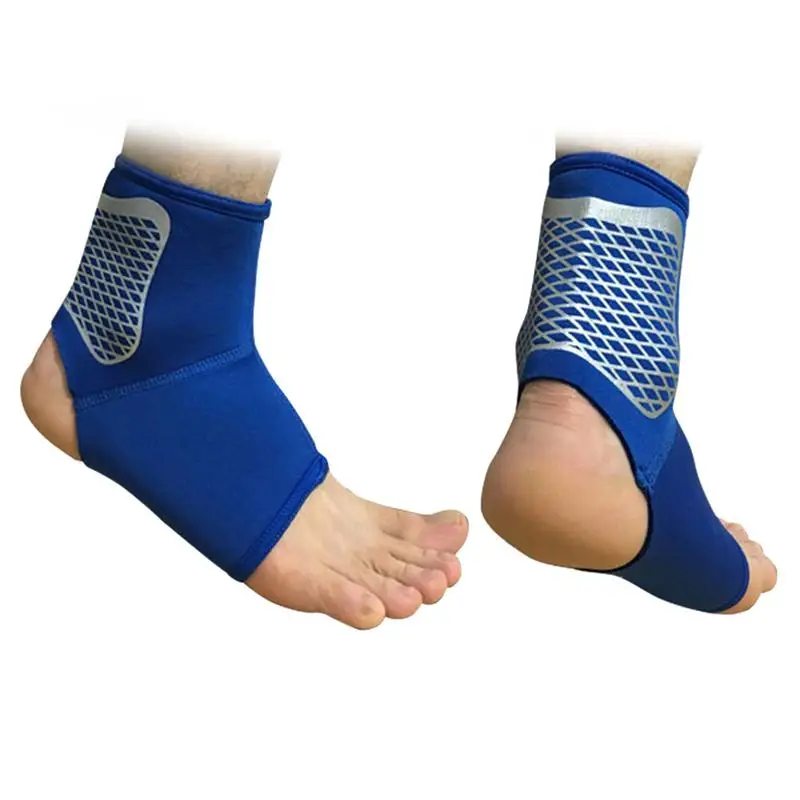
Moderate support and protection for weak, injured, unstable or arthritic ankles.
See more
Mueller adjustable ankle stabilizer
Support for weak, sprained and/or arthritic ankles.
See more
Mueller elastic ankle support
Moderate support and protection for weak, injured, unstable or arthritic ankles.
See more
Mueller adjustable ankle stabilizer
Support for weak, sprained and/or arthritic ankles.
See more
Other basketball-related useful content...
Kinesio tapes for basketball, ankle and toe taping for basketball players
Sports tapes for basketball are one of the novelties of medicine, which managed to gain wide recognition and distribution. The use of taping for basketball players is justified by the ability of tapes to help overcome high loads and recover from injury. In basketball, frequent throws, receiving and passing the ball with arm tension can injure elbow and shoulder joints, arm muscles, hands and fingers.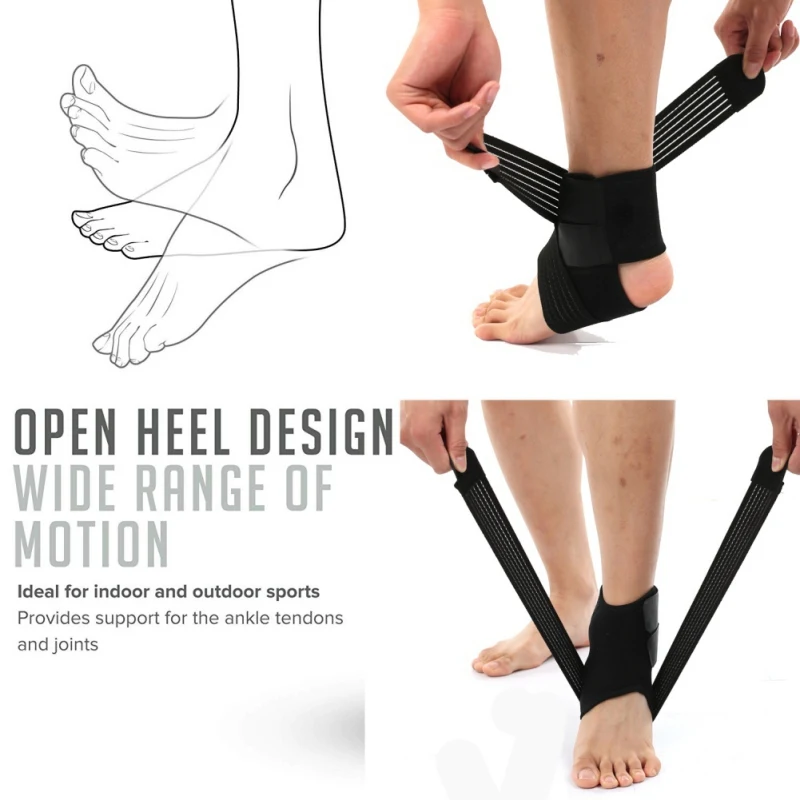 The load on the legs and back of basketball players due to the constantly present dynamics and accelerations, jerks in different directions and jumps is also very high. Therefore, it is desirable to reduce the risk of injury through the use of sports tapes.
What is basketball tape For taping basketball players, we recommend using ARES kinesio tapes. They may vary in color and material. There are 2 material options for sports tapes used in basketball:
- Cotton. Cotton tapes are considered basic as they are used for most fixing applications.
- Synthetic. Tape made from a combination of viscose and polyurethane is more rigid and stronger. It is used for enhanced protection of problem areas.
Basketball risk area taping The strength and accuracy of a basketball player's throw depends on his qualifications, training, as well as on the condition of his hands.
Even the pros are at risk of injury to the hands and fingers, as the bones here are quite thin and fragile. Taping will help reduce the risk of damage by strengthening this area.
- Finger taping in basketball is made using narrow bands that fix the joints, but do not restrict mobility.
- Thumb and wrist to be taped as follows:
- The base is 2 strips, about ¾ of the circumference of the wrist. The 1st is glued on the inside of the wrist, and the 2nd on the outside, overlapping the 1st.
- With the thumb bent as far as possible, about 5 loops are wound around the finger from the middle of the base.
- The bandage is fixed on the wrist with a "bracelet" from a strip of wide teip.
Another most vulnerable part of a basketball player's body is the ankle joint. Sharp jerks, unsuccessful jumps or falls can lead to injury - sprain or rupture of the ligaments.
- Ankle taping in basketball is done in different ways.
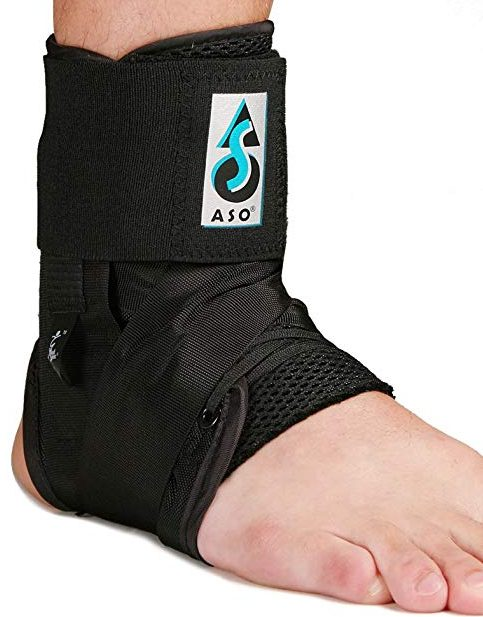 It depends on the purpose for which the tape is applied.
 - Prevention. Before games or training, a fixing application is applied to help maintain the ligaments in the desired position and make it easier to bear the load.
- Recovery. If you already have an injury, the tape will help you continue the game, while maintaining joint mobility and reducing pain.
- Shoulder and knee joints in basketball should also be protected with tape. This will prevent overexertion and reduce the risk of sprains and dislocations. And if the injury has already been received, it will speed up rehabilitation.
Since coordination and mobility are very important in basketball, the tapes are applied without significant tension. Thus, basketball players receive reliable protection of problem areas, while maintaining complete freedom of movement.
Rubric Useful articles about kinesio taping
Ankle taping for joint injuries, sprains
Ankle injury occurs most often in athletes as a result of excessive loads or careless movements, jerks.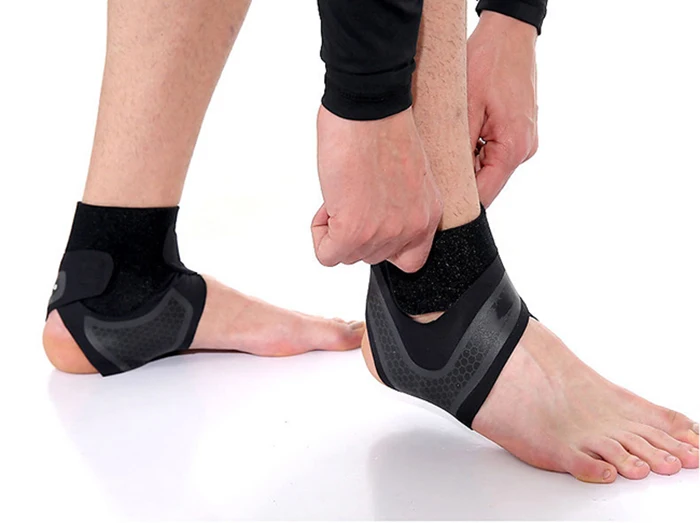 Ankle taping is a modern approach to anesthetizing an injured joint, relieving muscle tension and rehabilitation. Being an excellent alternative to elastic bandages and bandages, tapes provide the correct movement of muscles, while the athlete does not need to worry about an untimely untied or dropped bandage.
Injuries that require ankle taping
An ankle sprain is nothing but damage to one or more ligaments that stabilize the joint. Most often, the cause of such injuries is dislocations and twisting of the leg when performing various exercises, running. As a result of unfavorable movement, the joint capsule and adjacent muscles and ligaments are stretched. A sign of a broken fiber in a bundle is cotton. Injuries can affect the top or bottom of the foot.
Ankle taping with tape is the most popular form of immobilization in athletics, football, basketball, hockey and other running and playing sports. Applying teips allows you to anesthetize the injured joint, avoid the impact of excessive load, microtraumas and, as a result, chronic inflammation of the muscle. The ligaments are securely fixed with cotton tapes with an adhesive base, provided that the necessary mobility of the limb is maintained.
Ankle sports taping - actively used for bruises and swelling. The patch lifts the skin, thereby restoring microcirculation, removing inflammatory mediators as a result of normal blood circulation. In addition, there is a decrease in irritation of pain receptors and the associated discomfort in the athlete is eliminated. Tapes applied taking into account the structure of ligaments, the location of lymph nodes and tendons, contribute to the formation of correct muscle movements, eliminating the risk of muscle spasm.
Contraindications and side effects
Direct indications for the ankle taping are:
- Trauma,
- increased load,
- bruises,
- damage to the connective tissues,
- AROSITS, arthros, arthros , tendovaginitis of the Achilles tendon, hemarthrosis,
- swelling,
- consequences of a stroke,
- convulsions,
- injury prevention.

Ankle ligament taping allows you to maintain motor activity, which has a positive effect on the course of rehabilitation. Provides fast and efficient recovery. It also provides high-quality prevention of contractures in the joints.
Kinesio taping is prescribed for people with joint diseases accompanied by complications with the ankle joint.
This modern technique is actively used in therapy:
- injuries of the musculoskeletal system;
- traumatic hemiplegia, paresis;
Despite such a positive effect, the technique has some contraindications:
- skin diseases,
- hypersensitivity of the skin,
- excessive stimulation of nociceptors, causing pain and itching,
- hematomas.
Incorrectly fixed tapes can cause discomfort. If you experience tingling, blanching of the skin, a decrease in the temperature of the toes, pain, you should remove the application and re-tape the ankle. For preventive purposes, it is recommended to wear applications for no longer than 5-10 days.
Foot taping in case of injury or impact
Using a special plaster will help relieve pain and eliminate inflammation. The method and place of applying the application is selected depending on the location of the pain.
But for all types of ankle injuries, the following rules apply: The patch is fixed in a position that ensures dorsiflexion of the foot. The toes should be stretched as far as possible; to ensure a lymphatic drainage effect, the patches are placed towards the nearest lymph nodes. Taping the foot in case of a bruise improves blood circulation, eliminates swelling and bruising. The duration of wearing the application should not exceed 5-7 days. In the presence of concomitant pathology (for example, bursitis or sprain), immobilization with tape can be extended until complete recovery.
Ankle bruising
Stabilization of the ankle joint after a bruise or injury can be achieved in the following ways:
- Method I.
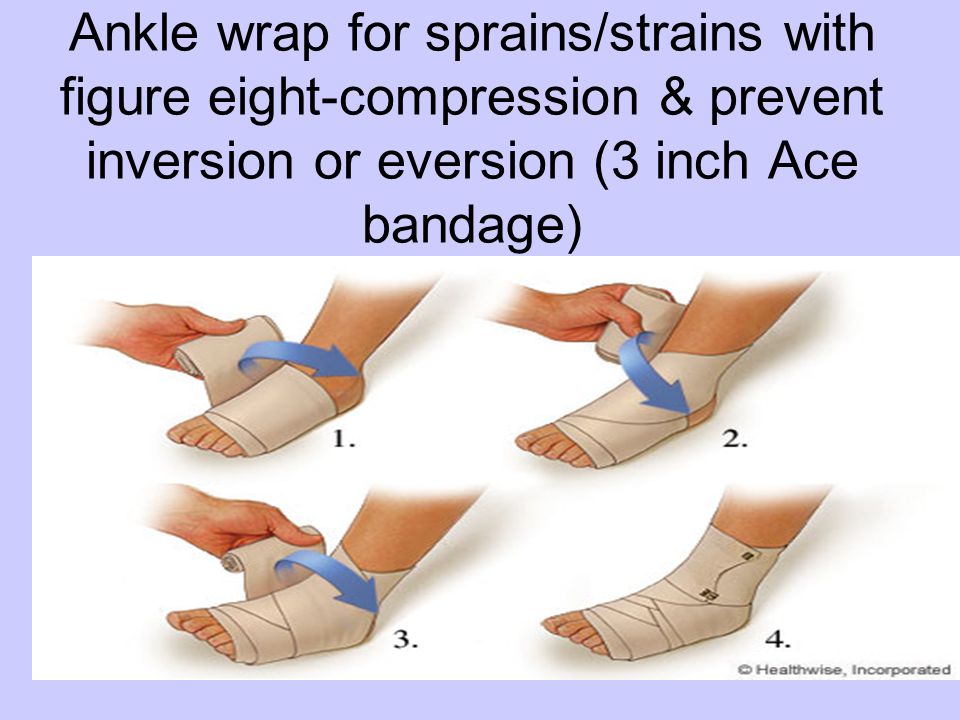 One tape 5 cm wide is applied to the ankle in such a way that one end of it completely covers the heel, and the other end is at the top of the lower third of the leg. A slight tension should be provided in the heel area, the second end of the tape should be fixed above the bone. The second tape is laid around the ankle so that its end is in the center of the arch of the foot. The band is glued to the outer part of the foot and then around the heel with a stretch of 50%. The edge is laid under the heel and fixed without tension on the beginning of the patch. The third tape is fixed on the outside of the foot, around the heel and below with a stretch of 50%;
 - II method. Applying a lymph-tape in case of a bruise is carried out in accordance with the structure of the ligaments. The tape is fixed when the foot is at a right angle. To determine the length of the patch, you need to pass the first strip of 5 cm wide through the heel and cut off at the level of the upper line of the lower third of the lower leg.
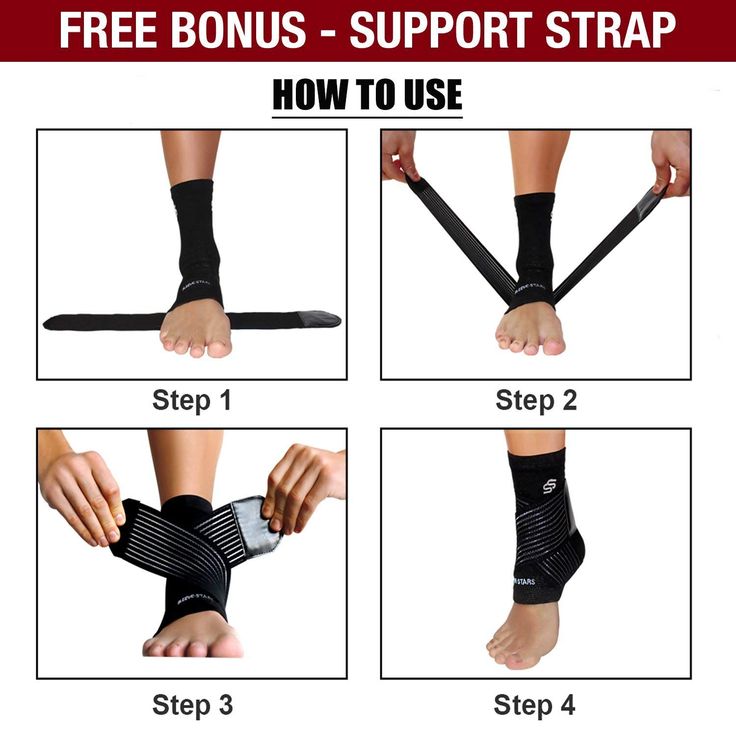 The length of the second tape should correspond to the length of the foot from the inner to the outer part of the calcaneus. The protective film is torn in the middle and in the area of \u200b\u200bthe "anchors". Tape locks in from heel to ball of foot. Then it is led out and then to the inside. Anchors are fixed last. The second strip is applied with significant tension to the flexion area at the top of the foot. It is necessary to ensure that the "anchors" are on the calcaneus.
Kinesio taping for ankle bursitis
Bursitis is accompanied by inflammation, swelling and pain. The main reasons for its development are injuries, infectious processes in the tissues, running in inappropriate sneakers. Applying tapes for bursitis can reduce pressure on the joint and reduce the manifestation of pain.
Taping can be done in the following ways:
- Method I. You will need a tape 15 cm long. Use scissors to round the edges. Next, the patch is folded in half and cut into 4 identical strips along.
 3 cm are left uncut on each side. Anchors are fixed below and above the heel. In a sitting position, the toes are pulled towards themselves as much as possible, and the heel is moved away. Tape beams are glued in the affected area and to the side of it;
 - II method. Tape 5 cm wide is applied to the lower part of the heel without tension, then through the damaged area to the middle of the lower leg. The second patch is fixed in the fold area on the first one. The third tape is located in the heel area below the second patch.
Taping for ankle and foot sprains
This type of injury entails the development of acute pain, inflammation and gait disturbance.
Torn ligaments are taped as follows:
- wide tape with high strength and elasticity is applied from the beginning of the toes along the instep to the middle of the shin;
- a similar tape is fixed on the plantar side of the foot - it is possible to glue the heel and ankles separately.
 To do this, the middle is fixed on the heel from the side of the sole perpendicular to the length of the foot. The tails of the patch lead up and are glued just above the ankles.
This method is most effective with little stretch. With strong tension, the following scheme is used:
- ensures the immobility of the joint in the front-to-back direction. The length of the patch is measured along the front part from the lower and middle third of the lower leg to the metacarpophalangeal joints. The length of the tape will be equal to the length of the hypotenuse of the right triangle formed by the lower leg and foot;
- remove the paper layer from the middle of the strip and fix the "anchors" on the lower leg and foot. Next, you need to unbend the foot and completely fix the tape. With the patient lying on his stomach, we measure the distance from the calcaneus (its front part) to the middle and lower border of the third of the lower leg (the foot is held at an angle of 90°).
 The tape is applied in the area of the heel and Achilles tendon with a slight tension;
 - The external ligaments are stabilized with a patch applied from the lateral malleolus through the foot to the mid and lower borders of the third of the leg. The tape is fixed from the inner part at the level of the ankle to the outer surface of the ankle. The rays are slightly parted and stretched, after which they are fixed along the back outer and front outer parts of the ankle.
Ankle joint taping in case of dislocation is carried out similarly to applying a patch in case of dislocation, but with more pronounced immobilization of the articular surfaces. To provide enhanced fixation allows stretching the tape.
Ankle and ankle taping
Ankle and ankle are usually injured at the same time, because they are in the same anatomical region and are almost a single structure.
Ankle sprain can be taped in the following ways:
- Option I.
 The first tape, 5 cm wide, is applied in the direction from the ankle to the middle of the lower leg. The anchor is fixed at the top of the foot with the utmost care. Stretching the tape to the ankle, it is necessary to ensure a minimum tension. The second tape, 12-15 cm long, is glued with a slight stretch perpendicular to the first one in the focus of soreness;
 - II variant. Using one tape 5 cm wide, the outer side of the ankle is worked out to the upper border of the middle third of the lower leg. The tape is led through the foot with a twist through the upper fold and is fixed perpendicular to the first part. In the areas of intersection of two lanes, they should be pulled. The rest of the tape is fixed on the inside of the foot.
In case of serious injury, such as a broken ankle, be sure to consult a specialist before taping.
Taping for osteoarthritis of the ankle
If left untreated, arthrosis can lead to destruction of the cartilage in the joint. The causes of the disease in athletes, most often, is the frequent injury of the ankle and chronic vascular disease. Taping for arthrosis is performed with a 5 cm wide tape with a stretch. The “anchor” of the first patch is fixed from the outer part of the lower leg, then it is carried around the heel and glued in the area of the bone from the inside. The second tape is applied on the back of the foot, from the middle of the inner part and ending under the heel. The third tape is fixed similarly to the second patch, but from the outside of the foot.
Big toe sprain
To prevent overstretching of the metatarsophalangeal joint, taping the following method: ; Overlapping patches 2.5 cm wide are fixed on the foot from the thumb to the tape; The overlap should be about 50%; at the final stage, a fixation plaster is applied around the toe and around the foot in the form of a figure eight. Ankle taping in various sports
Sports people often injure the lateral ligaments of the ankle.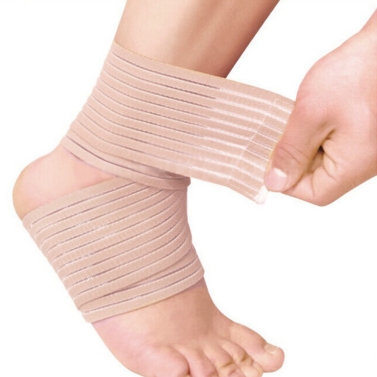 To prevent injuries, it is recommended to strengthen these areas before the game. In jumping sports such as volleyball and basketball, the Achilles tendon and calf muscles undergo fixation. In wrestling, correction of the ankle joint with tape is also relevant. In hockey, despite the tight protection, all structures of the ankle and foot are taped - the Achilles tendon, lateral ligaments, and the sole area. Applications applied for the purpose of prevention are performed with wide tapes with minimal tension.
You can buy high-quality tapes from us and undergo distance learning methods of therapeutic, segmental and orthodynamic taping, magnetic taping. Upon completion of the course, a certificate is issued.
If you already know how to tap and want to improve your skills and become a highly effective and multifunctional specialist, we offer you training in our online courses.
Our training complies with the European and National Standards, the Academy has been training since 2013 and has trained more than 17,000 people, more than 10,000 people have been trained in online courses.