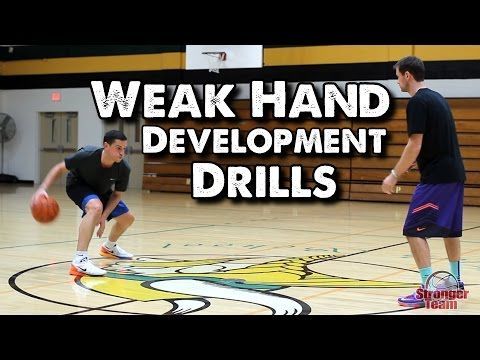
Home » Misc » How to improve your weak hand in basketball
How to improve your weak hand in basketball
3 Tips to Help You Improve Your Weak Hand
Basketball Tip
Most players don’t know the value of being able to dribble, shoot, and pass with both hands no matter the position they play. Many athletes tend to favor one hand over the other because it’s their dominant hand and more comfortable. If you're looking to play in high school or college, it is expected of you to be able to use both hands and can even be the deciding factor when getting a spot on a team.
The players that are comfortable using both hands are the athletes that stand out. They can crossover and overtake their defender quickly with eyes on the court. They can swiftly curve any bounce pass through the defender’s arms, and they can make that breakaway layup no matter which way they’re being pushed. Here are three tips from the Doug Bruno Girls Basketball Camp staff to help players become more comfortable using both hands.
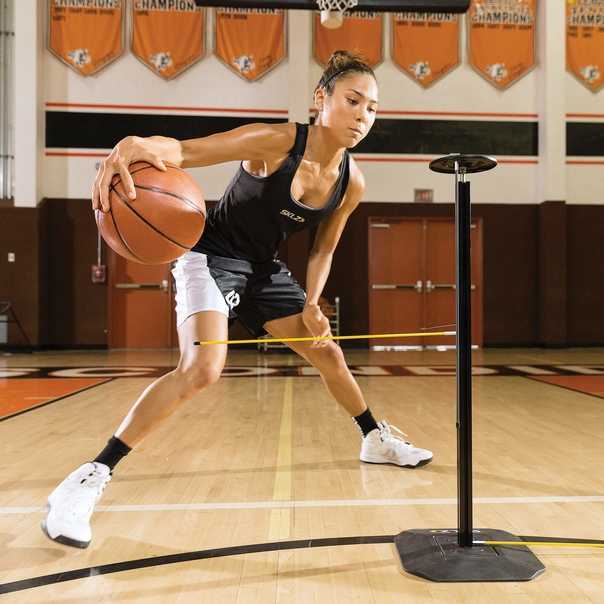
1. Dribble with Both Hands When trying to develop your non-dominant hand, dribbling should be the first place that you start. Begin by keeping your dominant hand behind your back, forcing yourself to use your weak hand to dribble. Practice this and after time it will start to feel more and more comfortable.
Once you have mastered that, try adding in a second basketball and dribble with each hand at the same time. Remember to keep your elbows behind the ball and force the ball into ground while keeping your head up. This will improve your coordination and ball handling skills in both hands. Being able to dribble with both hands provides a huge advantage over your opponent, you can now dribble down the court on the right and left side which makes it much harder for the defender to guess which direction you plan to go.
2. Weak Hand Passing Another way to develop your weak hand is through various passing drills. Grab a partner, stand ten feet apart, and put your dominant hand behind your back. With one ball, pass and receive with only your weak hand. As you progress, you can increase the speed and challenge your partner! Each player should pass with their non-dominant hand twenty times equaling one set. Start with four sets and increase as you feel more comfortable.
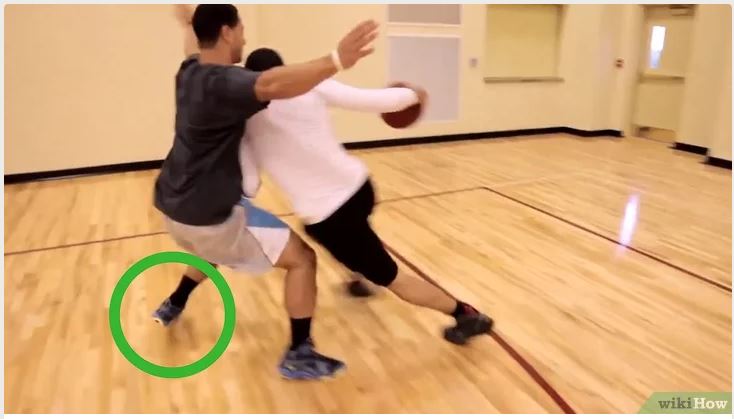
3. Off-Court Tips Although it is important to make a point to emphasize using both hands in practice, steps need to be made around the clock to master this skill. Doing daily activities with your non-dominant hand will form the proper habits and allow you to feel more comfortable using that hand. We recommend you eat and cut your food, open doors, drawers and packages, comb your hair, brush your teeth and use your phone all with your non-dominant hand. Initially, all these tasks will feel foreign but if you stay consistent, it will become a routine.
Implementing these practice tips will help you feel more comfortable using your non-dominant hand, which allows for a smooth transition onto the court. For further help with your game, check out more drills and tips and join us this summer at a Doug Bruno Girls Basketball Camp!
Share This
How To Improve Your Weak Hand In Basketball
You may be struggling to improve your weak hand in basketball, but don’t worry! We’ve got you covered with some easy steps that will help you get a stronger weak hand. Your weak hand is important because it can give you an edge on the court when playing against other players. Who are more skilled than you. There are three simple steps to follow for getting a better weak hand in basketball: practice, practice, and more practice!
[powerkit_toc title=”Table of Contents” depth=”1″ min_count=”4″ min_characters=”1000″]
Weak Hand Basketball Drills
Dribble Sprints with Your Weak Hand
You can improve your weak hand in basketball by doing dribble sprints with your weak hand. To do this, you want to get a ball and start dribbling as fast as possible from side to side across the court. Without letting the ball hit the ground. By only using one arm for this drill. It will force you to use that weak hand to balance yourself when moving back and forth on the court.
Typewriter Drill
You can also improve your weak hand in basketball by doing the typewriter drill. This is a simple and effective way to get better control of the ball when dribbling. Both with your weak and strong hands. To do this drill, you want to start standing about five feet away from a wall or backboard. So that it’s easier for you to make an accurate shot at the basket.
Then place yourself on one side of the court while holding out your arm straight towards where you think you’ll be able to shoot near right under half-court. Then move over closer into shooting range and keep practicing until you’re successful making shots around center-court distance. Where there would normally be a three-point line. At first, it may take some time before you get used to the weak hand and arm motion. But over time you’ll be able to improve your weak hand in basketball.
The Mikan Drill
The Mikan drill is another great weak hand basketball drill to improve both your weak and strong hands. This one specifically works on the “granny shot”. To do this, you’re going to have a partner hold a ball out for you about chest-high. So that it’s easier to shoot with your weak hand.
You want them to place their other arm in front of them. So they can block your shot if needed from passing over their arms.
To get better at shooting granny shots, try practicing this weak hand basketball drill every day until you feel more comfortable making these types of shots. You’ll even start seeing improvements when using your dominant hand! Make sure not to strain yourself though because fatigue will make it harder to improve weak hands in basketball.
Tennis Ball Toss
To help improve weak hands in basketball, you can try doing the tennis ball toss. This is a great drill to get used to making shots with your weak hand. While also helping it become more accurate when shooting different angles. For this weak hand workout, you’re going to want to start by standing about five feet away from where you’ll be throwing the balls at (like another person or backboard).
Start off tossing up one tennis ball into the air and then shoot once it reaches its peak before catching it again. You should do this for about 25 reps each session. Until your body gets used to hitting these types of shots on the go without much hesitation! If needed though, feel free to bring down your distance if you’d like. Until you feel more comfortable with weak hand shooting.
Full Court Drills for Weak Hand
To improve weak hands in basketball, you can also try doing full-court drills. For this weak hand workout. Start by dribbling the ball up and down the floor to different spots on the court. You should then take a shot from each spot before going back into another line of defense around center-court distance. Where there would normally be a three-point line.
This drill will help you get used to using your weak hand. While getting more comfortable with making shots both near and far away from where you’re standing! Not only that but it’s great for improving weak hand accuracy too when shooting at such angles.
How Long Does It Take To Develop A Weak Hand In Basketball?
It’s tough to say exactly how long it’ll take for weak hands in basketball. But you should see results after about a month or two. You don’t necessarily have to practice all these drills daily either unless you’d like to. Because the point is just getting used to using your weak hand more often. Rather than doing too much at first, that might cause fatigue! If practicing one drill each day still seems tiring though. Then feel free to spread out the weak-hand workouts throughout the week instead so you’re not overworking yourself.
Also, remember that there are other ways weak hands can develop naturally as well. Even without extra effort on improving them. This happens when someone has only ever played with their dominant hand which ends up causing their weak hand abilities to be weak. They might start playing with their weak hand more often though, and before they know it they’re already used to using it in a variety of situations!
That said, if you want to improve your weak hands faster then feel free to get started on any of the above drills or even try doing them all at once over about two weeks. It’s up to you how many weak hand workouts you’d like per week but just make sure not to do too much so that fatigue doesn’t set in and cause injuries while also making improvements harder rather than easier!
Shooting With The Weak Hand In Basketball
We also want to mention how important it is to practice weak hand shooting in basketball. At first, you might feel like your weak hands are bad and that there’s no way they’ll improve but the more you use them then the better they’ll be!
This happens because by using this weak hand for shots over time, our muscles will naturally grow stronger without us even realizing it until we start seeing improvements from not just practicing weak-hand workouts but from playing actual games too.
Whenever someone only practices with their dominant hand all day long then it can weaken their weak hands as well since those same muscles won’t get used much at all which means injuries could potentially happen if these players were suddenly try using their weak hands during games.
Weak Hand Dribbling In Basketball (The Off-Hand Dribble)
We also want to mention weak hand dribbling in basketball as well. This can be a really useful skill for players who have weak hands since it helps strengthen their weak hands by getting them used to using that same side more often!
To practice the off-hand dribble, you can simply begin with your weak hand and make sure not to switch sides throughout the drill. Make sure both of your knees are bent while keeping your chest up high too so you don’t end up slouching over from fatigue or other things like this which could cause injuries if continued for longer periods without breaks between each one.
Practice doing about 20 reps going back and forth across the court before taking a quick break then going right back into the weak-hand dribbling drill again. Focus on keeping your weak hand low by making sure it’s always below your dominant hand, and also make sure not to use too much power with this weak side since you don’t want any unnecessary fatigue either!
Conclusion
In conclusion, weak hands can improve in basketball! It’s important to practice your weak hand so you get more comfortable using it, and also make sure not to do too much at once.
We hope this blog post has been helpful for those who have weak hands on their dominant side since there are a variety of ways they can improve these weak hands with enough effort put into them!
Here are Some of our Favourite Basketball Sneakers
Here we will be giving more of an opinion, rather than facts. Are the sneakers worth the price that they are being sold at? Should you upgrade from your current sneakers, depending on what boots you own? What features stand out on these sneakers? If any. Does it do the job? Speed, control, stability etc. Depending on your needs/preferences. We can also mention its durability, if we have collected enough data on the specific sneakers.
What did we expect vs. what we got. Is it maybe overrated/underrated?
Elite
Here’s our pick from the very best of the bunch.
Pro
On your way to the pro leagues? Here’s our pick.
Beginner
Want something to start with? Have a look at our pick.
Training to improve protection
Training to improve protection
Learning how to move in defense.
1. Move in a defensive stance diagonally backwards. After 3-5 steps, turn around and change direction. Then do the same diagonally forward. 2. Do the same but add hand movements. The far hand works to protect against the transfer, the near hand imitates the capture of the ball. 2-3 sets of 5 diagonals forward and backward.
DETAILS : Increase and decrease your movement speed. Keep your back, don't jump in the move. The back leg drags along the floor.
CHIPS : Emphasis on the first step, it must be fast and taken with the lead foot.
Improving protective actions.
1. Five attackers stand on the perimeter and pass the ball to each other, each of them has a defender. Defenders must change their stance and shift to the correct position depending on the ball. 2. The same, but with active defense, try to intercept or take the ball away. 3. At the signal of the teacher, the player with the ball goes into the aisle. For 30 seconds, then change roles, 3 times.
DETAILS : Defenders must always see the ball, keep their distance, actively use their hands.
CHIPS : The drill will be especially effective if performed without fouls.
Improving protective actions.
1. Stand opposite each other with a partner. The attacker stands still and performs turns, moving the ball to the side. The defender reacts to the attacker's movements and moves accordingly, making defensive movements with both hands in front of the ball. 2. The defender tries to knock out or take the ball away from the attacker. 30 seconds each, 3 sets.
DETAILS : Low stance, keep distance, back straight.
CHIPS : The drill will be especially effective if performed without fouls.
Improving protective actions.
One player (playing) has the ball, two other players - a defender and an attacker. The striker makes movements (forward / backward, right / left), trying to get a pass from the player with the ball. The defender plays in a closed stance, covering the passing line, making it difficult for the attacker to receive the ball. If the pass is still passed, then the attacker must perform turns (one circle forward or backward) and give a reverse pass to the playing along, and the defender must actively interfere with him, try to knock out or take the ball away. 30 seconds in each role, 3 times (change in a circle).
DETAILS : The defender must always have a view of the ball, keep his distance, actively use his hands. The attacker must perform turns without running.
Learning the basic defensive stance.
From a standing position, take a protective stance at the signal. At the next signal, return to the starting position. 10-15 times.
DETAILS : Feet slightly wider than shoulder width and parallel, arms in line with legs, shoulders relaxed, arms half-bent, palms open towards attacker.
CHIPS : The stand must be very stable. To check this, you can knock a little.
Improving protective actions.
1. Three attackers stand in a triangle and pass the ball to each other, each of them has a defender. The defensive stance varies depending on the ball. If your player has the ball, then a parallel stance with active hand work; if the ball is in the possession of a nearby player (in one pass), then a closed stance with overlapping of the transfer line; if the far player has the ball (in two passes), then the stance is open. 2. The same, but with active defense, try to intercept or take the ball away. For 30 seconds, then change roles, 3 times.
DETAILS : Defenders must always see the ball, keep their distance, actively use their hands.
Learning how to move in defense.
Get into a protective stance and move around: 1. Small steps to one side and the other. 2. Small steps to one and the other side with greater speed. 20-30 seconds each exercise.
DETAILS : Leading foot turned slightly in the direction of travel, the "back" foot does not approach the leading, the distance between the legs is maintained.
CHIPS : Emphasis on the first step, it must be fast and taken with the lead foot.
Learning how to move in defense.
1. Move backwards in a defensive stance in a zigzag from the beginning to the middle of the court, quickly, without stopping. Come back with an easy run. 2. Do the same in alternation with acceleration. Start with 2-3 times, and later increase the number of times or distance.
DETAILS : Keep your back, don't jump in the move.
CHIPS : Emphasis on the first step, it must be fast and taken with the lead foot.
Learning how to move in defense.
Move in a protective stance: 1. Back and forth, adding a normal run every three steps. 2. In one direction and in the other, adding the usual run at the command of the coach. 20-30 seconds each exercise.
DETAILS : Leading foot turned slightly in the direction of travel, the "back" foot does not approach the leading, the distance between the legs is maintained.
Improving protective actions.
1. Stand opposite each other with a partner. The attacker dribbles the ball in place with cover, the defender tries to knock out or take the ball away. If he succeeds, then the defender gives the ball back to the attacker. 2. The same, but the attacker moves left and right along the line in 3-5 steps. 3. The same, but the attacker moves diagonally back and forth in 3-5 steps. 30 seconds each, 3 sets.
DETAILS : Keep your distance, back straight.
CHIPS : The drill will be especially effective if performed without fouls.
Learning how to move in defense.
Stand opposite each other in protective stances with a partner. One makes movements, the other repeats after him: 1. The host moves in one direction and the other, makes various movements with his hands (raises and lowers). 2. The leader moves in one direction and the other, sometimes adding a normal run. 30 seconds each, 3 sets.
DETAILS : Increase and decrease your movement speed. Keep your back, don't jump in the move. The back leg drags along the floor.
CHIPS : Turn on your imagination, perform different movements.
Learning how to move in defense.
Accelerating forward 1/4 of the landing, at the end of a step with active work of the hands - moving sideways in a protective stance - again accelerating forward with a step and so on. 3 sites.
DETAILS : Keep your back straight, low stance in defensive movements, active arm work
Improving protective actions.
One player (playing) has the ball, two other players - a defender and an attacker. The striker makes movements (forward / backward, right / left), trying to get a pass from the player with the ball. The defender plays in a closed stance, covering the passing line, making it difficult for the attacker to receive the ball. If the transfer still went through, then the attacker returns the ball to the play-by-player and opens again. 30 seconds in each role, 3 times (change in a circle).
DETAILS : The defender must always see the ball, keep his distance.
How to develop your left hand if you are right-handed?
Most people during their life train and develop only the right hand, and the left is given only an auxiliary role. But if our hands are the same, why not try to learn how to perform the same actions with your left hand, and why is this necessary?
The answer to this question lies in the peculiarities of the human brain. The left hemisphere controls logical thinking, speech, writing and is responsible for the work of the right half of the body, while the right hemisphere is the focus of intuition, creative perception, and coordinates the left half.
According to the observations of art therapists, the drawings made by the left hand are distinguished by extraordinary figurativeness, emotionality and realism. This is typical for artists, and those who have never been involved in drawing. In addition, people who have managed to develop the left hand along with the right, note how their life has changed with the inclusion of intuition in it and the activation of the creative perception of reality.
According to one of the theories of classical psychology, the human personality is a set of subpersonalities - different internal images: Parent, Adult, Child. The first two are critical, reasonable and rational. They live in the left hemisphere. And the third, the Inner Child, spontaneous, irrational, creative - in the right.
Therefore, the development of the left hand is the establishment of contact with the creative essence of oneself.
Developing the left hand, a person makes the brain work more productively, connecting intuitive, creative channels to logic and rationalism.
There are several effective ways to develop the left hand, and regular training will certainly lead you to achieve your goal.
Learning to write with the left hand
It's a fun, if not easy, activity. Motivation is needed to be successful in this business. For a person striving for self-development, the goal will be to enrich logical thinking with creative potential.
To make training enjoyable, you need to comfortably equip your workplace. The table lamp is now on the right, while the left side of the table is left free, as there is now a hand and a writing pad.
A stylish pen and a bright notebook with a notebook will create the right emotional mood, so that when you look at them, a desire to work arises. You will need lined paper for writing, as you will have to learn to write again. The main thing is that the process of writing with the left hand brings joy, otherwise the training will soon get bored and become ineffective.
How to arrange the notebook? To make your hands less tired during work, the upper left corner should be placed slightly higher than the right, and the left elbow should be conveniently placed on the table.
For writing with the left hand, you will need writing instruments longer than usual, since the left-hander holds the pencil a little higher than the right-hander, the distance from the sheet of paper to the grip of the pen is 3-4 cm. , and then phrases, as first graders do. This will develop the technique of writing and develop a beautiful handwriting. If such activities are not to your liking, then you can write down your thoughts or write out your favorite quotes from books, catch phrases.
In the early stages of training, it is better to write in block letters, then switch to capital letters. You need to start by writing the alphabet. You can also use the technique of tracing text written in pencil with a pen. For fun, the method of mirror writing is suitable. The letter on the contrary, with a turn of letters by 1800, will help to achieve the desired result. So did Leonardo da Vinci, in whom both hands were equally developed. In addition, writing from right to left is natural for left-handed people with a dominant right hemisphere.
To be successful, you need to practice regularly for a few minutes. This will bring more benefits than infrequent but long workouts.
Training is not limited to the time allotted for it. The left hand should be loaded at every opportunity. For example, write down phone numbers, prescriptions and other useful information.
Left arm training requires a lot of patience, time and effort.
And it is unlikely that you will be able to immediately achieve visible quick results, so on the way to self-development you will have to stock up on patience and endurance. You should not expect a good writing speed at the first stages of training, the quality of writing, that is, a practiced skill, control of a previously naughty left hand, will be more important. The speed of writing will develop in the next stage of work.
Drawing with the left hand
The most successful way to practice. After all, the right hemisphere of the brain develops, where the creative potential is laid. Drawing allows you to better develop the motor skills of the left hand. First you need to put dots on paper, then connect them, make a schematic drawing. It is useful to start synchronous drawing by using both hands, gradually leaving the left hand in the work.
American art therapists recommend the following exercises for the development of the left hand:
Try to draw a symmetrical object using both the left and right hands at the same time.
Without synchronous actions, try to draw the same thing, each hand moves in its own way.
Draw with both right and left hands at the same time, but the patterns and trajectory of hand movement are different.
Make a drawing with the right hand, then draw the same with the left.
More detailed instructions can be found in the article "How to learn to draw beautifully".
Use the left hand in everyday work
Always use the left rather than the right hand in everyday situations: brush your teeth, comb your hair, use a fork, spoon and other cutlery. When the skills have not yet been worked out, you can not use sharp objects: a knife, a needle, a straight razor, so as not to injure yourself.
The left hand must be constantly used, bringing the movements to automatism. Do not forget about the goals of developing the left hand, reinforce the work with positive motivation so that the classes do not get bored and bring benefits.
The following techniques will help you remember to train. For example, write on the palms: "Right", "Left". Performing this or that action, use not the right, but the left hand. Visual memory will definitely work. It is useful to wear a watch not on the left, but on the right hand. An unusual sensation will remind you that everything is now done by the left hand. You can stick stickers with the inscription: "Left" on various household items (door handles, telephone, refrigerator, electric kettle).
Strengthen the left arm
In addition to writing, physical exercises are necessary for training the left hand.
Ball exercises. Throw a tennis ball up and catch it with your left hand. After hitting the ball against the wall, catch it with your left hand. It is advisable to use rackets and, as the skill improves, change large ones to small ones. Classes in the gym with a basketball court will help improve the actions of the left hand. Stand to the right of the basketball basket and throw the ball into it with your left hand. Make 10 - 20 throws. In addition, it is useful to learn to dribble as easily with the left hand as with the right. To achieve the result, keep your right hand behind your back.
Playing badminton with your left hand will bring tangible results.
Weight lifting. It is necessary to shift the power loads from the right hand to the left. For this, manual expanders, dumbbells are suitable. Weight should be increased gradually.
Juggling. This is a useful, exciting and spectacular activity that develops dexterity and coordination of movements. You need to juggle three to four balls.
Playing musical instruments. The construction of most musical instruments requires the use of both hands equally. Yes, you can learn how to play the guitar. Guitarists pay great attention to the development of the fingers of the left hand. For this, a whole system of exercises has been developed. It will be useful to learn how to beat out a drum roll.
Swimming. Perfectly develops coordination and, accordingly, the brain. In all types of swimming, both hands are equally involved.
Spinning Another good way to develop the left hand. For the lesson you will need balls on the ropes. Holding the ends of the ropes with your hands, perform rotational movements.
The list of exercises can be supplemented by anyone who wants to engage in self-development, in accordance with their own imagination and hobbies.
The development of motor skills has a positive effect on the work of the brain, makes the reaction faster, thinking becomes flexible. However, at first, you should not expect a quick result. The opposite effect is possible. Due to the increased load on the brain, the speed of thinking and concentration slow down significantly, but as soon as the brain adapts, it will begin to work much more efficiently than before.


 Grab a partner, stand ten feet apart, and put your dominant hand behind your back. With one ball, pass and receive with only your weak hand. As you progress, you can increase the speed and challenge your partner! Each player should pass with their non-dominant hand twenty times equaling one set. Start with four sets and increase as you feel more comfortable.
  For further help with your game, check out more drills and tips and join us this summer at a Doug Bruno Girls Basketball Camp!
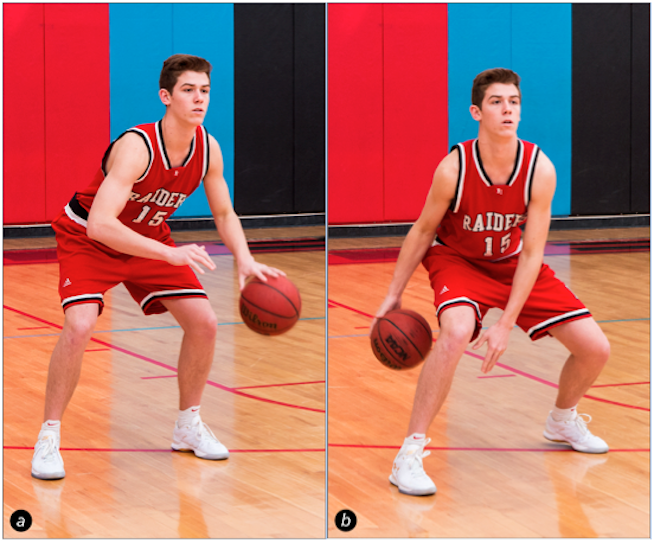 Without letting the ball hit the ground. By only using one arm for this drill. It will force you to use that weak hand to balance yourself when moving back and forth on the court.
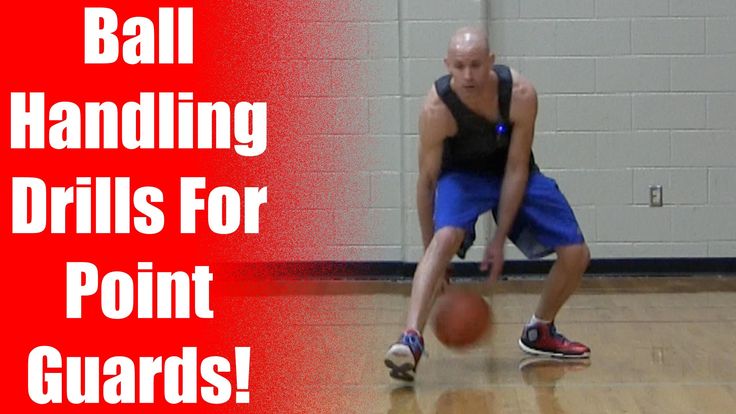 But over time you’ll be able to improve your weak hand in basketball.
 This is a great drill to get used to making shots with your weak hand. While also helping it become more accurate when shooting different angles. For this weak hand workout, you’re going to want to start by standing about five feet away from where you’ll be throwing the balls at (like another person or backboard).
 Where there would normally be a three-point line.
 Even without extra effort on improving them. This happens when someone has only ever played with their dominant hand which ends up causing their weak hand abilities to be weak. They might start playing with their weak hand more often though, and before they know it they’re already used to using it in a variety of situations!
 Focus on keeping your weak hand low by making sure it’s always below your dominant hand, and also make sure not to use too much power with this weak side since you don’t want any unnecessary fatigue either!
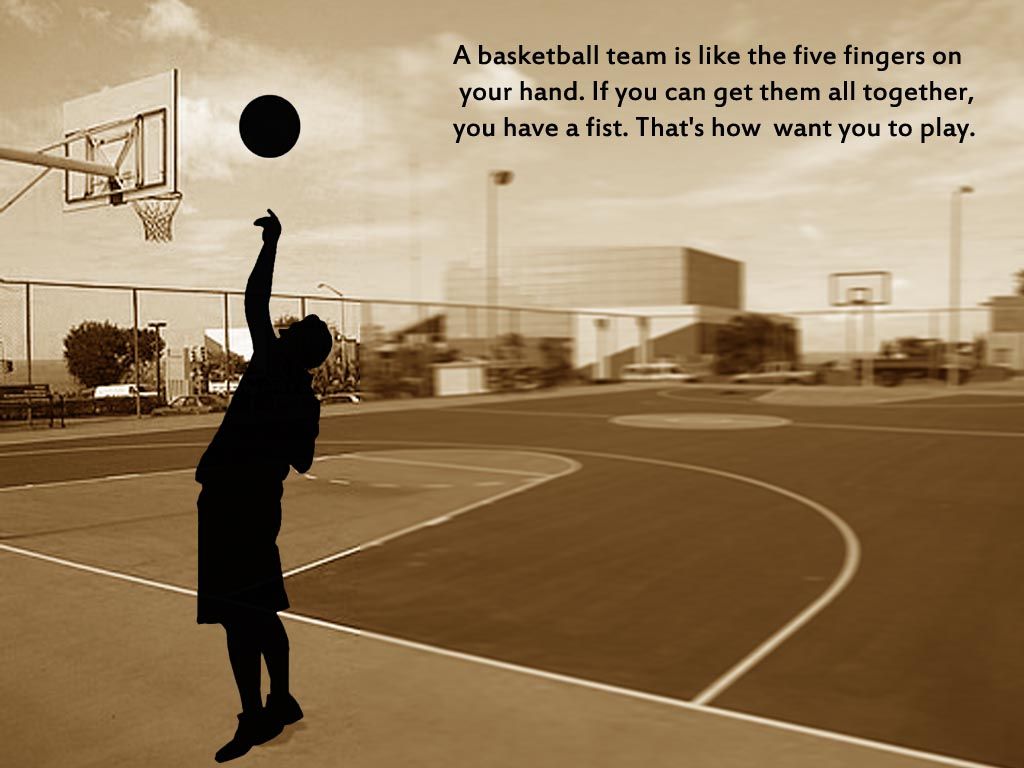 Depending on your needs/preferences. We can also mention its durability, if we have collected enough data on the specific sneakers.
 If the pass is still passed, then the attacker must perform turns (one circle forward or backward) and give a reverse pass to the playing along, and the defender must actively interfere with him, try to knock out or take the ball away. 30 seconds in each role, 3 times (change in a circle).
  To check this, you can knock a little.
 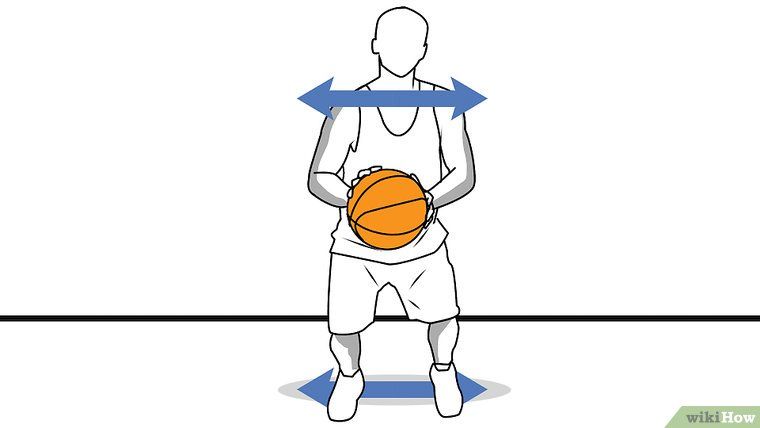 2. Small steps to one and the other side with greater speed. 20-30 seconds each exercise.
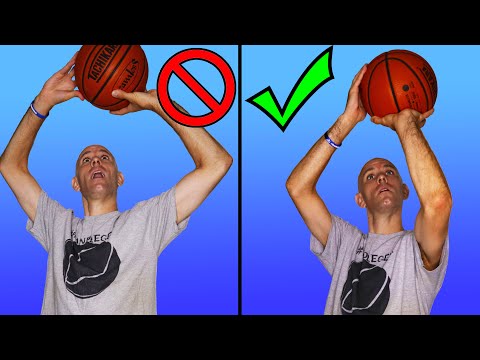
 3. The same, but the attacker moves diagonally back and forth in 3-5 steps. 30 seconds each, 3 sets.
 30 seconds in each role, 3 times (change in a circle).
  In addition, people who have managed to develop the left hand along with the right, note how their life has changed with the inclusion of intuition in it and the activation of the creative perception of reality.
 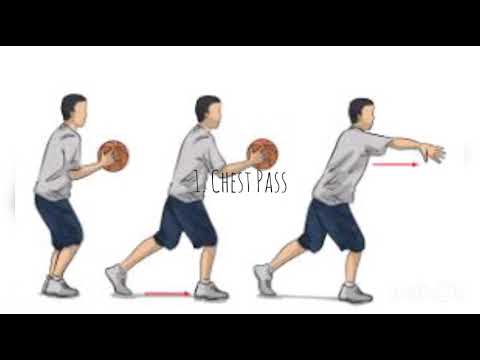 Motivation is needed to be successful in this business. For a person striving for self-development, the goal will be to enrich logical thinking with creative potential.
  , and then phrases, as first graders do. This will develop the technique of writing and develop a beautiful handwriting. If such activities are not to your liking, then you can write down your thoughts or write out your favorite quotes from books, catch phrases.
  The left hand should be loaded at every opportunity. For example, write down phone numbers, prescriptions and other useful information.
  It is useful to start synchronous drawing by using both hands, gradually leaving the left hand in the work.
  Yes, you can learn how to play the guitar. Guitarists pay great attention to the development of the fingers of the left hand. For this, a whole system of exercises has been developed. It will be useful to learn how to beat out a drum roll.