A basketball hoop can provide countless hours of at-home fun, a way to get exercise or a means to hone one's skills for team play. Buying one from a manufacturer, though, can be expensive. Building your own stand can be significantly cheaper.
Whether you're building the entire apparatus from scratch or just need to make a stand for a manufacturer-made hoop, the process is doable with the right equipment and some patience. For the sake of practicality, as well as to cut down on your labor, use an already-assembled hoop and focus on making a sturdy stand.
Preparing the Foundation
A basketball hoop must be two things above all else: sturdy and level. To make sure yours will be both, give it a solid base. Use the post-hole diggers to create two 12-inch-wide holes, 3 feet deep, and make them 4 feet apart. Align the holes so that the rim side of the backboard is parallel with the line the holes form. Ideally, these holes would be alongside an already-existing concrete slab (a driveway, for example) so the rim will hang over it.
Pour a small amount of water (about a half gallon) into each post hole to soften the surfaces at the bottom (unless the bottom is muddy or wet already). This will help support both the building forms and the posts when it comes time to set the forms.
Make sure the rest of your equipment is near the post holes, as the process of setting the posts goes fairly quickly. All concrete bags, posting forms and posts should be within reach of the holes and readily accessible. Using the level, make sure the holes you dug are on level ground -- this is an important step, as a slope at the foundation of the hoop can make for an uneven apparatus.
Setting the Posts
Place the posting forms in the post holes firmly at the bottom, even digging them into the ground slightly if possible.
Get another person's help to ensure the posts are level vertically and to hold the post in level position while you set the concrete. One post at a time, have your helper stand on the ladder and hold the top of the post as it stands in the post hole. The post should have one of its flat sides facing away from where the backboard will be.
As your helper holds the post in the post hole, be sure that it is level vertically, measuring it on all four sides. Once you adjust the post correctly so that it is level, instruct your partner to hold the post as still as possible.
Pour five bags of the quick-setting concrete into the post holes, starting inside of the posting forms and filling the hole.
Add water to the concrete, filling the rest of the hole. Fast-setting concrete does not require mixing, as the water should soak into it. The concrete should set in 20 to 40 minutes.
Repeat Step 5 for the other post, making sure that the front of it is flush with the front of the first post. When both posts are set, you should have two posts parallel to each other, standing straight up, 13 feet tall from the ground. Let the concrete set fully before going further.
Attaching the Backboard
Assuming you bought a regulation-size backboard--72 inches wide by 42 inches tall--you should have just enough excess post to attach it and make the rim 10 feet off the ground. Screw the four brackets onto the back of the backboard. Two should be fastened low on the backboard, each 24 inches from the exact horizontal middle of the backboard so that they are 48 inches apart (just like the posts).
Two feet above those lower brackets, fasten the other two, also 48 inches apart. This should form four "corners" on the back.
Using a measuring tape, measure out to 10 feet from the ground, then have your helper mark on one of the posts where the backboard needs to be for the rim to be at 10 feet. That mark will be where the lower brackets of the backboard will be screwed in tightly
Fasten the top brackets to the posts as well to complete the process.
Tips
For added stability, you can pour a layer of concrete around the bases of the posts after they're set.
Warnings
Wearing heavy-duty gloves is advisable. If at all possible, avoid mixing the concrete in cold temperatures (less than 72 degrees), as this slows the pace at which it sets. Be sure to routinely use the level to check that all your surfaces and edges are flush. Anything less than perfectly straight will produce an undesirable result and a crooked backboard.
how to build a basketball goal – handmade and beautiful
We’ve lived in our house for a while now {we’re coming up on our one year anniversary this Fall!} and while the outside makeover is underway, we wanted to add something else that’s a little fun for the kids. They all love a good game of horse, so a basketball goal seemed like a good addition, but we wanted something more than the plastic one’s you buy at the big box store. Something cool and vintage and unique. So today we thought we’d share how to build a basketball goal.
See what we did there with the color coordination and all things Handmade Hideaway?
I mean, we couldn’t help but point it out.
We might have rotted-out posts on the front porch of our house, and the pizza guy can’t tell that anyone lives here, but we can’t tell you how many compliments we’ve already received from our sweet neighbors on the basketball goal {and hideaway}!
Priorites, y’all. Priorities.
The kids adore it, and between the hideaway, pool, and this… they should never come back inside. EVER. They live outdoors now.
Seriously though, with the dumpster finally out of the way and the rest of our renovation underway, it feels kind of nice to start to feel normal again. A real home where kids can play outside and dribble a basketball in the driveway… it’s the little things that are pretty great.
If you’d like to try a hand at your own, it’s a pretty simple build!
How to build a basketball goal – a video tutorial
Here’s a little video we made for some of the steps, the written instructions are below so you can follow along.
How to build a basketball goal – the tools
• Post hole digger • drill • miter saw • wrench set
How to build a basketball goal – the supplies
• 6 x 6 x 14 • (2) 1 x 6 x 12 cedar boards • (2) 1 x 4 x 8 cedar boards • (4) 2 x 4 x 8 pressure treated pine • (2) 8-inch lag bolts with nut and washer • one small box of 3 1/2 inch deck screws • one small box of 1 1/4 inch deck screws • (2) bags of 60 pound concrete • (2) large metal mending plates
How to build a basketball goal – the base
First, measure out where you want the basketball goal to be located. Next, dig a hole for the 6 x 6 post.
We’d suggest digging it 12 inches wide, and 2 feet deep.
Once the hole is dug, place the 6 x 6 in it and brace it with your (4) 2 x 4’s and a few screws.
Mix the concrete and pour it in the hole around the post.
Then, make sure to level the post again.
Let the concrete sit for 24 hours and then remove the 2 x 4 support post.
How to build a basketball goal – building the backboard
You’ll need to cut your 1 x 6 cedar boards down into (6) 4-foot sections, and cut your 1 x 4 cedar boards down to (4) 32-inch sections.
Use a clamp to tighten your boards, then screw them together using your 1 x 4’s as the brace, and 1 1/4 inch deck screws as the fasteners.
How to build a basketball goal – building the backboard support
Now you’ll need to build the goal support. You’ll use the 2 x 4’s that were also used as the braces for your post.
Cut the following pieces:
• (4) 6-inch pieces – used for the front and back cross braces • (4) 12-inch pieces – used for the two side brace on the top and bottom. This piece will attach to the backboard as well. • (2) 30-inch pieces – used to join the two boxes on the side. • (1) 23-inch piece – use on the back side of the support to prevent the goal from leaning forward.
Use your 3 1/2 inch screws to build the support as pictured below. This photo is also before the final front brace is added to the top.
The back support piece is best to add once the entire goal is up. We attached it with two metal mending plates.
Before we attached the back board to the suports, we attached the goal.
You’ll want to center it on the back borad near the bottom. We choose to split the two bottom boards.
Because Ashley was not around and I’m incredibly impatient, I used some 2 x 4’s to help me raise the goal. I simply lifted it and braced it with the 2 x 4’s and moved it up the post. Once I had it up I simply screwed the brace into the post.
If you want the option to raise and lower the goal, then you’ll want to use the lag bolts for this. Simply drill holes through the post at the appropriate levels and use the holes and the lag bolts to raise and lower the goal.
How to build a basketball goal – painting
Before we began painting, we broke out the Frog Tape to protect the goal from the paint.
Trust us on this… you don’t want to be scraping paint while standing on a ladder because you used the wrong tape for this, or decided to freehand it. The paint lock technology on the green tape is far superior to the other brands. {We learned that lesson the hard way on some art, switched tape brands, and haven’t looked back.}
We also used the Frog tape to assist on some of those crisp lines we needed.
It was hard to show this while standing on a ladder. It turns out, taking photos while 10 feet up and trying to pull tape isn’t easy, and turns out blurry. So we decided to steal one of the pictures from their website. {We’ll try to show you a video when we paint the basement.}
Once the backboard is painted, you’ll need to paint the “box” on as well. We choose to use the Yellow Frog tape for this as it’s built to be used on freshly painted surfaces.
Your box should measure 24 inches wide x 18 inches tall. That’s from outside edge to outside edge. We used a level to get our lines straight. Then we taped off the area we wanted to paint. Next, we did rows of tape above and below the original tape. We removed the original tape and painted between the two remaining rows of tape.
The kids absolutely love it. We love that it can grow with them, because the height is adjustable.
We see lots family rounds of PIG and HORSE in our future!
As always, let us know if you try it! We’d love to see!
Have an inspired day!
{We partnered with the with our good friends at Frog Tape to build this project. For more on our partnerships please visit here.)
How to equip a basketball court in the country or in the yard
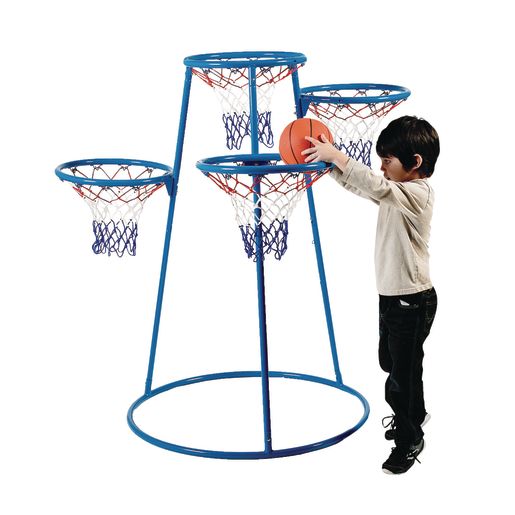
Basketball develops the child's physical abilities - coordination, endurance, develops strong-willed qualities, concentration, attentiveness and teaches non-standard thinking. Professionals recommend sending a child to the basketball section from the age of 8-9, but outside the city or in the yard, you can “chase the ball” from an early age.
I myself equipped a basketball court in my country house and now I am ready to share the secrets of its arrangement. I'll tell you what you need to do, how to choose the right equipment and how to care for it.
Prepare basketball court surface
To create a basketball court in accordance with all the rules, you need to select a flat horizontal surface for it and fill it with concrete. After that, I recommend applying a special rubber coating, like on playgrounds in the yard. There is a more expensive coating option - from rubber.
The coating will provide cushioning - the ball will bounce well.
If it is not possible to organize a special platform, you can simply place a rack or hanging basket on a dirt surface. In this case, the ball bounce will not be so strong. An important requirement for safety: the surface must be flat, without holes and bumps.
The dimensions of the site depend on the features of your yard or plot in the country. A full-fledged basketball court has dimensions of 28 × 15 meters. However, not everyone has the opportunity to build such a site in the country.
It is necessary to take into account the technical features of the game. The three-point line in basketball is 6.75 meters from the hoop. Therefore, it is necessary that the size of the site be at least 10 × 13 meters. If you are not going to train three-point shots, a 5 × 5 meter court will do.
Mark out
The second step is to mark up. It is important to use paints of contrasting colors. It is better to buy paints with a high content of rubber or polymer.
If you are equipping a basketball court for children, make the markings bright so that they cheer you up and attract attention. For the game of teenagers and adults, it is better to immediately apply technically correct markings.
Place a small fence or protective net on the site. Thanks to them, you do not have to constantly run after the ball to the other end of the site.
Buy stand or backboard
It is difficult to answer the question of what is better - a basketball stand or a backboard. It all depends on taste, tasks and opportunities. Each of these types of equipment has its pros and cons.
There are two types of racks: mobile and static. The static one is mounted in the ground.
The base of the mobile rack is filled with sand or water - for stability. The main advantage of a mobile rack is that it can be moved from place to place. This is convenient when there is no dedicated basketball court or if you are going to play other games in this area, such as tennis or football.
The main requirement for racks is their stability. It will be much more comfortable and safer to play if you are sure that the stance will withstand a blow of any force.
Pay attention to the materials from which the racks are made. A static rack will be outdoors throughout the year, which means it must be made of reliable materials. It is better to buy racks from well-known manufacturers. So, the American companies Spalding or Royal Fitness guarantee high quality, durability and safety.
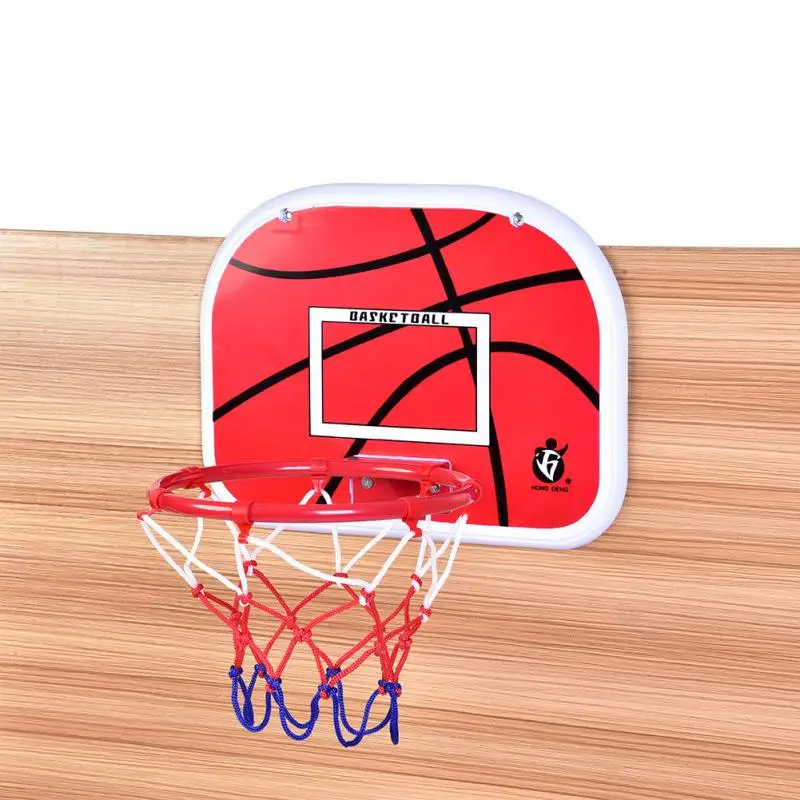
Basketball backboards can be made in the country with your own hands from a board, chipboard or plywood remnants. If this option does not suit you, you can purchase semi-professional or professional options in stores.
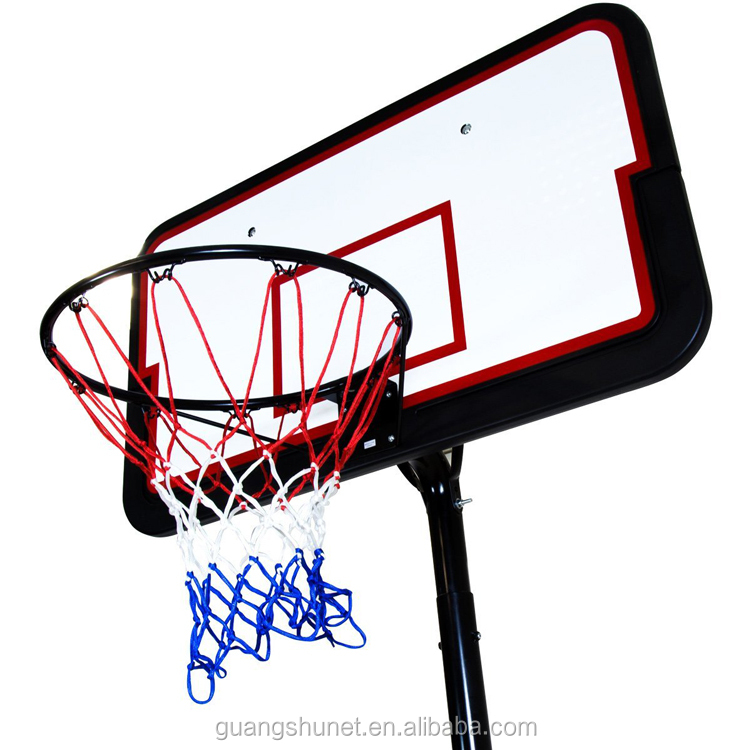
There are four types of materials from which the shield surface is made: composite, polycarbonate, acrylic and tempered glass. The first one is the cheapest. It is intended for entry-level players. Now manufacturers offer a large selection of colors. A carbonate backboard will provide a good bounce of the ball. An acrylic shield is bought to hold competitions or intense games.
The mobile stand can be moved, so it is suitable for a playground in the country and for those who want to play other games besides basketball
Shields and racks made of tempered glass look solid. They will be appreciated by experienced basketball players
Pay attention to rings
You can buy cheap rings, but I don't recommend doing that. In a year they will deteriorate and you will have to buy new ones. Basketball hoops from Spalding and Royal Fitness are made from quality metal that won't rust in the rain.
The ring must have a springy structure - no rigid attachment to the shield.
According to NBA rules, the ring must be fixed at a distance of about three meters from the ground. For a game with the participation of younger students, it can be hung lower so that it is not very easy to hit it, but at the same time it is quite possible.
Choose rings made from high quality metal to last for many years. For a game involving adults and teenagers, metal chain rings are suitable. They are distinguished by durability and strength.
Know what types of basketballs exist
Success in the game depends on the basketball.
They are divided by size. Size 7 is for men, 5 for women. Even smaller balls are bought for children. The size 6 ball is suitable for street ball or street basketball where the game is played on half the field.
You also need to take into account where you will play the ball: on the street or in the hall. The street ball has a stronger bounce, it is harder and more wear-resistant, but the indoor ball is more convenient to hold in your hands.
It is important to pay attention to the composition of the basketball. Well-known companies use complex polymer compositions for its production. The more expensive the ball, the more complex the polymer composition. The quality of the material determines how comfortable it will be for the players to hold the ball, what kind of rebound it has from the floor and from the bow of the ring.
Another important nuance: do not forget to purchase a pump with any needle.
If you want the ball to have good grip and bounce well, you need to choose polymer models from world famous manufacturers
Proper care
Professional athletes are ready to play in any weather, but amateurs are better off not following their example. If you don't properly store, use and care for your basketball arsenal, its lifespan will be shortened. Humidity will ruin the ball and all equipment, so you can’t leave them outside during rain and snow.
Balls should be stored only in a dry and ventilated room at a temperature of 10 to 20 °C.
Before winter storage, water must be poured out of the base of the mobile rack, and then removed from the street. If you don't feel like doing this every time, fill the rack with sand. Then it will not need to be constantly moved. Basketball stands from Royal Fitness can be left outside in the winter.
Points to remember when setting up a basketball court
The area needs to be determined. The classic version - 28 × 15 meters - is not suitable for everyone. For a dacha, a 5 × 5 meter area will be enough if you want to train three-point shots.
Don't forget the markup. It should be in a contrasting color. Bright colors will interest children and cheer them up.
It is necessary to install a protective net so as not to constantly run after the ball to the other end of the area.
If the shield is stable, then it is safe. A mobile stand from a well-known manufacturer will also not let you down, and it can be moved around the site.
When choosing a basketball, you need to focus on the players. For games involving children and adults, balls of different sizes are needed.
If you want a basketball ring that doesn't rot in a year and you don't have to spend money on buying a new one, choose rings from well-known manufacturers made of high quality metal.
Don't forget about care. Do not leave equipment and inventory on the street. Racks need to be removed to the house for the winter.
Basketball hoop - how to make a stand with a backboard with your own hands
Love basketball and want to make a hoop? I wanted to make it myself, not buy it, and I ended up making it. It's pretty cheap, especially if you have some of the stuff you need to assemble.
Let's start assembling the basketball hoop with our own hands.
Step 1: Shape the Ring
The first thing you will need is a ring, I made it with 12mm rod, but it doesn't have to be that size. The standard diameter of a basketball hoop is 450 mm.
To make it flat you need something to wrap it around, this thing should be about 400mm in diameter.
I found an old car rim of the right size, you will need to clamp it to the table with a clamp using a piece of wood.
As shown in photo 2, place another clamp a little further from the first with a rod in between.
As shown in photo 3, slowly wrap the rod around the disk, once you wrap the rod and its edges overlap, cut off the straight ends.
Use a clamp to press the ends together, then weld them together.
To complete this part, place the ring on the ground and straighten out all the curves.
Step 2: Frame
Bend a piece of flat metal, mine was 4mm thick.
Weld it to a flat point in the ring.
Cut two rods 320 mm long.
Weld them as shown in the photo.
Drill four holes to match your existing bolts.
If you need a netball ring, you can simply attach it to the pole and skip the rest of the steps.
Step 3: Mesh Staples (Optional)
Show 7 More Images
Do this step if you need mesh. If you need a network, you will have to buy it. This step is not as difficult as it seems.
cut 12 pieces of wire 90 mm long (I would recommend making a few spare parts, as they are easy to ruin.)
bend them in the middle (it doesn't matter if the tips are the same length)
clamp the wire in a vise with a steel rod at one end
bend wire over rod
repeat this with all parts of
retighten the wire wrapped around the rod (see photo)
bend it
repeat with all parts of
retighten the wire wrapped around the rod
bend it (at this point you can't just remove the wire from the rod - you will need to slide it to one of its edges and remove it from the edge)
repeat with all parts of
divide into 12 parts and weld on the brackets
Step 4: Backboard
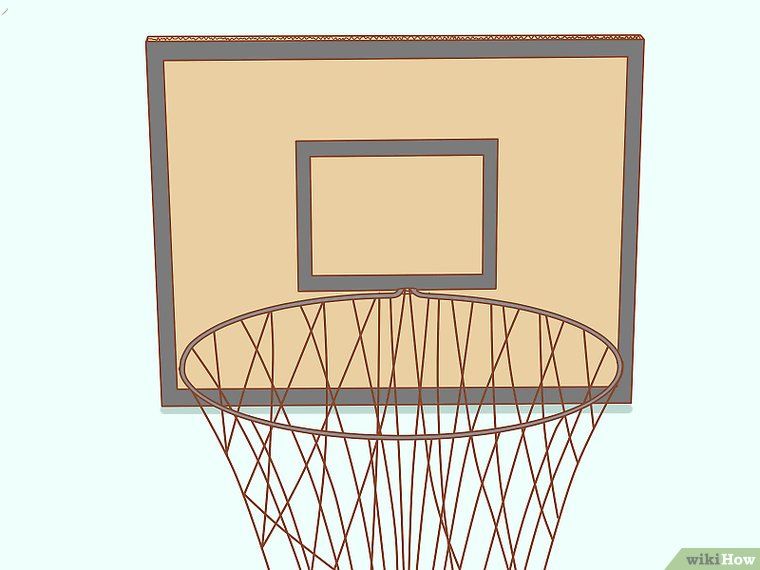
Cut the board to size. My board does not fit the full size of basketball boards. (the second picture shows the dimensions of a standard shield).
My measurements are 1100mm wide, 700mm high and 25mm thick. (You don't have to be that size.)
Step 5: Paint the Shield
Once you've drawn all the lines on the shield, lay masking tape over them. If you try, everything will look neat.
If you are using MDF, you will need to take care to protect the edges from moisture (as shown in photo 2).
Carefully paint over the area around the masking tape.
Remove masking tape after enough coats of paint have been applied and the board looks finished.
Step 6: Paint the ring
First you need to sand the metal. I used a grinding disc on a grinder.
The ring must not be black or white, it must stand out from the shield. Usually the ring is painted orange or red.
The easiest way to paint inventory is from a spray can.


 The post should have one of its flat sides facing away from where the backboard will be.
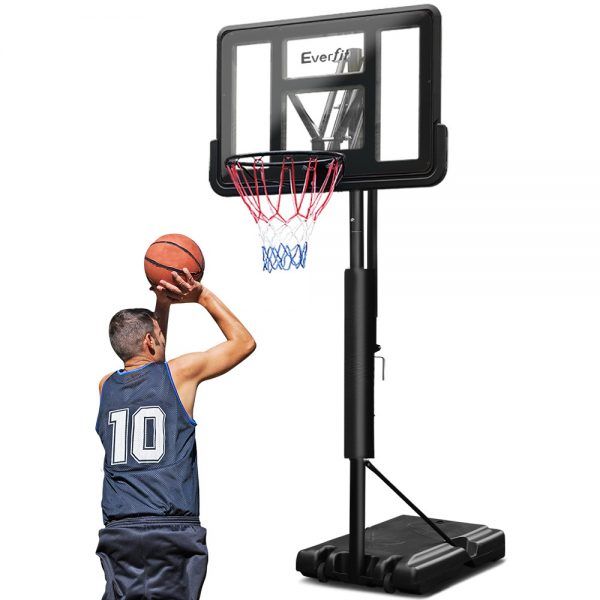 Screw the four brackets onto the back of the backboard. Two should be fastened low on the backboard, each 24 inches from the exact horizontal middle of the backboard so that they are 48 inches apart (just like the posts).
 Be sure to routinely use the level to check that all your surfaces and edges are flush. Anything less than perfectly straight will produce an undesirable result and a crooked backboard.
 Priorities.
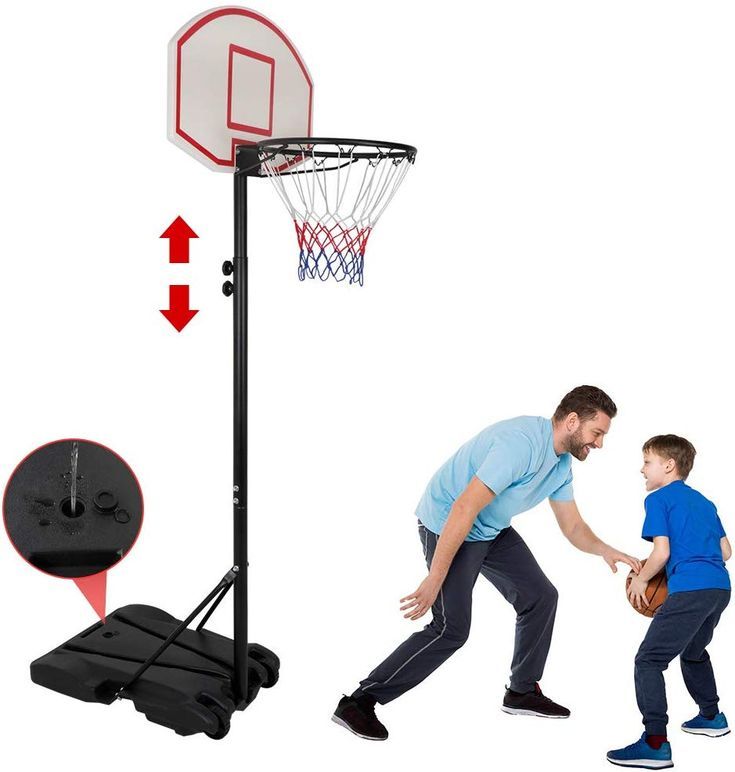 Next, dig a hole for the 6 x 6 post.
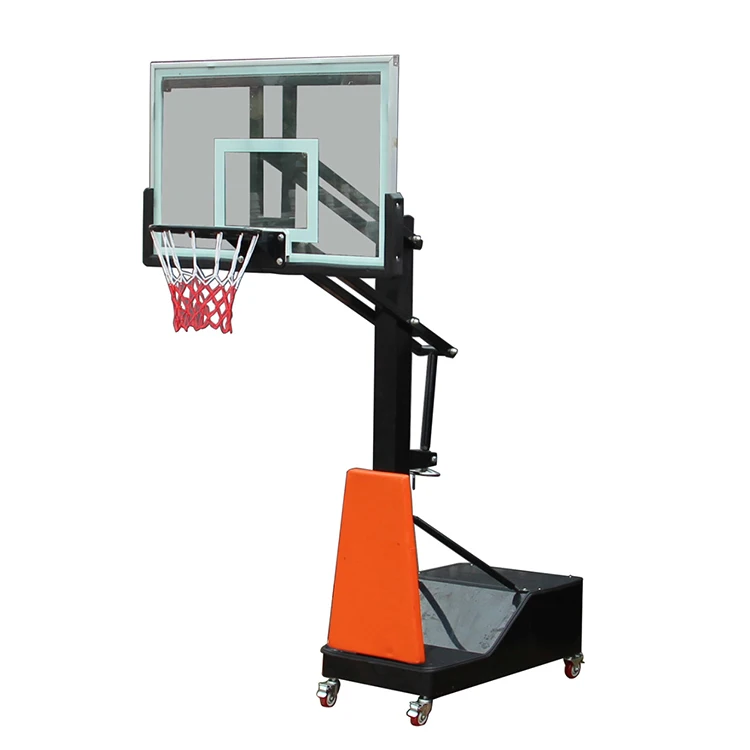 This piece will attach to the backboard as well.
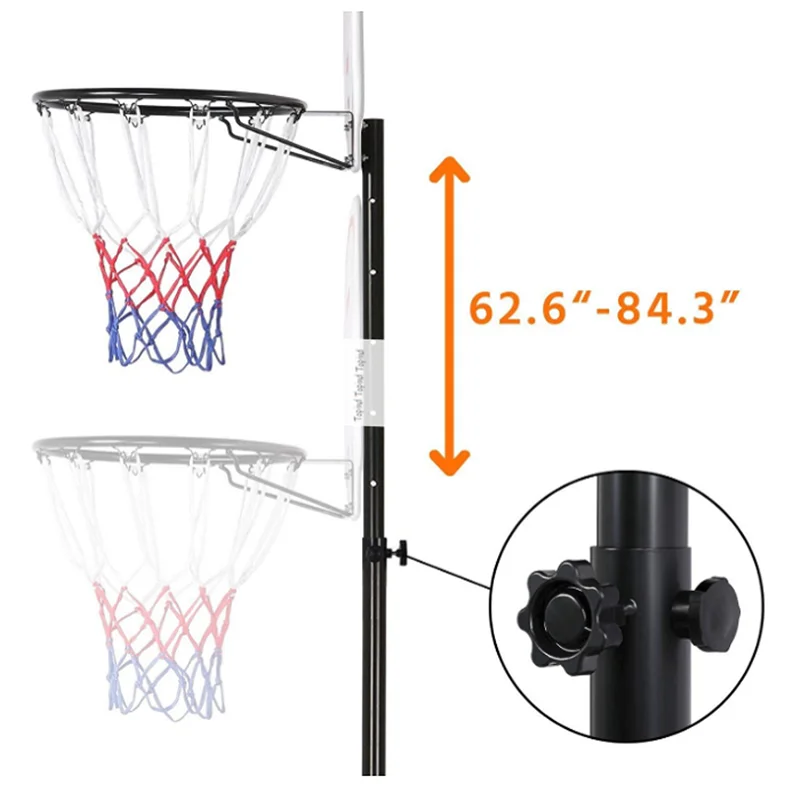 Simply drill holes through the post at the appropriate levels and use the holes and the lag bolts to raise and lower the goal.
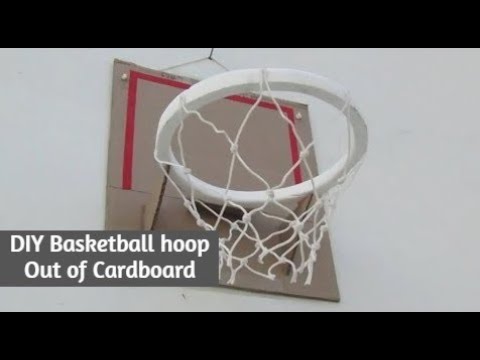 We choose to use the Yellow Frog tape for this as it’s built to be used on freshly painted surfaces.
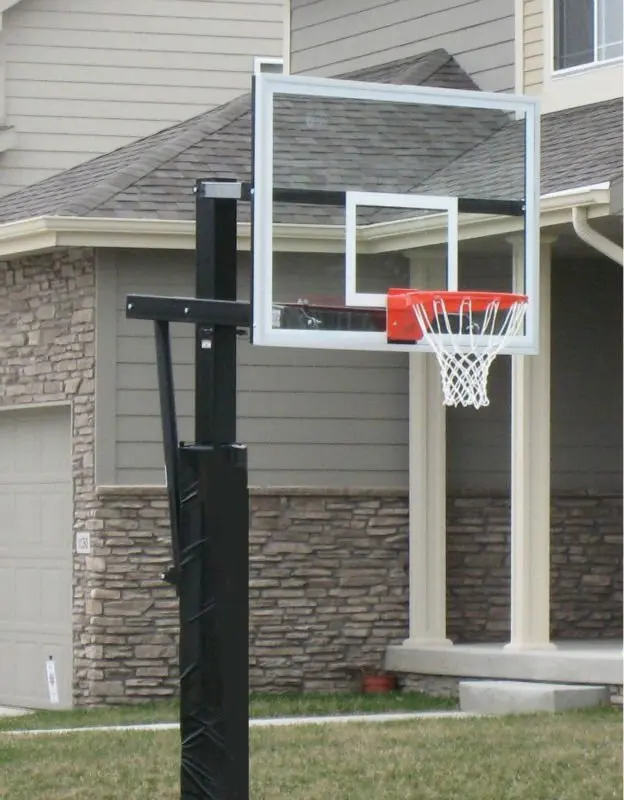 Professionals recommend sending a child to the basketball section from the age of 8-9, but outside the city or in the yard, you can “chase the ball” from an early age.
 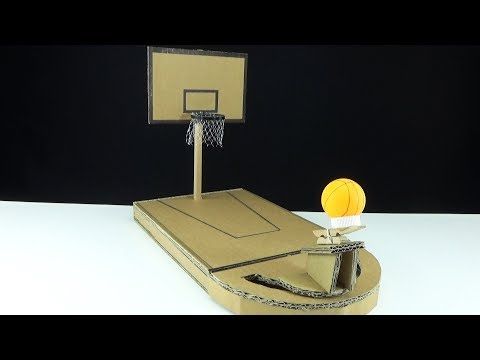 An important requirement for safety: the surface must be flat, without holes and bumps.
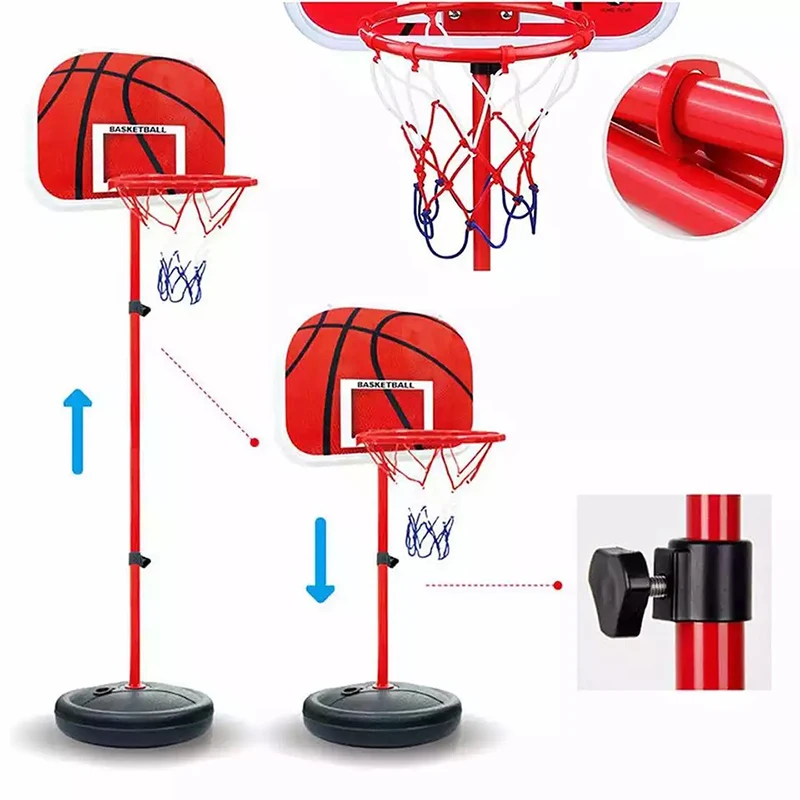
 They will be appreciated by experienced basketball players
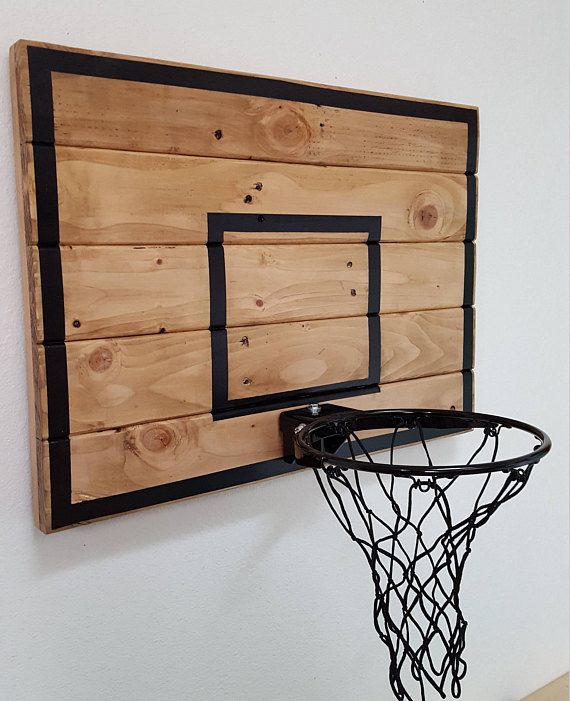
 If you don't properly store, use and care for your basketball arsenal, its lifespan will be shortened. Humidity will ruin the ball and all equipment, so you can’t leave them outside during rain and snow.
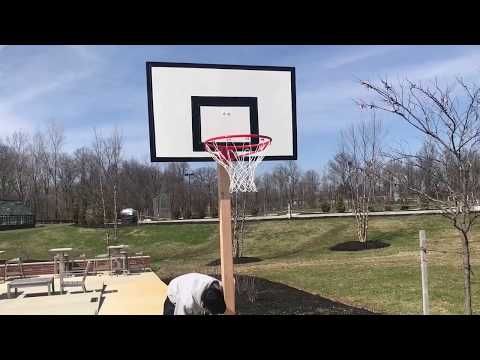
 It's pretty cheap, especially if you have some of the stuff you need to assemble.
 My board does not fit the full size of basketball boards. (the second picture shows the dimensions of a standard shield).