How To Make A Basketball Rack Out of PVC- 5 Easy Steps
We are reader-supported. When you buy through links on our site, we may earn an affiliate commission. Learn more
by Sportszpro
Almost every basketball court has a handful number of balls on hand. These balls are used for both casual and serious play. Surely, basketballs are invented to take turn and twist, aren’t they? So keeping track of all of them can prove to be a difficult task. Also, unorganized balls will put your place in disarray.
There can be a feeling of displeasure too. To get rid of this situation, a basketball rack is the best solution. Because a basketball storage rack is a primary equipment you need to maintain your balls' durability.
Yeah, obviously you can buy racks. But most of them are limited in a storage area and if you are running on a tight budget then why not try to make a rack by yourself? Infact, this is pretty much straightforward and simple to make. It can also save your money.
If You Are No longer Interested To Make A Custom Rack You May Check The Best Basketball Racks From the followings:
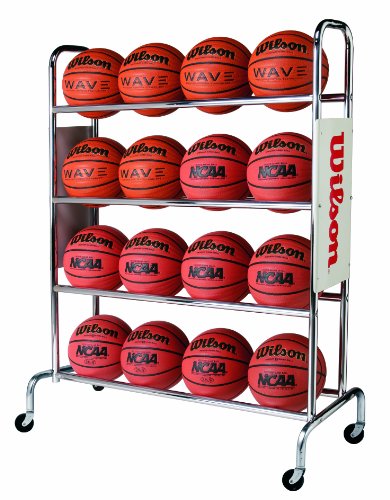
Baden Steel Basketball Rack (12-Balls)
BSN Sports Ball Cart Wide Base (12 Balls)
Mythinglogic Garage Storage System
Trigon Sports Procage HD Secure Ball Locker
BSN Compact Ball Locker
But You can build your own customized basketball rack by using some PVC pipe and few tools. Now you will be able to lock your ball's rolling by putting it on the rack but how to make a basketball rack out of PVC?
Table of Contents
Equipment You Need To Make A Basketball Rack
5 Steps To Make A Basketball Rack Out of PVC
STEP 1:
STEP 2:
STEP 3:
STEP 4:
STEP 5:
Pro Tips For Basketball Rack Makers
Caring Your Basketball with Rack
A. Maintain proper air pressure
B. Keep the shine
c. Carry superlative look
Advantage of Using Basketball Rack
Wrap Up
Equipment You Need To Make A Basketball Rack
1 inch internal diameter 40 PVC pipe
1 inch 4 way PVC T-Connectors
1 inch 3 way elbow PVC connectors (four)
1 inch PVC T-connector (four)
1 inch PVC Caps (four)
PVC Cutters or hacksaw
PVC pipe glue
5 Steps To Make A Basketball Rack Out of PVC
STEP 1:
At the start, cut several pieces of PVC pipe in the following dimensions and quantities.
A. 3 feet (four pieces) B. 12 inches (four pieces) C. 7 inches (six pieces) D. 6 inches (four pieces) E. 4 inches (four pieces) F. 3 feet additional tier (2 pieces) G. 12 inches (four sections) H. 7 inches (2 sections)
STEP 2:
Connect both a 6 inch and a 7 inch piece of the PVC to the joint of a T-connector. Now attach a second T connector and a 6 inch PVC piece with the first one. Connect 4 inch sections to the remaining openings. After that attach caps to open ends of the 6 inch pieces. This 6-7-6 pipe size sequence should form a straight line then.
STEP 3:
Do connect the inline joint of a 4 way connector to both the 4 inch pieces. Now, you need to connect the two 4 way connectors with another 7 inch section of pipe. Then attach a 12 inch section to both sides to be in line with 4 inch connection. Now the panel is looking like a low track hurdle. Isn’t it? Wide base, the 4 inch legs with a crossbar at the top and 12 inch bars are sticking out.
STEP 4:
Here in this step, you should attach a 3 way connector to the top of both 12 inch sections. Place a 7 inch piece of pipe between them. Open parts of the connectors must be facing the same direction. Need to glue all the joints and allow it to settle down. Use this process to assemble a second panel for the opposite side. You may add a few additional tiers too.
STEP 5:
In the final step, you should connect a foot pipe between each pair of the open connections. Therefore, the entire assembly will form a tiered rack. You have to glue the joints now and allow it to spread. Now you’re ready to use the ball rack.
Pro Tips For Basketball Rack Makers
1. You should use 4 way connectors to add an extra tier. A rack can have up to four tiers before the height may pose any threat.
2. Standard NBA basketball is within 9.4 to 9.5 inches in diameter. So the depth of the rack must be of 8 inches, including the connectors. Each tier can hold up three to four balls.
3. Keep the basketballs orderly in your rack. So, this will make it easy for you to find the right ball in time.
4. Be careful when you’re using glue. This can have a severe impact on your skin or irritate eyes.
Caring Your Basketball with Rack
Everybody wants their basketball to maintain the look and keep the performance for years. Without any doubt, taking care of the ball is a duty and a necessary job to do. Basketball rack makes this task very much black and white for you.
A. Maintain proper air pressure
If you continuously roll your ball everybody without taking any care of it, the ball may gradually lose its durability. Lack of compressed air in the ball may cause depressed bounce. Keep it on your rack and allow some rest to recover.
B. Keep the shine
If you expose your basketballs in the unfavourable temperature, it may harm the decor of the balls. Organize the balls in the cart and place rack to a normal temperature. Maintain the shiny nature of your basketballs.
c. Carry superlative look
After you have cleaned up all the specks of dirt with a cleanser from your basketballs:
A. Put them on the rack. B. Make sure your rack is occupied in a place which is free from dirt too. C. To sustain the prim looks and enjoy the sheen for a long time.
Advantage of Using Basketball Rack
1. No more crisis of space so no more worries.
2. Don’t have to waste your precious time to organize basketballs anymore.
3. Basketballs have got their guardian finally.
4. Easy to pick up and keep the balls in store. Therefore while you’re playing basketball, you do not require anyone to come and hold onto other balls.
5. You know where your balls are. So collection at it’s best.
Wrap Up
I think you've got the answer of how to make a basketball rack out of PVC. People consider basketball rack as one of the basic basketball equipment to play the game. Now time to make a rack on your own and hold all of your basketballs on it.
DIY Basketball Rack Cart
DIY Basketball Rack Cart
This year, I had* Equation Boy/Man in our Christmas Grab-bag. (By 'had', I mean that in my mind, I was to buy/build for him because I bought/built for my brother-in-law Shaun last year. It appears that the guys-only Grab-bag may have fallen apart, but I'll soldier on, alternating between the two of them anyway.)
Earlier this year, Equation Boy/Man had a really nice basketball hoop installed in his new driveway and I've spent many a late afternoon down at their place playing hoops with my nephew. Everytime we play, the balls were scattered across the yard or garage. Bingo! I knew what I could build him - a rolling basketball rack/cart.
I started with red cedar 4X4 beams for the corners. The rest of the pieces are cedar 2X4s. An adult basketball has a (just shy of) 10" diameter, so I made the rack 40" long to hold 4 balls. 3 levels means 12 adult balls.
I'll have to grab a photo of the finished product (because I forgot to!) that shows the wheels and how I modified the bottom level to accomodate smaller (kid-sized) balls.
Popular posts from this blog
Lou Malnati's Salad Dressing Recipe as Published in the 60's
Earlier this winter, I wrote about the old Lou Malnati's menu and mentioned that as I was waiting around for my pie to finish up, I spied an old Chicago Tribune article posted on the wall that included the original Lou Malnati's Italian Salad Dressing Recipe. The Tribune reporter called it "prized". We were set to host a little pizza party over the weekend, so I figured I'd give it a shot. Here's the article as seen through my mobile phone's camera. I'm not a wine drinker, so the fact that the recipe called for Burgundy wine didn't strike me as odd. I went shopping at Angelo Caputos in Addison - a really incredible shopping experience - and when I got to the wine section I found Burgundy wine was carried ONLY in those HUGE jugs. And they were dirt cheap. The only issue is that needed just 4 ounces. We ended up with a whole-lotta-wine that Nat won't drink. I've taken the recipe and modified it a bit by eliminating the percentage
Read more
Honey Bear Farm - Powers Lake Wisconsin - And Chicago Alderman Ed Burke
Last Summer, I was up at the Lake Geneva Walmart buying our fishing license when I noticed a guy who looked familiar in a trench coat inspecting a kayak along with a youngish other man. I looked them over and couldn't right away figure out who it was. Then it clicked. It was Chicago Alderman Ed Burked and his ( infamous) security detail . Of course, that got me wondering what the Alderman was doing up there and a few searches on Google lead me to this story about how he came to acquire a place called Honey Bear Farm. On a recent run, Natalie came across this sign you see above: Honey Bear Bay. Kinda neat. We had talked about my run-in with the Alderman and the name of the farm must have stuck because when she came back from the run, she showed me this photo. As for the story, it is just *too* Chicago politics to believe. From the Chicago Tribune : A subsidiary of Carson Pirie Scott & Co. sold an interest in prime Wisconsin real estate to two of the m
Read more
Building a Japanese Moon Gate - DIY Exploration
Late last week, I posted about the idea of building a 'garden nook' or a secluded area that draws you in as something that is 'on trend' this year and maybe something to consider for our backyard. In that same post, I made a reference near the bottom of Japanese Moon Gates . I included the moon gate as a way to potentially create a 'nook' but after looking around the Web, I now realize they're so much more. From this Old House Online story , you can find out the details of the structure: A moon gate is a circular opening, usually in a garden wall, which acts as a passageway. In China, where the gates were built in the gardens of wealthy nobles, various parts of the form and its ornamentation carry meaning. More generally, though, a moon gate is thought to offer an auspicious welcome or fortune to those who pass through. English gardeners borrowed the idea from China in the late 19th century. American gardeners immediately followed suit. A moon gat
Read more
Basketball hoop - how to make a stand with a backboard with your own hands
Love basketball and want to make a hoop? I wanted to make it myself, not buy it, and I ended up making it. It's pretty cheap, especially if you have some of the stuff you need to assemble.
Let's start assembling the basketball hoop with our own hands.
Step 1: Shape the Ring
The first thing you will need is a ring, I made it with 12mm rod, but it doesn't have to be that size. The standard diameter of a basketball hoop is 450 mm.
To make it flat you need something to wrap it around, this thing should be about 400mm in diameter.
I found an old car rim of the right size, you will need to clamp it to the table with a clamp using a piece of wood.
As shown in photo 2, place another clamp a little further from the first with a rod between them.
As shown in photo 3, slowly wrap the rod around the disk, once you wrap the rod and its edges overlap, cut off the straight ends.
Use a clamp to press the ends together, then weld them together.
To complete this part, place the ring on the ground and straighten out all the curves.
Step 2: Frame
Bend a piece of flat metal, mine was 4mm thick.
Weld it to a flat point in the ring.
Cut two rods 320 mm long.
Weld them as shown in the photo.
Drill four holes to match your existing bolts.
If you need a netball ring, you can simply attach it to the pole and skip the rest of the steps.
Step 3: Mesh Staples (Optional)
Show 7 More Images
Do this step if you need mesh. If you need a network, you will have to buy it. This step is not as difficult as it seems.
cut 12 pieces of wire 90 mm long (I would recommend making a few spare parts, as they are easy to ruin.)
bend them in the middle (it doesn't matter if the tips are the same length)
clamp the wire in a vise with a steel rod at one end
bend wire over rod
repeat this with all parts of
retighten the wire wrapped around the rod (see photo)
bend it
repeat with all parts
retighten the wire wrapped around the rod
bend it (at this point you can't just remove the wire from the rod - you will need to slide it to one of its edges and remove it from the edge)
repeat with all parts of
divide into 12 pieces and weld on the brackets
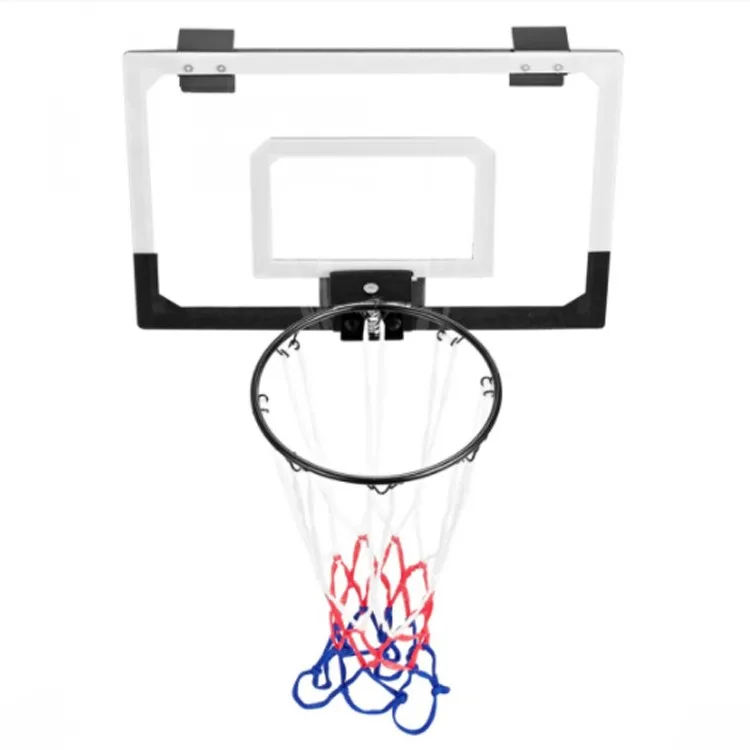
Step 4: Backboard
Cut the board to size. My board does not fit the full size of basketball boards. (the second picture shows the dimensions of a standard shield).
My measurements are 1100mm wide, 700mm high and 25mm thick. (You don't have to be that size.)
Step 5: Paint the Shield
Once you've drawn all the lines on the shield, lay masking tape over them. If you try, everything will look neat.
If you are using MDF, you will need to take care to protect the edges from moisture (as shown in photo 2).
Carefully paint over the areas around the masking tape.
Remove masking tape after enough coats of paint have been applied and the board looks complete.
Step 6: Paint the ring
First you need to sand the metal. I used a grinding disc on a grinder.
The ring must not be black or white, it must stand out from the shield. Usually the ring is painted orange or red.
The easiest way to paint inventory is from a can.
Step 7: Assemble
Put it all together. Screw the ring to the shield, hang a net on the ring.
Step 8: Installation
DIY Basketball Post is great to mount on a garage or house wall, but if you want to mount it on a pole, you can create one too.
I installed my ring in the yard using heavy duty wood screws.
A standard basketball hoop must be placed 3 meters from the ground.
I am not responsible for any damage you cause to yourself or your property - you make your own ring.
Successful throws!
How to equip a basketball court in the country or in the yard
Basketball develops the physical data of the child - coordination, endurance, educates strong-willed qualities, concentration, attentiveness and teaches non-standard thinking. Professionals recommend sending a child to the basketball section from the age of 8-9, but outside the city or in the yard, you can “chase the ball” from an early age.
I myself equipped a basketball court in my country house and now I am ready to share the secrets of its arrangement. I'll tell you what you need to do, how to choose the right equipment and how to care for it.
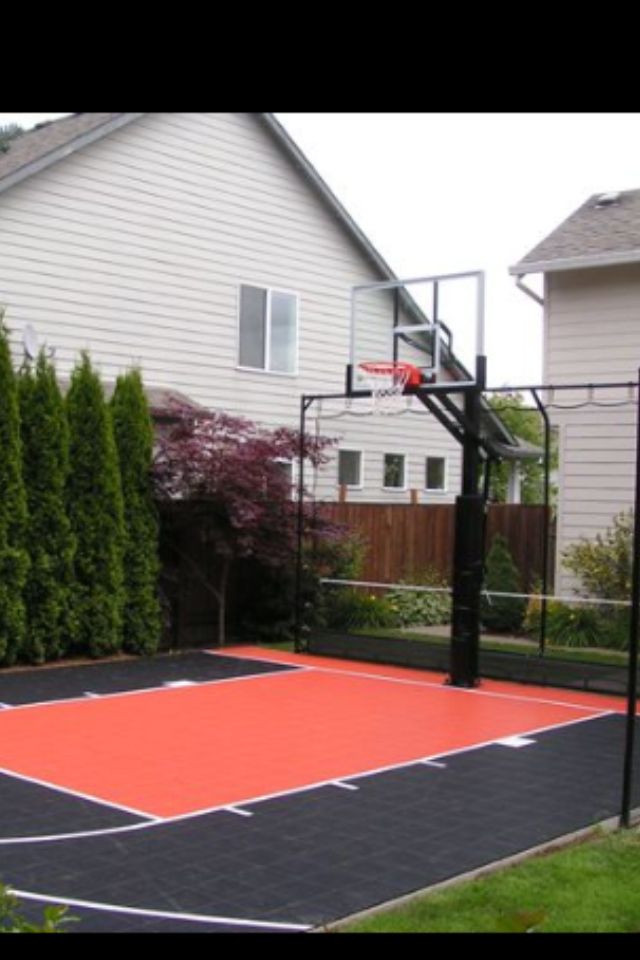
Prepare basketball court surface
To create a basketball court in accordance with all the rules, you need to select a flat horizontal surface for it and fill it with concrete. After that, I recommend applying a special rubber coating, like on playgrounds in the yard. There is a more expensive coating option - from rubber.
The coating will provide cushioning - the ball will bounce well.
If it is not possible to organize a special platform, you can simply place a rack or hanging basket on a dirt surface. In this case, the ball bounce will not be so strong. An important requirement for safety: the surface must be flat, without holes and bumps.
The dimensions of the site depend on the features of your yard or plot in the country. A full-fledged basketball court has dimensions of 28 × 15 meters. However, not everyone has the opportunity to build such a site in the country.
It is necessary to take into account the technical features of the game. The three-point line in basketball is 6.75 meters from the hoop. Therefore, it is necessary that the size of the site be at least 10 × 13 meters. If you are not going to train three-point shots, a 5 × 5 meter court will do.
Mark out
The second step is to mark up. It is important to use paints of contrasting colors. It is better to buy paints with a high content of rubber or polymer.
If you are equipping a basketball court for children, make the markings bright so that they cheer you up and attract attention. For the game of teenagers and adults, it is better to immediately apply technically correct markings.
Place a small fence or protective net on the site. Thanks to them, you do not have to constantly run after the ball to the other end of the site.
Buy stand or backboard
It is difficult to answer the question of what is better - a basketball stand or a backboard. It all depends on taste, tasks and opportunities. Each of these types of equipment has its pros and cons.
There are two types of racks: mobile and static. The static one is mounted in the ground.
The base of the mobile rack is filled with sand or water - for stability. The main advantage of a mobile rack is that it can be moved from place to place. This is convenient when there is no dedicated basketball court or if you are going to play other games in this area, such as tennis or football.
The main requirement for racks is their stability. It will be much more comfortable and safer to play if you are sure that the stance will withstand a blow of any force.
Pay attention to the materials from which the racks are made. A static rack will be outdoors throughout the year, which means it must be made of reliable materials. It is better to buy racks from well-known manufacturers. So, the American companies Spalding or Royal Fitness guarantee high quality, durability and safety.
Basketball backboards can be made in the country with your own hands from a board, chipboard or plywood remnants. If this option does not suit you, you can purchase semi-professional or professional options in stores.
There are four types of materials from which the shield surface is made: composite, polycarbonate, acrylic and tempered glass. The first one is the cheapest. It is intended for entry-level players. Now manufacturers offer a large selection of colors. A carbonate backboard will provide a good bounce of the ball. An acrylic shield is bought to hold competitions or intense games.
The mobile stand can be moved, so it is suitable for a playground in the country and for those who want to play other games besides basketball
Shields and racks made of tempered glass look solid. They will be appreciated by experienced basketball players
Pay attention to rings
You can buy cheap rings, but I don't recommend doing that. In a year they will deteriorate and you will have to buy new ones. Basketball hoops from Spalding and Royal Fitness are made from quality metal that won't rust in the rain.
The ring must have a springy structure - no rigid attachment to the shield.
According to NBA rules, the ring must be fixed at a distance of about three meters from the ground. For a game with the participation of younger students, it can be hung lower so that it is not very easy to hit it, but at the same time it is quite possible.
Choose rings made from high quality metal to last for many years. For a game involving adults and teenagers, metal chain rings are suitable. They are distinguished by durability and strength.
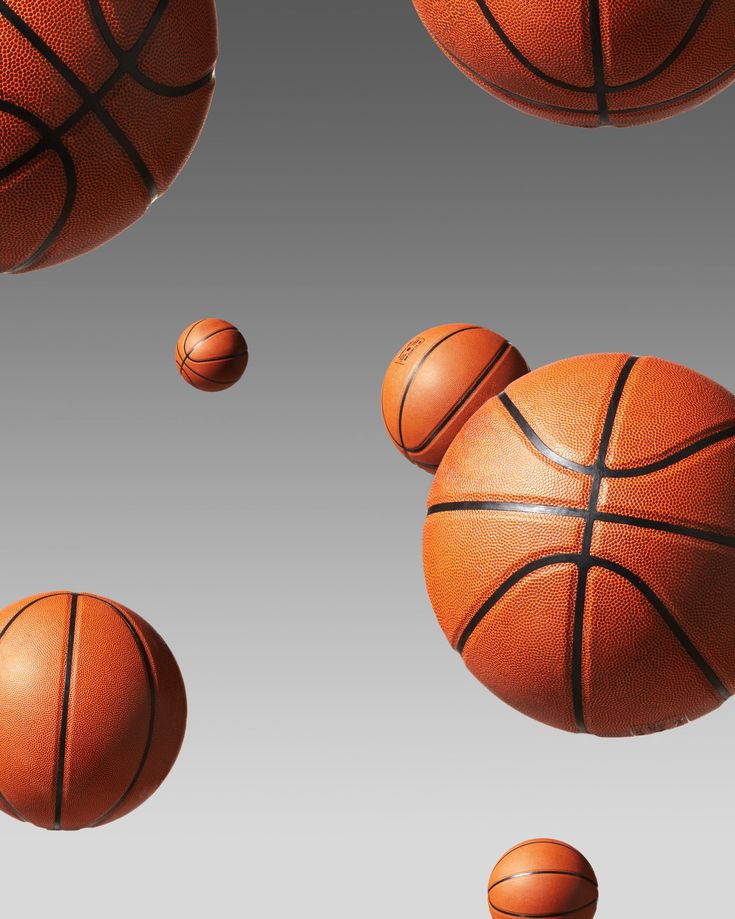
Know what types of basketballs exist
Success in the game depends on the basketball.
They are divided by size. Size 7 is for men, 5 for women. Even smaller balls are bought for children. The size 6 ball is suitable for street ball or street basketball where the game is played on half the field.
You also need to take into account where you will play the ball: on the street or in the hall. The street ball has a stronger bounce, it is harder and more wear-resistant, but the indoor ball is more convenient to hold in your hands.
It is important to pay attention to the composition of the basketball. Well-known companies use complex polymer compositions for its production. The more expensive the ball, the more complex the polymer composition. The quality of the material determines how comfortable it will be for the players to hold the ball, what kind of rebound it has from the floor and from the bow of the ring.
Another important nuance: do not forget to purchase a pump with any needle.
If you want the ball to have good grip and bounce well, you need to choose polymer models from world famous manufacturers
Proper care
Professional athletes are ready to play in any weather, but amateurs are better off not following their example. If you don't properly store, use and care for your basketball arsenal, its lifespan will be shortened. Humidity will ruin the ball and all equipment, so you can’t leave them outside during rain and snow.
Balls should be stored only in a dry and ventilated room at a temperature of 10 to 20 °C.
Before winter storage, water must be poured out of the base of the mobile rack, and then removed from the street. If you don't feel like doing this every time, fill the rack with sand. Then it will not need to be constantly moved. Basketball stands from Royal Fitness can be left outside in the winter.
Points to Remember When Organizing a Basketball Court
The area needs to be determined. The classic version - 28 × 15 meters - is not suitable for everyone. For a dacha, a 5 × 5 meter area will be enough if you want to train three-point shots.
Don't forget the markup. It should be in a contrasting color. Bright colors will interest children and cheer them up.


 Maintain proper air pressure
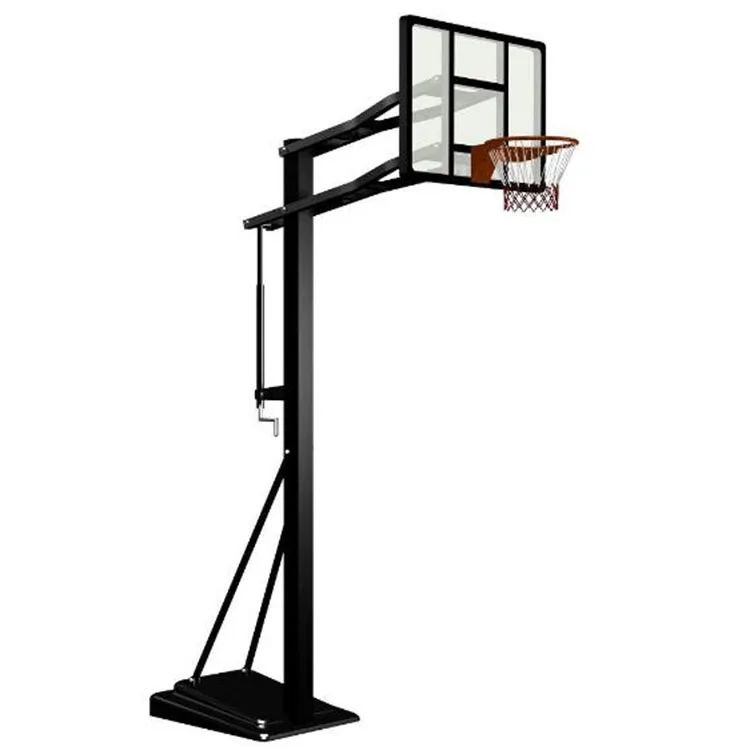 3 feet additional tier (2 pieces)
 Place a 7 inch piece of pipe between them. Open parts of the connectors must be facing the same direction. Need to glue all the joints and allow it to settle down. Use this process to assemble a second panel for the opposite side. You may add a few additional tiers too.
 Organize the balls in the cart and place rack to a normal temperature. Maintain the shiny nature of your basketballs.
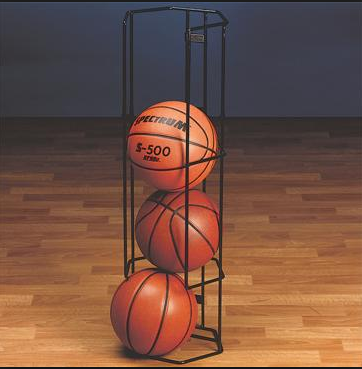
 Everytime we play, the balls were scattered across the yard or garage. Bingo! I knew what I could build him - a rolling basketball rack/cart.
 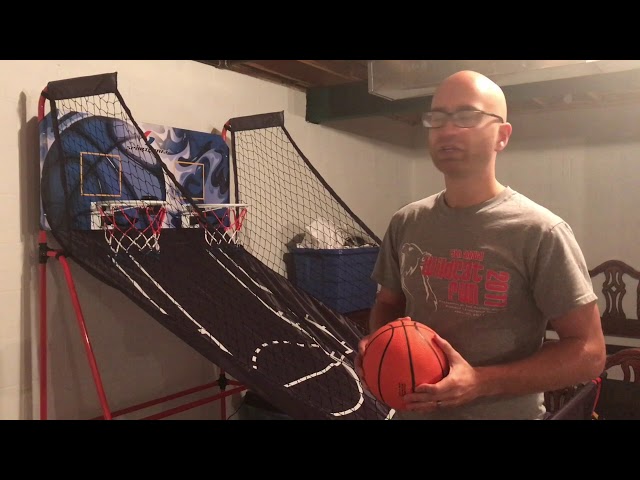 We were set to host a little pizza party over the weekend, so I figured I'd give it a shot. Here's the article as seen through my mobile phone's camera. I'm not a wine drinker, so the fact that the recipe called for Burgundy wine didn't strike me as odd. I went shopping at Angelo Caputos in Addison - a really incredible shopping experience - and when I got to the wine section I found Burgundy wine was carried ONLY in those HUGE jugs. And they were dirt cheap. The only issue is that needed just 4 ounces. We ended up with a whole-lotta-wine that Nat won't drink. I've taken the recipe and modified it a bit by eliminating the percentage
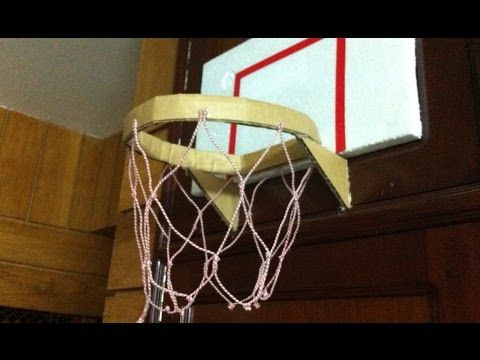 Then it clicked. It was Chicago Alderman Ed Burked and his ( infamous) security detail . Of course, that got me wondering what the Alderman was doing up there and a few searches on Google lead me to this story about how he came to acquire a place called Honey Bear Farm. On a recent run, Natalie came across this sign you see above: Honey Bear Bay. Kinda neat. We had talked about my run-in with the Alderman and the name of the farm must have stuck because when she came back from the run, she showed me this photo. As for the story, it is just *too* Chicago politics to believe. From the Chicago Tribune : A subsidiary of Carson Pirie Scott & Co. sold an interest in prime Wisconsin real estate to two of the m
 In that same post, I made a reference near the bottom of Japanese Moon Gates . I included the moon gate as a way to potentially create a 'nook' but after looking around the Web, I now realize they're so much more. From this Old House Online story , you can find out the details of the structure: A moon gate is a circular opening, usually in a garden wall, which acts as a passageway. In China, where the gates were built in the gardens of wealthy nobles, various parts of the form and its ornamentation carry meaning. More generally, though, a moon gate is thought to offer an auspicious welcome or fortune to those who pass through. English gardeners borrowed the idea from China in the late 19th century. American gardeners immediately followed suit. A moon gat

 My board does not fit the full size of basketball boards. (the second picture shows the dimensions of a standard shield).
 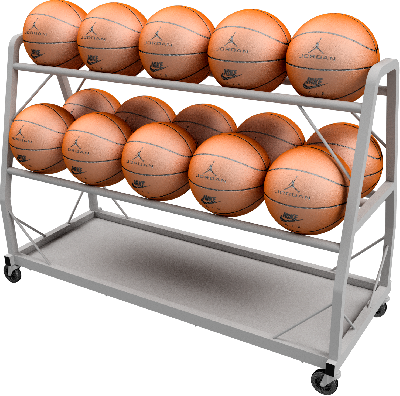 Screw the ring to the shield, hang a net on the ring.
  I'll tell you what you need to do, how to choose the right equipment and how to care for it.
 It all depends on taste, tasks and opportunities. Each of these types of equipment has its pros and cons.
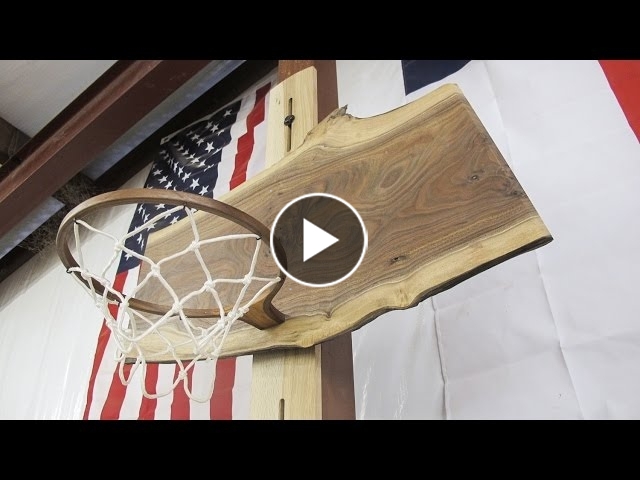
 In a year they will deteriorate and you will have to buy new ones. Basketball hoops from Spalding and Royal Fitness are made from quality metal that won't rust in the rain.
 If you don't properly store, use and care for your basketball arsenal, its lifespan will be shortened. Humidity will ruin the ball and all equipment, so you can’t leave them outside during rain and snow.