Home »
Misc »
How to make a homemade basketball backboard
How to make a homemade basketball backboard
BUILDING A DIY BASKETBALL BACKBOARD
David Schultz
Since moving into our house a few years ago, one of the things we wanted to do was replace the old busted up basketball hoop we inherited from the previous owners. We took down the (really heavy) rusty metal backboard and lived with a lonely pole for a while, as you may have seen in photos previously. The classic crisp white school yard hoop is the look we like, but it turns out those are expensive, so we kept our eyes open for one on the thrifted market.
When one became available we pounced and made plans to install it. BUT the new (really heavy) metal backboard unsurprisingly proved difficult to lift up 13 feet in the air for an extended period of time. More importantly, the holes in the backboard for connecting it to the pole weren’t in a great position to make things as sturdy as I would want. So, we shifted to our typical strategy when we can’t seem to find the right product to fit our needs – make it yourself.![]()
Our design ended up very simple, two pieces of plywood glued and screwed together with a couple support pieces of 2 x 8 for 1) the rim and 2) attaching everything to the pole.
MATERIALS
- (2) 3/4” x 4’ x 4’ plywood panels ($50)
- (1) 2”x 8”x 8’ pressure treated lumber ($8)
- 1 and 1/4” screws ($16)
- construction adhesive ($3)
- caulk ($5)
- 2 and 1/2” RSS Screws ($15)
- hardware for attaching pole and rim, we used different sizes of galvanized hardware ($30)
- porch and floor paint ($30)
PROCESS
- Cut plywood panels identically to size for the backboard. We made ours 36 inches tall and 44 inches wide.
- Cut (1) 2 x 8 piece so the length is the same as the width of the backboard. Cut an additional 2 x 8 piece 12 inches long.
- Glue, clamp, and screw the plywood panels together using the 1 and 1/4” screws. I put screws about 8 inches apart on the edges and used a grid-ish pattern on the interior.
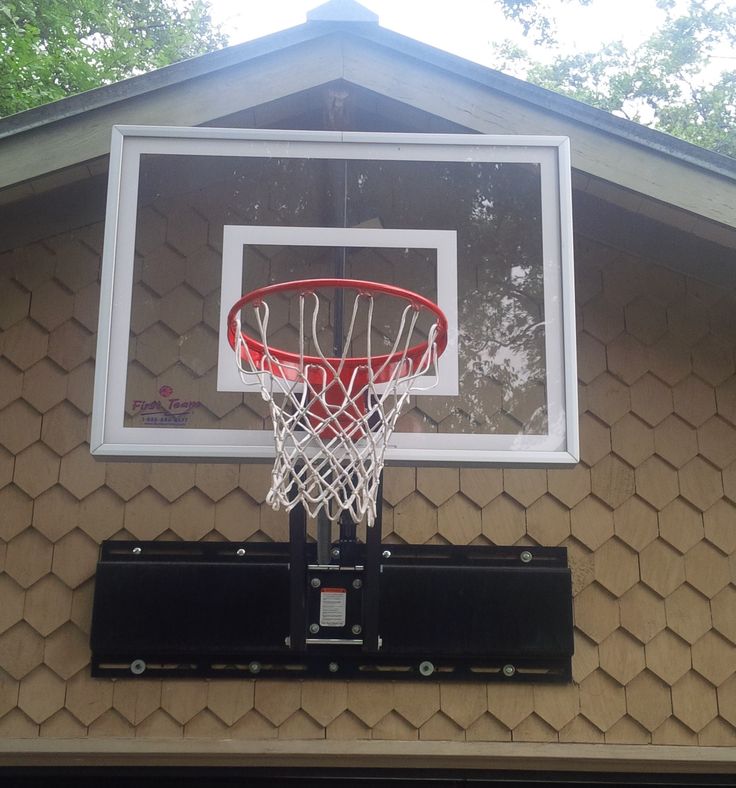
- Sand the edges of the backboard so both panels are smooth and continuous. Sand faces of backboard. Sand all corners to round them slightly.
- Caulk all seams and screw holes on the backboard.
- Paint backboard and 2 x 8 pieces. I did three coats to maximize moisture protection.
- The next part, mounting, will vary depending on how you’re putting up your backboard, but our existing pole was set up so we were attaching our backboard to a flat rectangular piece of metal (I’ll call this the bracket) with four large holes at the corners. I clamped the long 2 x 8 to the bracket, centering it in both directions. Then, on the side of the 2 x 8 opposite the bracket, I used a spade bit to make recesses where the heads of the bolts could sink under the surface of the 2 x 8. Then I drilled holes through the 2 x 8 and attached it to the bracket using bolts, nuts, and lock washers.
- Clamp the backboard to the mounted 2 x 8 at the appropriate height so the rim can eventually be attached at 10 feet.
 Attach the backboard to the mounted 2 x 8 using construction adhesive and the 2 and 1/2” screws, screwing through the 2 x 8 into the back of the backboard.
 - Clamp the 12 inch 2 x 8 to the back of the backboard in the appropriate position so you can attach the rim through the backboard and the 12 inch 2 x 8. Attach the 12 inch 2 x 8 to the backboard using construction adhesive and 2 and 1/2” screws, screwing through the 2 x 8 into the back of the backboard.
- Attach the rim to the backboard using whatever hardware works for your rim, going through the backboard and the 12 inch 2 x 8.
- Caulk remaining screw holes and seams.
As the primary recreational b-baller in our family, I was concerned with how a diy backboard would hold up and how well the ball would bounce off the wood.
After testing it for some time, I haven’t been able to tell the difference in bounce between our hoop and a nice indoor one. IT’S BEEN REALLY FUN to shoot around and our backyard looks much more normal with something attached to that pole.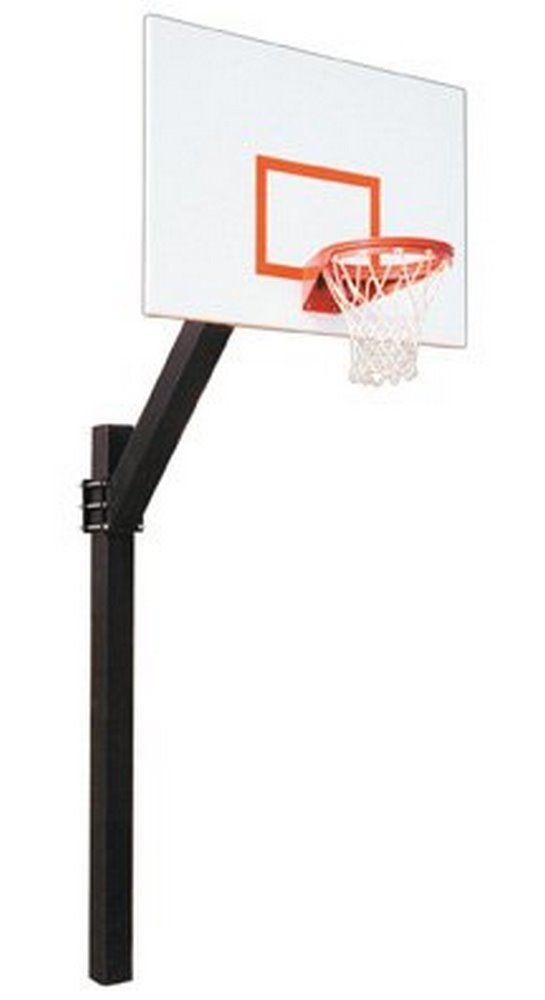
PRE-ORDER NOW: AMAZON | BARNES & NOBLE
How to Make a Basketball Backboard By Yourself
There’s hardly a person who hasn’t shot hoops growing up. If you’re considering building a basketball system for outdoor play, there is a wide array of backboard options. The tempered glass fits serious players for excellent results, acrylic works best for family fun, and a DIY basketball backboard made of wood for those who want to save money.
Read on to learn how easy it is to make one, and the basketball board will work for you.
Can You Make Your Own Basketball Backboard?You might be one of those DIYers who loves to shoot hoops. A homemade wood basketball board is easy to make; with the suitable materials and some standard tools, you’ll be able to practice your game in a jiffy.
These few simple steps will help you make a backboard with little trouble at a cost that won’t hurt your pocket.
1. Use a pencil and a large ruler to mark the homemade basketball backboard dimensions on a 3/4″ thick plywood. The measurements should match the regulation size of 72 inches (182.9 cm) in width and 48 inches (121.9 cm) in height.
2. Wear safety goggles when sawing. Home centres can save you the effort with pre-cut plywood to the desired size.
3. Apply white weather-proof paint on the plywood and allow it to dry.
4. Mark a 3” (7.6 cm) strip at the edges of the backboard.
5. Allocate a box in the middle of the backboard measuring 24” (61 cm) width by 18” (45.7cm) high. The outline is 2” (5 cm) thick on all sides. The box should be equally spaced from the sides of the backboard and a 2” (5 cm) clearance from the bottom for hoop installation.
6. Paint the edges and the box in black or any color you want.
What are the Materials Used to Make Basketball Backboards?You can see basketball backboards watching games on TV and even on yards, driveways, and parks.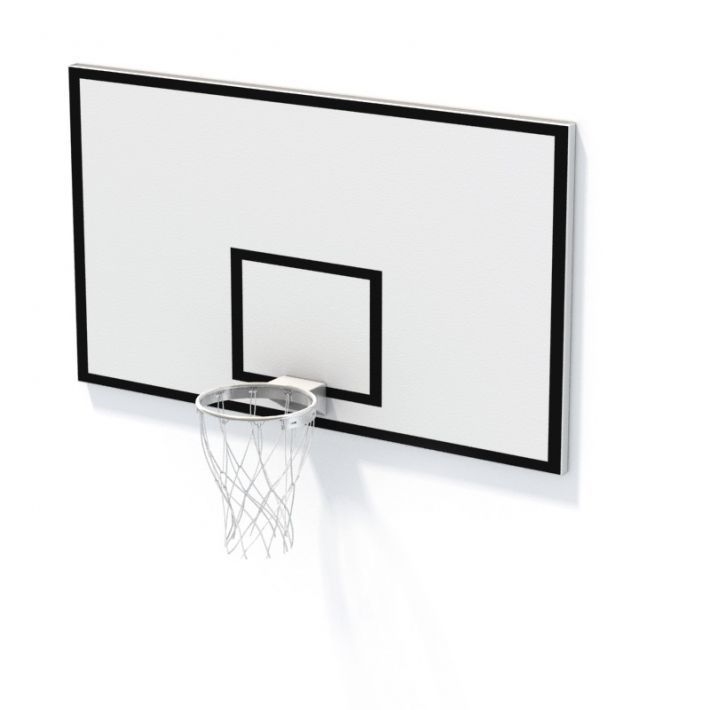 But did it ever cross your mind that basketball backboards are made from different materials, and there are several things to consider before buying one?
- Player’s age.
- Type of competition.
- Location.
- Budget
After covering some of the requirements, you are ready to choose the material for your basketball backboard. The availability of backboard material depends on the manufacturer, and some have more choices than others. Some makers cater to niche orders of specific backboard materials.
Knowledge about the material goes a long way in meeting your expectations and matching your needs. Before you spend your hard-earned dollars, check out the following backboard materials available in the market:
Tempered Glass
Tempered glass is the priciest material for backboards. High schools, colleges, and NBA competitions use tempered glass backboards in basketball games since professional leagues use it as the official backboard of organized games.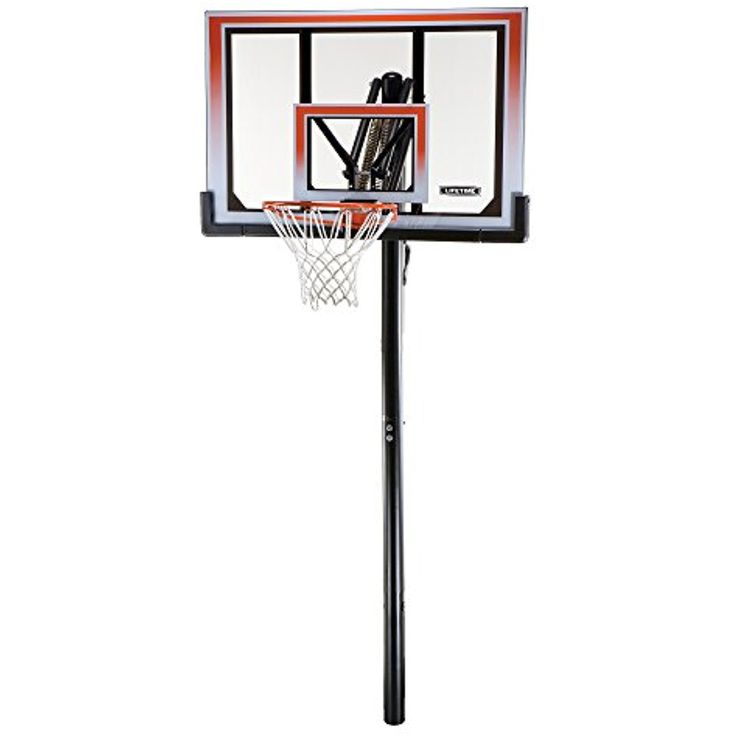
Tempered glass is five times tougher than ordinary glass with a better ball bounce. If it breaks, it shatters into tiny shards instead of large ones to protect players from mishaps.
Let’s travel backwards a bit and look at some NBA breakers of backboards.
- Chuck Norris, known for his karate skills, broke one on November 5, 1946. He was the first player to break a backboard from a regular throw wearing a Boston Celtics jersey.
- On November 14, 1979, Philadelphia 76ers center Darryl Dawkins broke a backboard on a monster dunk in a losing game to Kansas City Kings 110-103. A few weeks later, Dawkins did a repeat.
- Shaquille O’Neil broke two backboards against the Phoenix Suns and the New Jersey Nets, now known as the Brooklyn Nets. There were ten other backboards broken by Shaq unofficially for a total tally of 12.
Tempered glass is less durable than acrylic or polycarbonate, as demonstrated by the NBA breakers of backboards, but innovation made it sturdier and safe.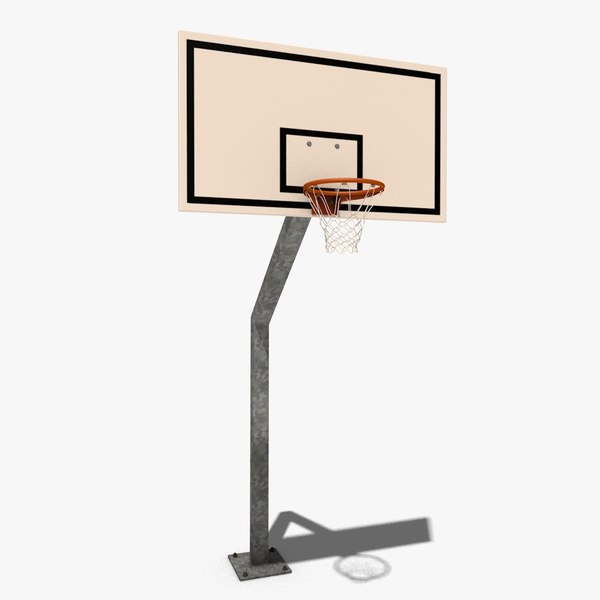
Acrylic
Acrylic is one of the sturdiest materials for backboards. Acrylic is made from plastic materials that offer durability better than tempered glass and last 15 to 20 years. Its 85 per cent medium-rebound performance rating is a tad less than tempered glass, but it’s not significant, and its lower price makes it popular among basketeers on a budget.
Polycarbonate
Polycarbonate and acrylic are made of the same transparent plastic materials; however, the bulletproof feature of polycarbonate makes it five times stronger than acrylic. The price is pocket friendly.
Sadly, polycarbonate cannot be exposed directly to sunlight for a long time; the color turns yellow and becomes brittle in about 3 to 5 years. Also, the rebound performance is lower than tempered or acrylic backboards.
Steel
The durability of steel is the same as polycarbonate and acrylic. It can last for long periods of time with regular use.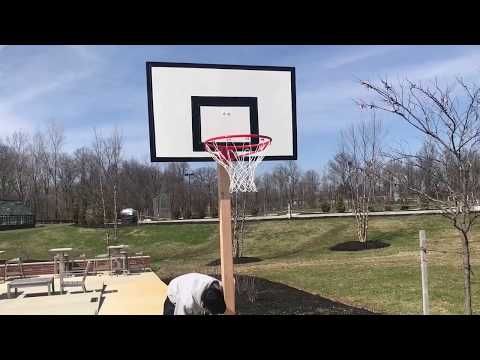 Steel backboards suit outdoor play and a windy environment. The metal material makes steel backboards noisy from the ball’s impact and has low bounce and rebound performance. Professional leagues do not use these backboards and are seen in public spaces or parks.
Fiberglass
Fiberglass looks and feels like a tempered glass backboard at a reasonably low price. Fiberglass backboards suffer from low rebound performance, much like steel, and durability is below par. Its water and rust-resistant features are ideal for outdoor use and recreational games.
Aluminum
Aluminum backboards are made of durable material and are budget-friendly. Aluminum backboards wobble more than steel, have low bounce performance, and are noisy. The rebound performance is mediocre because of its extra vibration. Best suited for newbies or those who want to while away the time.
What Size Basketball Backboard Do You Need?Basketball backboards appear in different sizes and usually in two shapes: rectangular and fan-shaped. The standard size of a basketball backboard is 72 inches (182.9 cm) in width and 48 inches (121.9 cm) in height used by professional and amateur leagues.
- NBA, WNBA, FIBA, Euro League, Spain’s Liga ACB, Germany’s Basketball Bundesliga (BBL)
- College
- High School and Middle School
- Youth tournaments
The NBA league use tempered glass and follow the regulation size of a backboard.
FIBA, WNBA, NCAA, WNCAA, and other International Basketball Federation leagues apply the same regulations.
High school and middle school squads follow the same basketball backboard regulations as the NBA but have a smaller playing area than the more prominent leagues. Practicing on a regulation backboard will show young hoopsters where to aim their shots and how the ball bounces on the backboard.
Youth leagues share the same gyms as their high school and middle school counterparts; the backboard and the court size are the same, and so is the hoop height.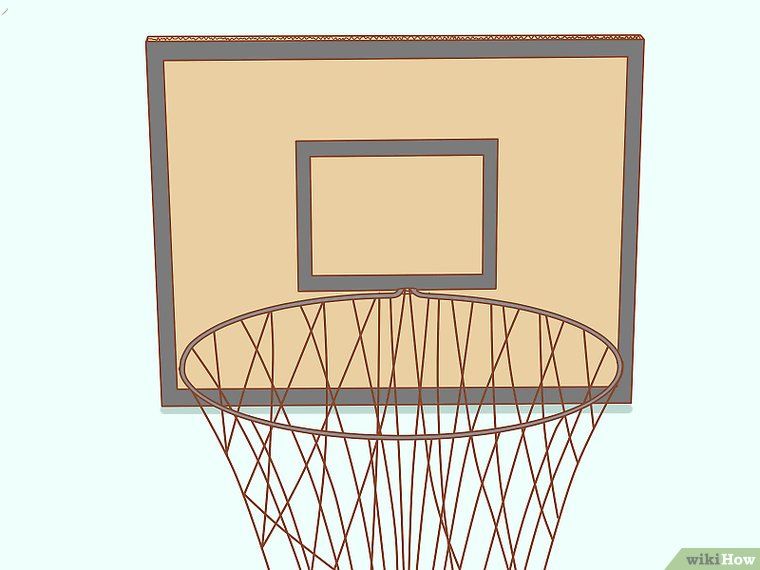
All these requirements change for children 8-11 years old intending to carve their name in the basketball world. Their tiny frame lacks the power to heave the ball to a rim 10 feet high; lowering the height to 6 feet helps them develop their shooting form as they progress to a higher rim.
A small backboard fits the need of young tykes learning the ropes of the game. They can move forward to a more extensive basketball system as they develop their basketball skills.
You’ll see these different basketball backboard sizes in the market.
Small Size: 44 inches or 48 inches wide
The small backboards are cheaper and unfit for a family who plays serious games. A backboard 44 inches wide has a height of 29 inches, and a 48 inches backboard is 30 inches high.
Medium Size: 50 inches or 54 inches wide
The height of medium size backboards ranges from 30 to 34 inches. Teens who want to improve their drives to the hoop or their bank shots will benefit from the rebound space of medium-sized backboards.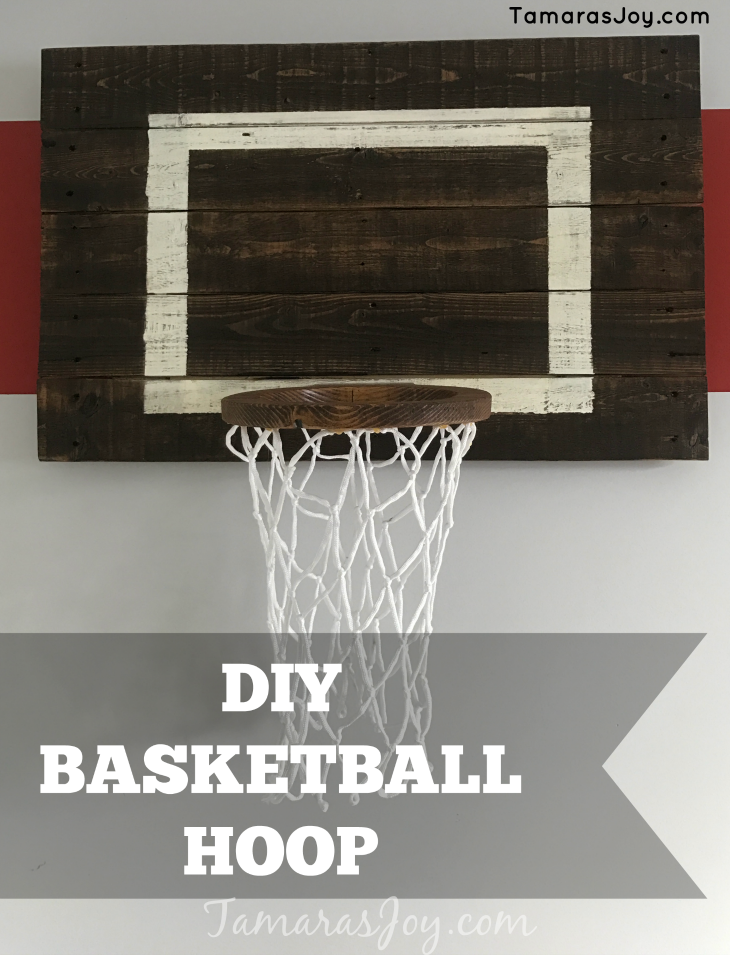
Large size: 60 inches or 72 inches wide
These backboards are for serious basketball players looking to improve their game. The 60 inches backboard is 36 inches high, and the 72-inch backboard is 42 inches high. Prices are higher because all large backboards are made of tempered glass and durable rims that last for years.
How to Replace Basketball BoardOver time the basketball board deteriorates from constant use and abuse and needs a replacement. Family members or friends will gladly assist you with this fun DIY basketball backboard replacement project done in a day with these steps.
1. Ask the repair team to help you lay the backboard on the ground so you can work on the replacement board.
2. Your new backboard material and size should match the original, and a bigger backboard makes the goal heavy, causing it to topple over the ground and putting players in harm’s way.
3. The guys at the hardware store will cut your plywood or acrylic material to your specifications.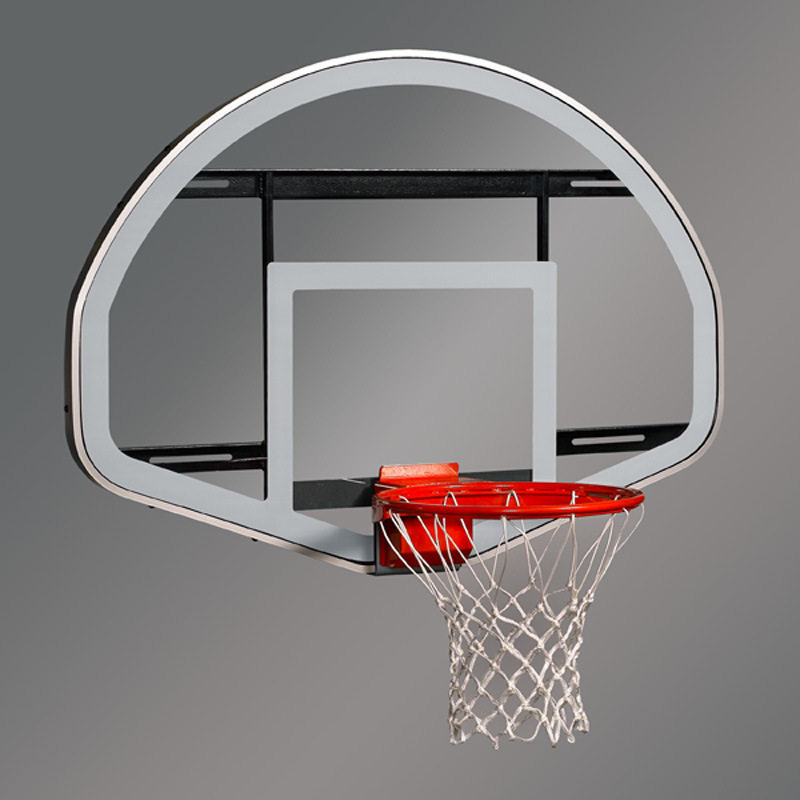
4. A plywood backboard would need a good coat of paint to protect it from weather conditions. Paint the edge of the acrylic material and a square around the hoop space for aiming. Purchase the backboard, paint it, and allow it to dry before mounting. Remove the hoop from the old backboard using your socket set and wrenches. Set aside the nuts and bolts.
5. Use your screwdriver or power drill to detach the damaged board from the frame. Use pieces of the old backboard to outline the hoop holes in the new backboard. A putty knife will remove the glue and leftover material from the frame.
6. Drill the holes the same size as the mounting bolts of the hoop.
7. Spread construction adhesive on the front of the frame
8. Ask your teammates to help set the backboard before the glue dries. The rim holes should match the frame holes.
9. Align the rim to the new backboard, put the bolts and tighten.
10. Skip this step if you are using acrylic material.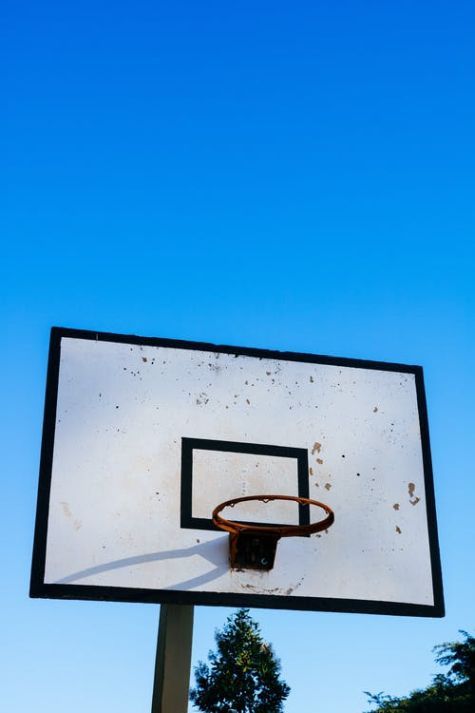 The adhesive and rim bolts are enough to fix the backboard firmly. A plywood material will need wood screws across the holes of the frame to secure the backboard. Screws should not extend through the front of the board.
11. Raise the hoop.
12. Add weights to the base of the frame to ensure that the goal system is stable. Add mounting braces to hold it to the ground and keep strong winds from tipping the structure. Push it from all sides and add more weights and braces to keep the system firm.
13. Shoot your treys and have fun.
Other Things to Consider When Building a DIY Basketball Backboard- A heavier backboard replacement will cause the structure to wobble; add more weights or braces to the base to avoid tilting.
- A player can’t develop accurate bank shots by practicing on a backboard narrower than 54″ wide.
- A DIYer should always wear protective goggles and practice caution when preparing the basketball backboard.
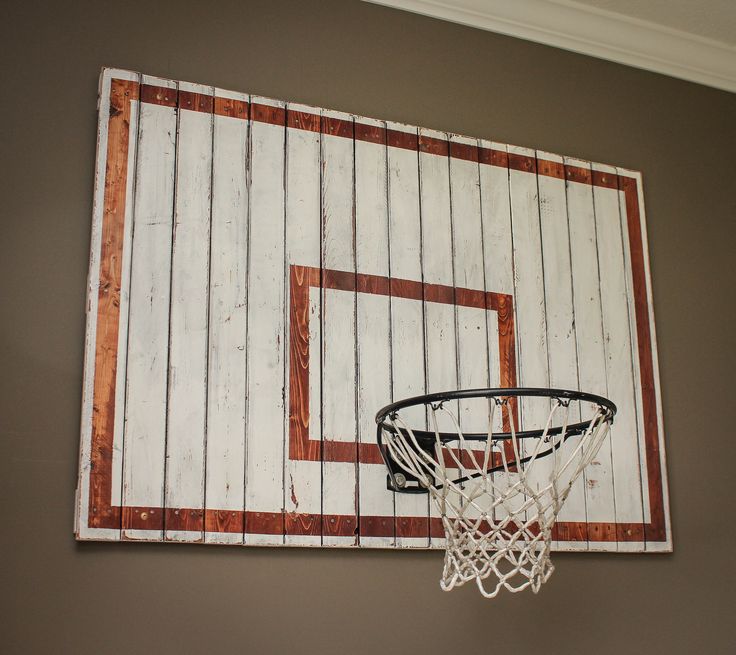
- Secure the nuts and bolts from the old board.
- Keep the pieces of the old backboard as a template for the new backboard.
- Tighten the bolts and screws.
- Be sure the net is clear of the garage door; a net entangled in the door is dangerous.
- Before installing the basketball rim, spray it with water seal protection to shield it from harsh outdoor conditions.
- A 54″ wide backboard fits a one-car driveway; a two- to three-car driveway works better with a backboard size 60″-72″.
Wrapping Things Up: How to Make a Basketball Backboard by YourselfWhen you think of creating a basketball board, what comes to mind is the cost and a lot of physicalities. But if you know how to make a basketball backboard yourself, it’s not that expensive and tiring.
All you need are suitable materials, basic tools, and help for a project you’ll love doing. You can form your backboard work team composed of relatives and friends and have fun while working.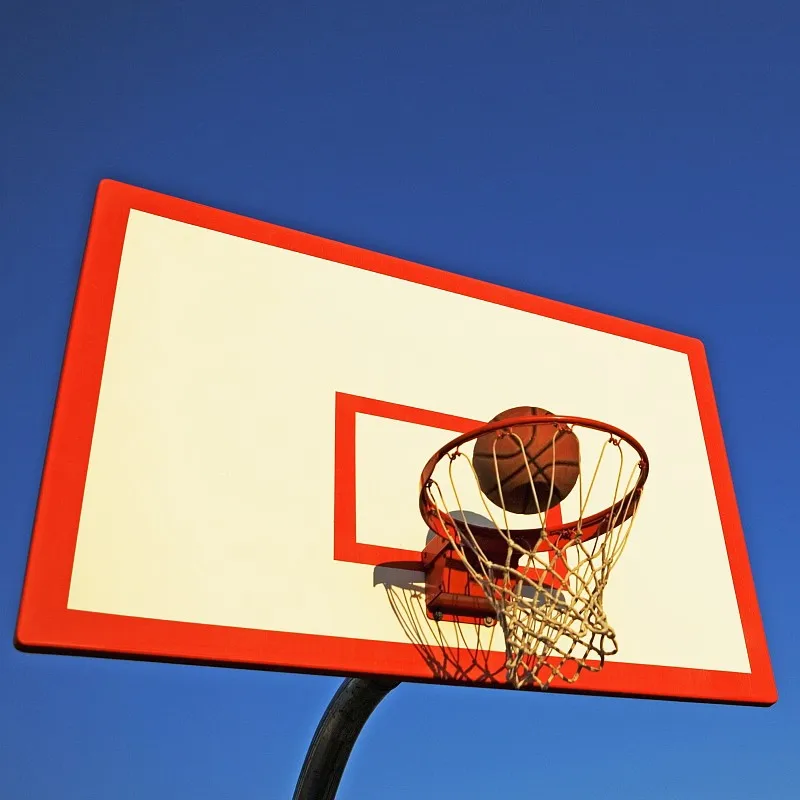
Once everything is done, it’s time to shoot the hoops and enjoy playing with your workmates.
We hope you enjoyed this post! If you did, be sure to check out our other basketball FAQ articles here.
DIY basketball backboard. Project Made of Metal: print_design — LiveJournal
Oh sport, you are the world!
There is nothing to do in the country, only bending metal, fumbling with barbecue, drinking beer.
It is necessary to go in for sports both by ourselves and by children.
True, for this you will first have to "bend the metal" and celebrate this matter with beer and shish kebab.
In the next series of the "Made of Metal" project - to make a basketball backboard.
Joint work of me and my father.
Batko studied the standards for the height and dimensions of a basketball backboard, made a wooden backboard, painted it, made thumbscrews, installed a pole. Well, he additionally made critical remarks to the metal part.
I - designed the whole metal part and welded the metal.
Let's go!
01. First I sit down at the computer and sketch out the drawing of the shield and the pole itself.
The original plan was to put the ring in another place and pull it with a solid hitch to the nearest tree. But there turned out to be a lot of roots and they decided to put them in free flight and without a screed, which is why the ring in the upper part of the column remained rudimentary only in the drawing. Diagonals that are not in the drawing (green) have also been cancelled. We decided that the rigidity of the wooden shield and metal fasteners would be enough not to "walk".
Also on the move I changed the method of strengthening the outboard knee. Not with a corner as in the drawing, but with two stripes on the sides, see the photo below.
A 5 cm profile was used for the pole, a 6 cm profile was used for the bracket strung on the pole. A strip is welded inside to prevent play.
Everything that adjoins the wooden shield is a 25 mm corner.
Important: the ring must be universal for both adults and children of different heights. Therefore, a height offset system was made.
02. The main large elements are welded: a pole, a knee, two stepson solid fuel boosters. The upper edge of the pillar and stepchildren is bevelled: for rainfall and for beauty.
03. More different types
04.
05. There is a strip welded inside the elbow pipe. At the top of the hole.
06. Welded shield fixing system. No, this is not a bottle of Zhatetsky Gus beer, this is gasoline.
07. Stepchildren are welded on. There was an error in the calculations. It was assumed that the stepchildren would strengthen the pillar from swinging, but they were attached lower than necessary. Further in the photo you will see that they protrude quite a bit from the ground. It would be possible to raise 30-40 cm higher. And now, nevertheless, the pillar sways during the game.
08. The heels are welded to the part that goes underground.
09.
10. Everything is painted
11.
12. Hole
there was no putty for metal, to putty the seams. The putty was bought in addition, puttied and repainted a little later.
14. Up!
15. Shield assembly.
16. Done!
17. The ring is now at its lowest point. Even lower than calculated, because one hole is not used (see the vacant thumb screw). Altitude change occurs with the help of one man-power on a stepladder.
18.
19. The village basketball open championship has begun!
Other series of the project at the link
DIY homemade basketball hoop
DIY
Reading 2 min Views 5.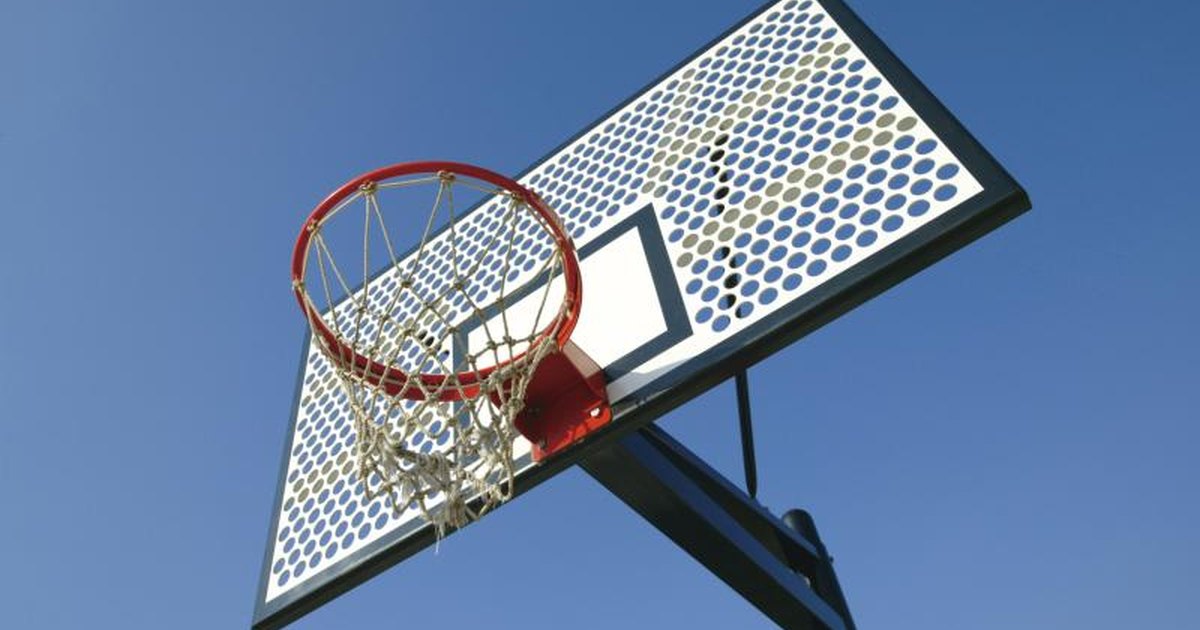 5k.
5k.
Basketball is a sport that is popular not only in America but also in Russia. Many fathers seek to build a playground for their children in the yard. What are the requirements to follow when arranging a basketball hoop.
Shield and ring standards:
- Height 105 cm;
- Width 180 cm;
- Square in the center of the shield - height 45 cm, width 59cm;
- Indent from the edge of the shield to the red square - 15 cm;
- Ring diameter -45 cm;
- Mesh for a ring 45 cm long;
- The ring is attached at a distance of 15 cm from the shield;
The shield itself is raised to a height of 3.05 meters.
Contents
- Required materials for the ring and shield
- Making the shield
- Making the ring
- Fastening the structure
Required materials for the ring and shield
Basketball circle can be made from plastic pipe, metal rod or other suitable materials.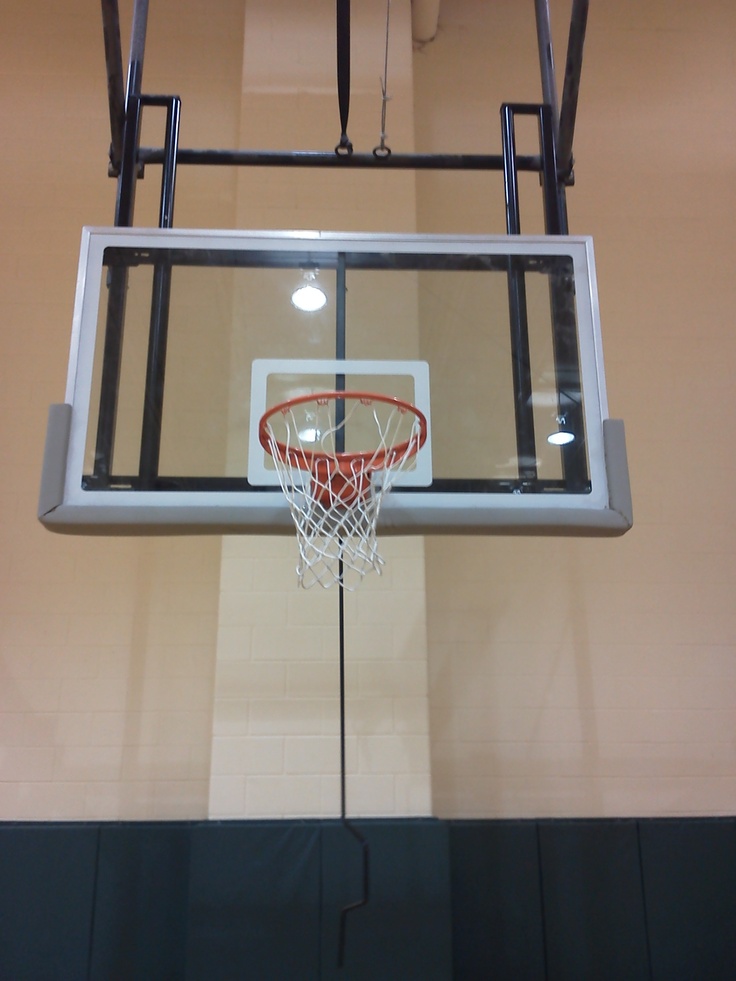 Also, the ring needs a mesh, which is made of lace, rope, braid or chain.
The shield is made of fiberboard, MDF, multilayer plywood, high-quality and thick organic glass, plastic. You also need fasteners and red or black paint for marking, white for the base.
Weather conditions must be taken into account when choosing the material for the shield. The location for the basketball court should be comfortable and allow the hoop to be hung at the desired height.
Making the shield
Steps:
- With a pencil, draw the lines along which the blank will be cut.
- Cut out the shield with a jigsaw.
- Paint white.
- In the center, draw with black or red lines a rectangle for aiming before throwing. The base of the target must be at the top edge of the ring.
- The stripes of the rectangle must be 5 cm wide.
- You also need to circle the outer edge of the shield.
Making a ring
Steps:
- Choose a pipe or twig 45 centimeters long with a little margin.
