Home »
Misc »
How to replace basketball backboard
How to replace basketball backboard
How to Replace Basketball Backboard (16-Step DIY Guide)
Do you have a great basketball court with a nice hoop that you really love but the backboard is old or damaged? No need to worry, this is a very common problem that can be fixed without replacing the whole basketball goal.
This is a great DIY project that you can do with a friend or family member and you should be able to complete it in a weekend or even 1 day if you have some basic “fix it” skills.
Quick Navigation
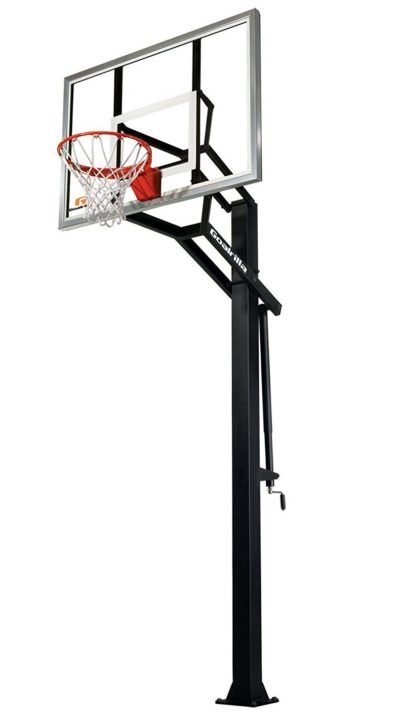
Portable Basketball Hoops Are Prone to Have Backboard Issues
Portable basketball hoops are the most common to have backboard issues because their backboards are often made from lighter lower-quality materials in order to keep the weight down.
This makes them more susceptible to sun and weather damage and after lots of use they can begin to crack or even shatter. One of the most common causes of damage for a portable is if it gets tipped over from rough play (hopefully no one was hurt) or from a strong wind.![]()
Since portable hoops most commonly have this issue, I will focus on them for this tutorial but the same concept can be used for in-ground or roof-mounted hoops. You just won’t be able to lay the frame down on its side.
My Personal Story
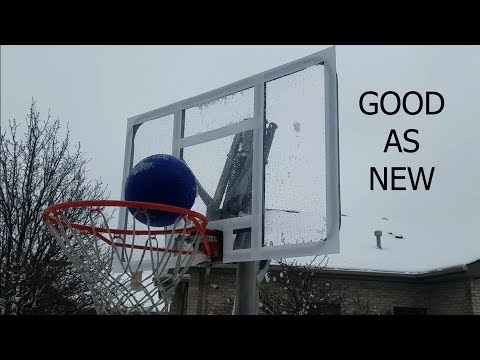
I have a portable hoop that was knocked over in a bad storm and the very thin acrylic backboard was shattered. It was very flimsy anyway and did not have very good banking action so this was my chance to upgrade my hoop by adding a quality homemade backboard at a very low cost. I also got to paint it a color my wife and daughter chose so that made the project lots of fun. You can see the finished product in the photo below.
My finished product. Photo by Melissa Medina
Anyway, the following are the steps that I used to replace my backboard. Before you start let me say that it is very important to use caution and follow all general safety procedures when working on a project like this, especially when using power tools and with any heavy lifting.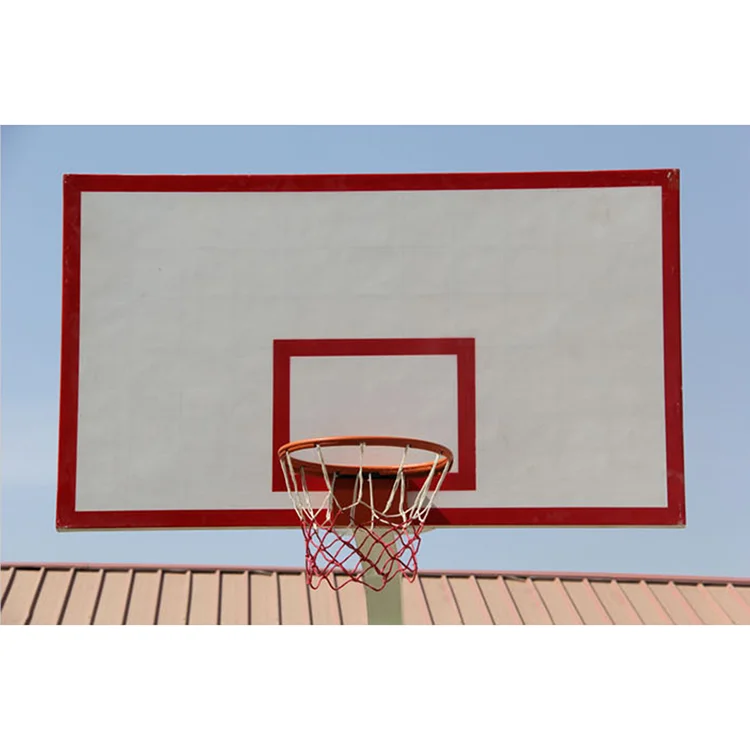
Very Important!
I will say this multiple times throughout this tutorial because it is very important. PLEASE Keep in mind that portable hoops are designed for a specific backboard weight. Adding a heavier backboard will require that you add more weight to the base with sandbags or cinder blocks. If you don’t pay attention to this your hoop is likely to tip over causing damage and possible injury so PLEASE PAY ATTENTION TO THIS AND USE CAUTION!
Resources You’ll Need
- At least one helper but the more the merrier.
- Backboard material – ¼ plywood, acrylic or some strong board type material.
- Wrenches and/or socket set.
- Construction adhesive.
- Power drill.
- Drill bit.
- Putty knife.
- Wood screws (if using plywood)
- Screwdrivers.
- Masking Tape (if you want to paint lines on your backboard)
- Sandbags, cinder blocks or other types of weights to provide extra stability for the base after adding the new backboard.
How to Replace Basketball Backboard: A Step-by-Step Guide
The following steps are general instructions for what you will need to do to replace your backboard. Because there are so many different types of basketball hoops, the design of your specific model may determine exactly what you need to do, but the following will point you in the right direction.
Step 1: Lay the basketball goal on its side.
If the hoop is not already on its’ side from being knocked down, get your helper(s) to help you lay it on the ground so you can work on it.
Step 2: Measure your backboard.
Measure what is left of your existing backboard or the frame where the backboard is attached. This will determine the size of your new backboard material. You want the new backboard material to be the same dimensions ( length and width ) of the original. If you try to make it bigger, it will make the goal top-heavy and it will tip over easily and cause damage or injury.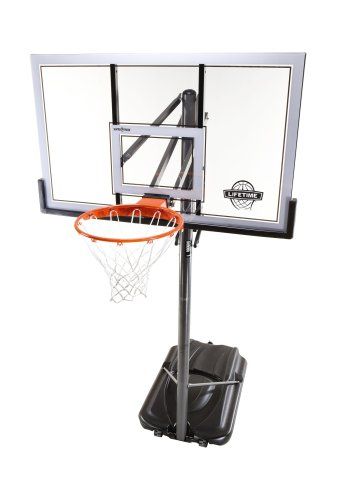
Step 3: Get your backboard material.
Go to our local hardware store and get a piece of nice plywood or clear acrylic material, whichever you prefer. You can have the folks at the hardware store cut it to your exact specifications. If you own a power saw and are experienced at using it, you can cut this yourself but please use caution. If using plywood, I would suggest using ¼ inch thick or less plywood. Again if you make it too thick, your hoops is likely to tip over due to it being top-heavy.
Step 4: Paint your backboard material.
If your using plywood, you need to put a good coat of paint or sealer to seal the wood and protect it from the elements. If you want to have some fun you can paint any design you want and use any colors on your backboard. If you are using clear acrylic material, you should at least paint a border and a square over the rim area for aiming, This will help you see the backboard better with the clear acrylic.
Prepping with masking tape to paintbox and boarder.
Step 5: Remove the rim.
You will need to remove the rim from the old backboard and frame. There are usually 4 large bolts holding it on. Use your socket set and wrenches to carefully remove. Be sure to save the rim and all the bolts as you will need to attach them to the new backboard.
Step 6: Remove the old backboard material.
If there are screws holding it to the frame, remove the screws using your screwdriver or power drill. Most backboards are also glued to the frame, so you may need to use a putty knife to pry off, scrape and remove all of the old backboard material.
Useful Tip: Keep the old backboard or pieces of it to use as a template to mark the holes for the rim on the new backboard.
Step 7: Drill holes to mount the rim.
If you have pieces of the old backboard left, use this as a stencil to mark the location of the holes for the rim. Once marked, drill the holes using your drill and a bit that is the same size as the mounting bolts.
Mounting holes.
Step 8: Spread adhesive on the backboard frame.
Spread the construction adhesive evenly on the front of the backboard frame where the backboard will come together with the frame.
Step 9: Set the backboard.
Have your helpers help you set the backboard in place on the frame before the adhesive dries. Make sure you line up the rim holes with the holes on the frame.
Backboard set on a frame.
Step 10: Attach the rim.
With your helpers, line up the rim, put the bolts through the holes and tighten them nice and snug.
Attach the rim.
Step 11: Secure with screws.
If you are using acrylic for your backboard you can skip this step. The adhesive and rim bolts will be enough to secure the backboard. If you are using plywood, secure the backboard by using a drill or screwdriver to attach the wood screws through the holes in the back of the backboard frame and into the backboard. Make sure your screws are not too long or they will come through the front of the backboard.
Step 12: Let the adhesive dry.
follow the instructions for your adhesive to let it dry the proper amount of time.
Step 13: Stand up the hoop.
Have your helpers help you stand up the hoop and place it where you want it. Please use caution!
Step 14: STABILIZE THE BASE!
Use the sandbags or whatever else you have for weight to ensure the hoop is stable. There are also kits you can buy on Amazon that can mount it to the ground and give more stability or you can also build a brace that holds it to the ground which is what I did with mine and now I don’t have to ever worry about the wind blowing it over again.
Step 15: Test the stability.
Test the stability by pushing on it from all sides. If it seems like it is still not stable enough add more weight to the base or use a mounting kit to stabilize it better.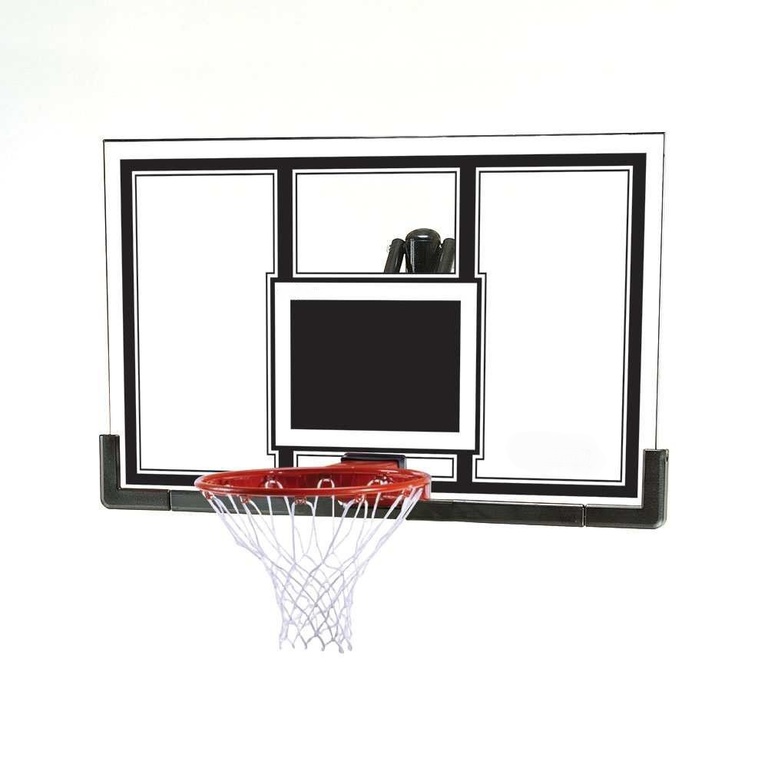
Step 16: Have FUN!
Once your hoop is stable and safe, start using it again and be sure to have lots of fun.
Remember the steps above are just generalized steps, you may need to modify some of them to fit your particular equipment. Once you’re done, your hoop and court will be like new and you can start playing again and hopefully with a better backboard!
How to replace the Backboard of a Basketball Hoop
Basketball hoops are generally very durable and reliable, but everything shows some flaws after some period. Not only that, you can’t even replace the entire basketball hoop just because of the backboard as they are pretty expensive. That is why I will show you how you can easily replace your basketball hoop’s backboard efficiently. To keep you updated with every latest thing related to basketball, you can follow the https://bestbasketballmag.com/ and get excellent tips and tricks.
It might also be tricky to replace a basketball hoop’s backboard, so perform all the actions with a keen eye.
Choosing the right backboard material
This time, you will have to choose the best backboard material for your basketball hoop so that you won’t have to face the same problems as before. A backboard comes in different materials, along with other properties. You will undoubtedly have to go for the one that suits your playing style, weather conditions, and hoop type. So let’s have a bright look at the kinds of backboard material!
If you are short on budget, then you would go for the polycarbonate material for your backboard. Polycarbonate is pretty good to handle bad weather conditions, whether it is hot or cold. But the thing here is, polycarbonate might not be too good for rebounding techniques. The players might feel a lack of bounce, and rebounding techniques might not work with full potential. If you are experienced and have been playing for years, you can easily manage it, but you can consider other options if you are a newbie.
This is the modern material for the backboard of the basketball hoops. Most of the pricy ones come with the tempered glass backboard. The best thing about tempered glass is that it offers a premium bouncing and rebounding experience to the users. Not only that, it is also pretty durable as it seems and can offer durability during all types of days. If you are really comfortable spending a little extra to get hassle-free benefits for years, there is no better choice than the tempered glass.
Acrylic material comes between the polycarbonate and tempered glass. Acrylic is unquestionably better than the polycarbonate material for the backboard use as it offers more bounce and rebound effects to the players. It can also provide long-lasting durability so that the players won’t have to worry about its breakage or cracks.
Replacing the backboard
Now that you have decided on the backboard material for your basketball hoop, it is time to replace it. Follow these steps with all the details to correctly replace the backboard without damaging anything!
Step No. 01
The first step is to lay your basketball hoop down on the ground. But do it gently, or you might break them rim of the basketball hoop as well. After laying the basketball hoop on the ground, unscrew the rim along with the old backboard to remove it entirely from the hoop.
Step No. 02
Now, measure the size of your previous backboard if you are comfortable playing with that size. Now get your desired backboard material and get it cut with the exact size. You might want to get it done by the professionals because you might lose some of your money if anything goes wrong. But if you are experienced enough to cut through any material, it would be fine.
Step No. 03
Now it is the time to drill the holes in your backboard so that you can screw it with the pole of your basketball hoop. You will first have to measure the exact distance between each of the screw holes. Or you can mark the holes with a pencil to go with the easy way. Now drill the holes according to the bolts’ size so that the bolt could easily fit in.
Step No. 04
After drilling, now attach the rim along with the backboard to the pole of your basketball hoop. Make sure that both of the things are aligned correctly with the pole. Then start screwing the bolts and tighten them until you are confident enough that they are stable.
Step No. 05
Check if the backboard is stable and steady by hitting it with the basketball a few times. After you are satisfied, get the basketball hoop back in position again. Now you can play with your pro friends again with a brand new backboard material.
Conclusion
It is not hard to replace a backboard, and all the procedures can be done right in your garage or driveway with ease. You just have access to the right tools, and it will be a piece of cake to do so. So, perform all the actions correctly, and your basketball hoop will be as good as new!
Meta Description
If you don’t really know how to replace the backboard of a basketball hoop, then you are in the right place!
Basketball coaching hacks: how to score goals for beginners
Even if you are a novice basketball player, we will not give you a training plan, but we will tell you why the ball flies anywhere but into the ring and into your hands.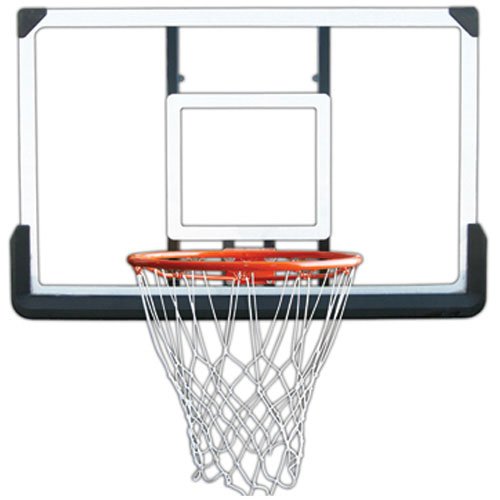 It's all about technique: even with regular training and perseverance, novice adults and children often make simple mistakes. It's a shame, let's fix it. Below are 11 life hacks on how to hone your technique to increase the likelihood of a goal for your team.
Basketball Shot Rules for Beginners
1. Hands up
In pursuit of the attacker, raise your hands, even if you are standing with your back to the pass, and even more so if the ring is in front of you. Your raised hands will increase the chance of intercepting the ball from the opponent by 2 times. Don't overlook this little thing!
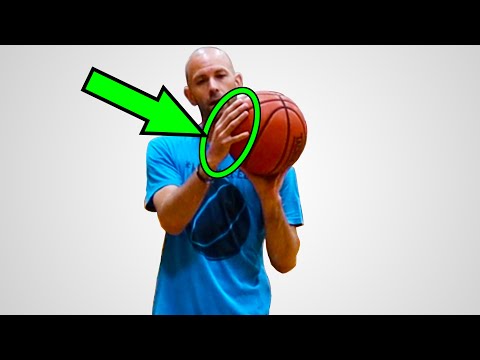
2. Make shield rolls
Even Tim Duncan did not neglect them! A square is drawn on the basketball backboard. If you are standing opposite the ring, then aim at the middle of the upper part of the square, if you are standing on the side, then at the corner. If you hit this square, then the ball is at 90% of cases will fall into the ring. The law of physics and no cheating!
3.
Look at the ring, not at the ball
Practice driving the ball with your hand, not your eyes, develop tactile control. Your eyes should be on the hoop while dribbling and be aware of the position of your body in relation to the hoop. Then you will be able to take the correct posture, and the throw will be effective.
4. Dribble with the balls of your fingers only
The palm should not touch the ball, only the pads of the fingers. Dribbling should become familiar to you, like an extension of your hand. Then you can change its trajectory at any time and you will have more chances to score goals. Practice with the ball constantly.
5. Throw with one hand
If you throw the ball with two hands, you reduce the chance of hitting the basket. All the efforts of the throw are in one hand (in the right for right-handers, in the left for left-handers). The other hand only holds the ball, the leading one holds it with the fingers, not the palm.
6.
Do not jump when protecting the ring
Jumping is the main mistake of rookie defenders. To intercept the ball and block the shot, simply stick out your hands. When you are in a jump, the attacker will easily bypass you.
7. Don't look back
When you dribble, don't look back, but dribble and aim for the ring, focus on shooting (or passing to another player on your team).
8. Bring the throw to automatism
Incorporate the most basic basketball techniques into your training plan and bring the shot to automatism. Throw first from a distance of half a meter from the ring, gradually increasing it. Learn to throw the ball so that it hits the hoop without touching the edge.
Throw the ball with all fives and jump
Throwing Rules:
- Head in the center of the body - if tilted, accuracy is lost.
- Look at the ring: mentally build a trajectory. If you are far away, the ball flies in a curved curve with a maximum height of 2 meters above the hoop.
- A strong hand is in front and throws, a weak hand is on the side and directs, only holding the ball. The elbow of the throwing hand must be in line with the ring.
- The ball must rest on the fingers without touching the palm. The fingers are as far apart as possible and grab the ball.
- Throwing arm bent 90 degrees, forearm perpendicular to the floor. If you bend less, then you get not a throw, but a throwing of the ball horizontally.
The main thing in the throw is the position of the body and its balance. Place your feet apart and parallel to each other: it is important to orient them in the middle of the basket. Then the direction of the body during the jump will coincide with the direction of the throw, and the ball will fly straight into the ring. When the feet are uneven, the ball flies in the wrong direction or does not reach (although the throw was normal).
Take a deep breath and release as you exhale.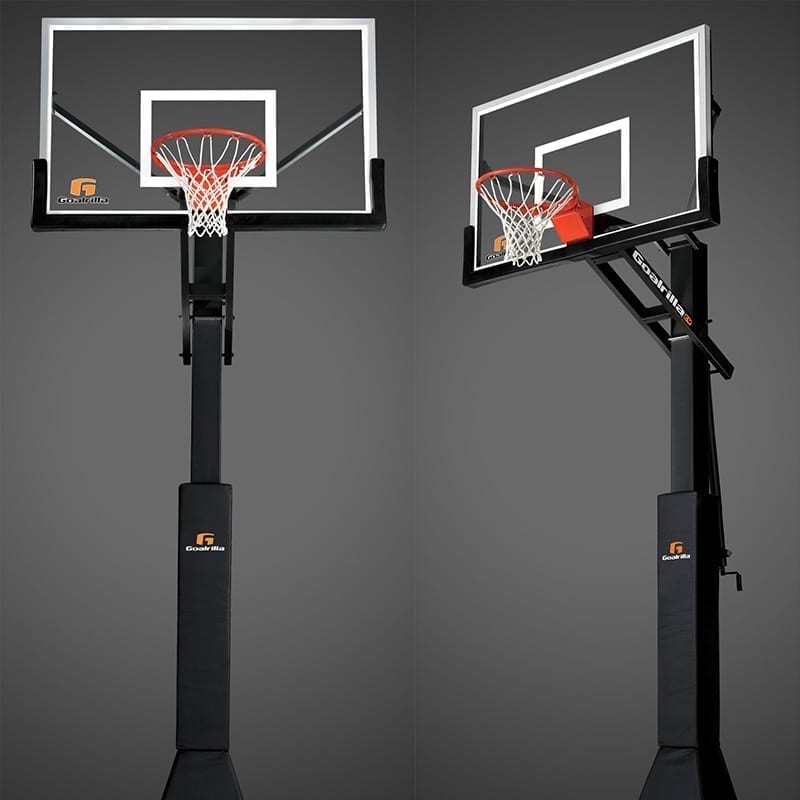
How to hold the ball and shoot in basketball
How to throw correctly: straighten your arm, point your wrist up, and with your hand set the ball to rotate in the opposite direction from the flight. The ball should seem to "roll" off your fingers.
9. Copy masters and play as a team
Watch professional basketball games and try to copy the movements of your favorite players in training. And be sure to conduct game sparring - this will allow you to develop more techniques.
10. Do not throw in a straight line
The higher the arc of the ball, the greater the chance of a goal and the less chance of blocking by the opponent.
11. Do not throw the ball from a full height stand
This is the biggest newbie mistake!
Before the throw, bend your knees slightly and at the moment of the throw, straighten your body, making a jump. You need to straighten up and push off the ground at the same time. When squatting, keep the elbow of the throwing arm close to the body and towards the ring.
The jump will give momentum to the ball and will allow you not to make sudden movements with the brush.
***
And to be a long-term player, do not forget about your health: take care of your joints and muscles, use tapes, do a warm-up. And be sure to strengthen your arms, legs and shoulder girdle, develop coordination. Regular exercises on uneven bars and horizontal bars will help you with this.
Laws of the genre. 5 Examples of Unexpected Evolution of the Rules Today, basketball is a multi-billion dollar industry, and the set of rules for the game itself will be heavier than Joyce's Ulysses and Tolstoy's War and Peace combined.
The first regulation was limited to only 13 laws (not surprising - it took James Naismith about 40 minutes to compile the original version), today it is more than 50 rules, flavored with all sorts of footnotes and clarifications, as well as a lot of nuances that in some cases contradict themselves.
Some of them you didn’t even suspect, others the players themselves don’t know about, although they follow them one way or another. Today we will tell you about unusual cases related to the principles by which there is the best ball game in the world.
5) No overhandling
The dunk is by far the most popular and spectacular element of basketball. While the basketball player casually overcomes the laws of gravity, the mesmerized spectators squeal with delight, and the team gains 2 points.
In the original interpretation, not only overhead throws, but even dribbling was considered a violation, and basketball was like a cross between dodgeball and American football. Only after years of evolution, to attract an audience and increase the attractiveness of the game, the rules were amended.
Nevertheless, in some places even today one can see the influence of antiquity. For example, in many high school leagues it is forbidden to hit from above during the pre-match warm-up. You can show off during the match, and if you have the strength and desire - after, but during the preparation - no, no.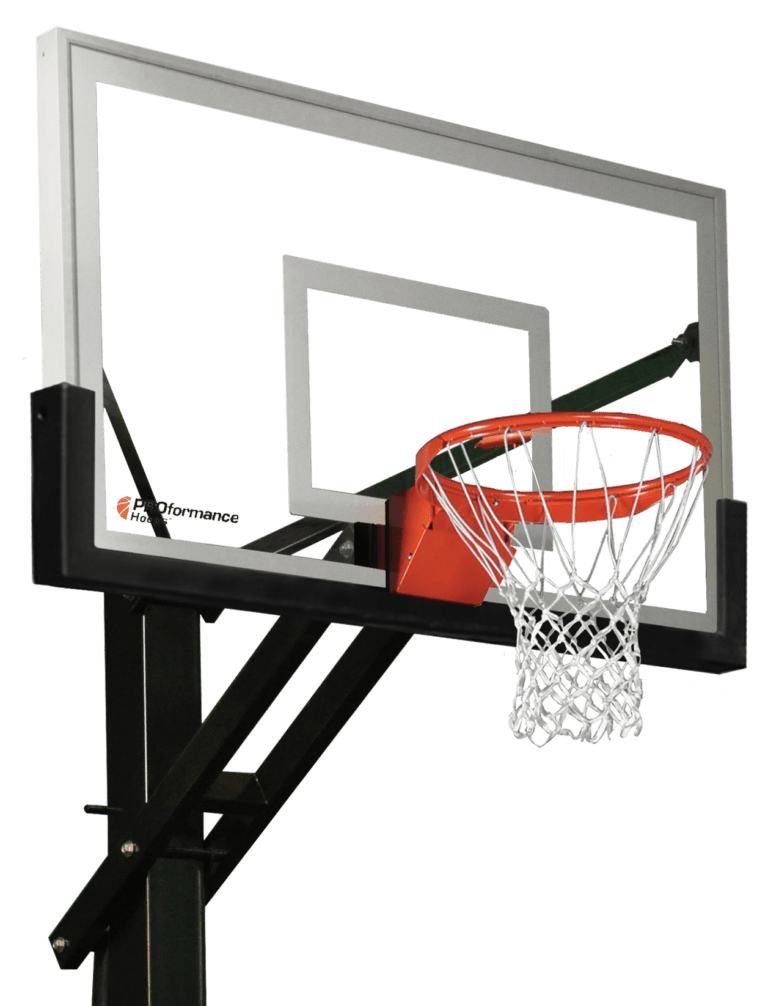 Disobedience is punishable by a technical foul, free kicks by the opposing team and an additional attack from their side. A loud "fi" and general censure will fall on the one who, out of vehemence, manages to strike from above and break the shield during the warm-up, in which case the team may even count a forfeit defeat.
So from now on, before you swagger in the warm-up, you can amuse your pride by remembering that for some this is an unaffordable luxury.
Photo: © Gettyimages/Fotobank.ru
4) Basketball hat-trick
points, assists and rebounds). It's about how the principle of breaking free kicks functioned in the days of old Naismith. You should start with the fact that there were no penalties at all.
If one team committed three fouls before the opponent managed to foul at least once, the extra point went to the most disciplined team. Also, an additional bonus could fall if a player of one of the teams hit or kicked the ball, committed a rude and deliberate action against the opponent, and also pulled with putting the ball into play.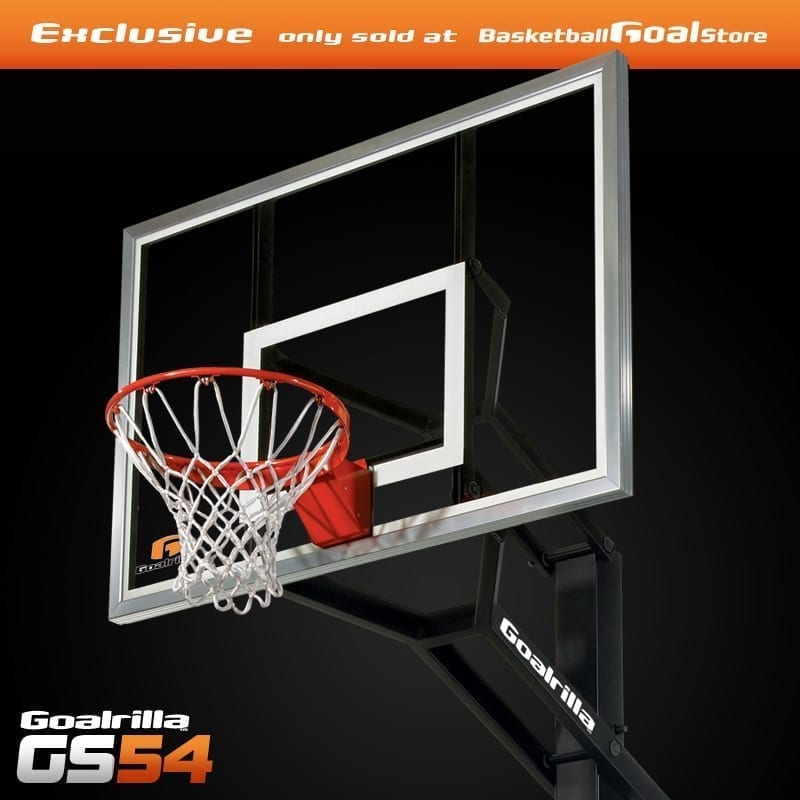
If a player received two fouls, then he was disqualified for the duration of his team's attack, and only then did he get the right to return to the game. Such a peculiar and slightly more humane version of the removal in football. By the way, the greats of the football world are now seriously considering introducing temporary disqualifications.
What to take from these retrogrades, the guys were a little more than half a century late, we already went through this in basketball.
3) From your own backboard to your own hoop - "non-shield"
How many times in the NBA cuts have we been shown moments when a player scored into his own hoop, but if you think about it, in most situations it was the result of a stubborn struggle under the backboard. And this is precisely the only reason why such hits are counted.
In fact, in the NBA there is a rule according to which the ball scored into its own ring is not displayed in any way on the total score. Previously, in the early days of basketball, "own goals" happened in almost every match, and in order to reduce the number of mistakes and not turn the game into a big top, it was decided to change the rule.
The last major precedent regarding deliberately falling into one's ring occurred in 2009. New York Knicks NBA player Nate Robinson, deciding that the match ended in the last seconds of possession, threw the ball into the ring from the middle of the court. A funny nuance was that the ring was his own. And even though the hit was never counted, Robinson had to listen to a lot of interesting and informative things from his coach.
2) Sports of real men
Photo: © Gettyimages/Fotobank.ru
It's no secret that basketball was originally conceived as an alternative to American football, which was difficult to play in the winter. It was with the idea of creating a much more practical and much safer sport that James Naismith set about creating his brainchild.
Basketball has undergone many changes, and today we can say that the original idea was only partially realized. The desire to change the rules in the name of increasing the pace and entertainment has led to the fact that in the United States basketball is the second most traumatic sport after the notorious American football.