Home » Misc » How to get faster hands for basketball
How to get faster hands for basketball
5 Best Basketball Speed Drills and Exercises
Home > Player > Athletic Development > 5 Best Basketball Speed Drills
Speed Kills
You've heard your coaches tell you over the years. Speed kills! A player who is FASTER simply can make something out of nothing.
It is not fun having opponents consistently fly by you down the court for an easy bucket or struggling to close out to shooters before they fire 3's over you. Players with more speed are simply able to make more plays... so maybe it is time to do something about that!
Game Of Inches
People always say how basketball is a game of inches, and it truly is a game of inches. As you continue to play basketball at higher and higher levels, it becomes more evident that most plays either fail or succeed based on a matter of INCHES. So how does this relate to speed? Let's examine the following situations:
If you are faster coming off a screen, you are more likely to hit that 3 over the outstretched hands of a defender.
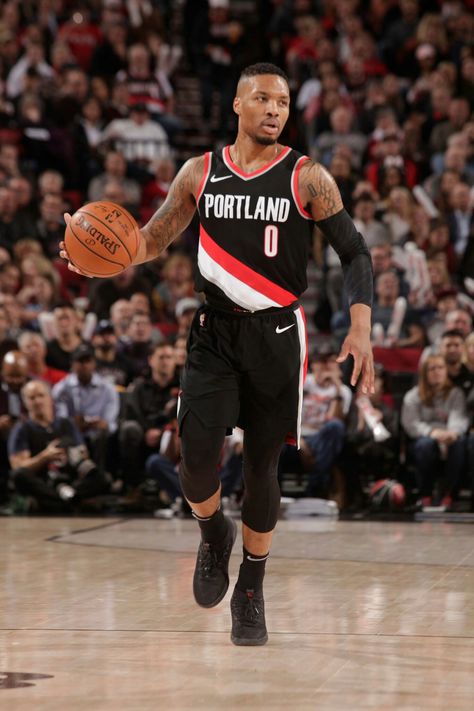
If you are faster running the floor, you are more likely to get that transition layup or dunk.
If you are faster bringing the ball down the court, you are more likely to turn a secondary break into a primary break and create offense for your team. Or better yet, you create a scoring opportunity for yourself.
If you are faster on defense, you are able to closeout on a skip pass and take away an opponent's jump shot.
If you are faster in transition defense, you can get back in time to block a game winning shot attempt.
What is the difference between failing or succeeding in each of these scenarios? We are not talking about a matter of seconds in these scenarios, rather we are talking about being faster by a few milliseconds.
Seeing The Court
Being one step faster could also be the difference between seeing more playing time on the court. This won't necessarily be because a coach puts a stop watch on you and notices that your 40 yard dash time is faster, but coaches will notice when you begin making more plays on the court. And in the end this is why players work to get faster- it helps you make plays while on the court.
Have A Plan
Cody Roberts Athletic Development Program has specific exercises in it designed to help you become a better athlete. If you want to have the most success at becoming a better athlete, you need to follow a well laid out plan by a professional, this is the first step in guaranteeing success.
Remember, successful athletes have a plan.
Great basketball players don't go into the gym without a shooting routine and they don't go into the weightroom without having a program designed to make them a better athlete.
5 Drills and Exercises To Increase Your Speed
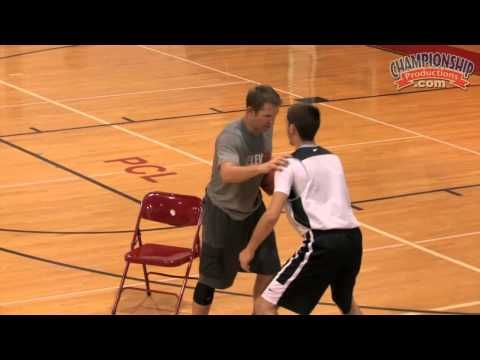
1) Wall Drive
One key to great speed is your body position. The drill teaches proper body positions of acceleration. It also helps develop proper mechanics of driving the feet into the ground, keeping head up, and chest out.
2) A-Skip
Great exercise for helping you develop dynamic control of your body and your posture. It also helps with proper positioning of the torso, hip, knee, and foot when sprinting. Start slow with this exercise and add speed as you get more comfortable with the drill. Maintaining good posture throughout is a key to the A-Skip.
3) Straight Leg Bounds
Straight leg bounds will help you develop an aggressive hip drive and ground contacts. This helps improve your prime movers, which are muscles used to power the body forward. Focus on quick contact with the ground and hangtime in the air while performing Straight Leg Bounds.
4) 5-15 Yard Sprint Starts (Falling and Half Kneeling)
Great drills to work on straight ahead acceleration. There are several variations of sprint starts. Begin by focusing on the falling and half kneeling sprint starts.
5) Flying 10's
This exercise is one of the highest and most intense training stimulus for an athlete. Being able to run at and experience full speed sprinting is awesome for developing a complete athlete. Focus here should be on sprinting tall and upright, while remaining relaxed.
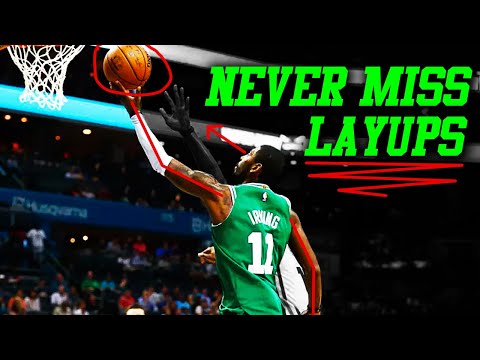
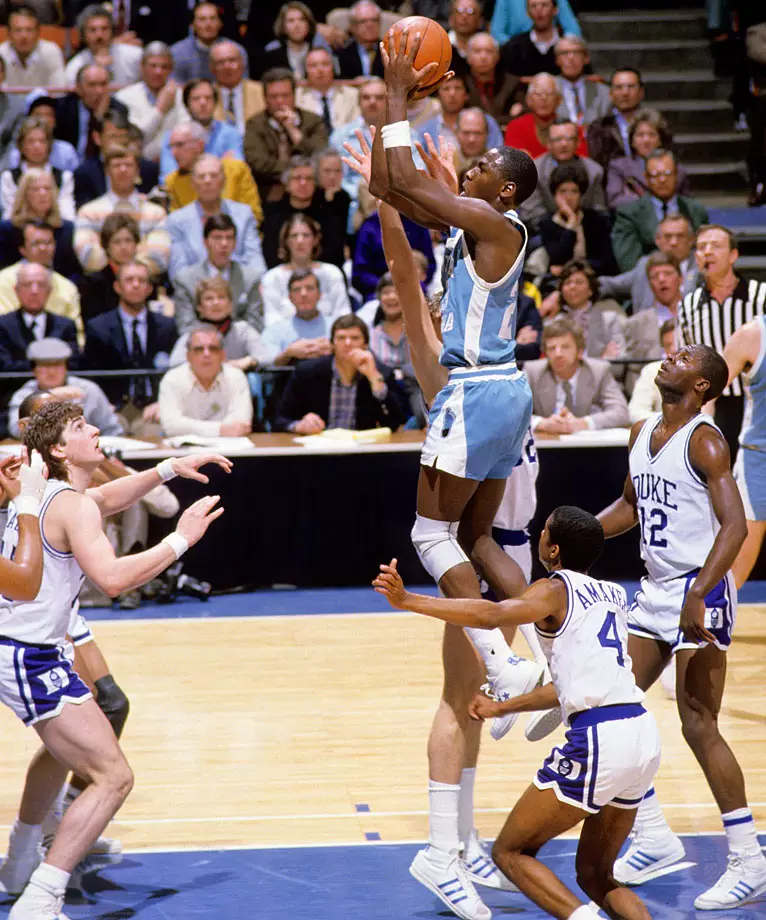
Beyond The Dunk
Take a look at this next video clip. While the announcers and most fans will focus on the dunks these players finish with, please look beyond the dunk. I want you to focus on something else. How did they get open or how did they get to the rim?
The answer to that question is SPEED!
Each player that scores in the video simply outruns their opponents at some point. You probably won't turn Sportscenter on anytime soon and have the hosts talk about how fast a player was on the court. I challenge you though to notice what puts these players in position to make spectacular defensive or highlight reel offensive plays. I think you'll find that speed is a definite factor in their success.
Showcase Your Skills
You have worked very hard on your basketball skills. Better speed will allow you a chance to showcase these skills.
Offensively-speed will create space between you and your opponent.
Defensively- speed will take away space between you and your opponent.
Without that space, showing what you can do on the court is that much more difficult. Give yourself an edge on the court, and increasing your speed will help you do so.
If you'd like a step-by-step program to help you take your athleticism to the next level...
Take a look at Cody Roberts' 12-week Athletic Development Program. This improves your speed, vertical jump, quickness, and much more.
A Hand Speed Drill Every Athlete Can Use
Skip to content
Whether you’re a basketball player defending a point guard or an infielder reacting to a short hop, a set of quick hands can make the difference between a game-winning play and a visit to the bench. If you are looking to increase your overall hand speed, here is a simple drill that can benefit any athlete.
Hand Speed Drill
Requires: A partner and 15 to 20 balls (about golf ball size; wiffle balls work best) You may substitute the number of reps with a prescribed amount of time, usually between 10 and 15 seconds, or until you run out of whiffle balls.
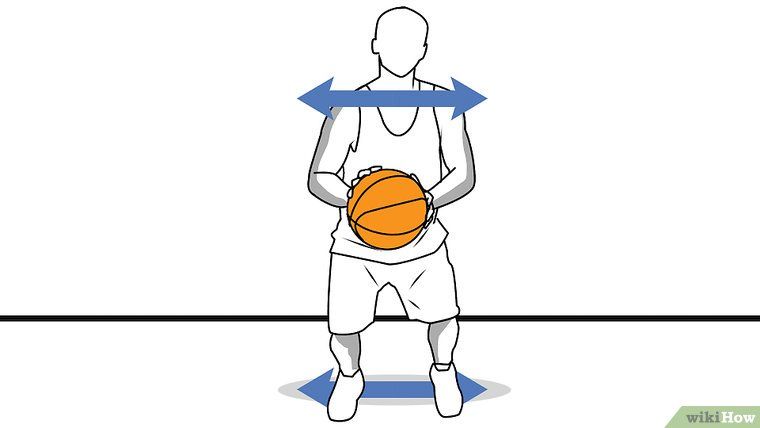
Begin in athletic stance with feet shoulder-width apart and knees slightly bent
Maintain distance of five to seven feet between you and your partner
Partner underhand tosses balls toward various points on your body
Hit all balls with same part of your hand each time; vary which hand you use
Sets/Reps: 2-3×10-15 Coaching Points: Do not try to catch balls, just hit them with hand // Have partner aim for various points (legs, arms, knees) of your body Remember, this is a rapid-fire drill so your partner should not waste time between feeds. Also, since this hand speed drill is for general training, use both of your hands. Want more? Try “3 Drills to Increase Hand Speed.” Photo: omgreds.com
Share This Story!
MOST POPULAR
Whether you’re a basketball player defending a point guard or an infielder reacting to a short hop, a set of quick hands can make the difference between a game-winning play and a visit to the bench. If you are looking to increase your overall hand speed, here is a simple drill that can benefit any athlete.
Hand Speed Drill
Requires: A partner and 15 to 20 balls (about golf ball size; wiffle balls work best) You may substitute the number of reps with a prescribed amount of time, usually between 10 and 15 seconds, or until you run out of whiffle balls.
Begin in athletic stance with feet shoulder-width apart and knees slightly bent
Maintain distance of five to seven feet between you and your partner
Partner underhand tosses balls toward various points on your body
Hit all balls with same part of your hand each time; vary which hand you use
Sets/Reps: 2-3×10-15 Coaching Points: Do not try to catch balls, just hit them with hand // Have partner aim for various points (legs, arms, knees) of your body Remember, this is a rapid-fire drill so your partner should not waste time between feeds. Also, since this hand speed drill is for general training, use both of your hands. Want more? Try “3 Drills to Increase Hand Speed.” Photo: omgreds.com
Share This Story!
Page load link
Hand strength and flexibility exercises
GROW HANDS STRENGTH AND FLEXIBILITY!
hand exercises
...There is a basketball game. Here one player quickly breaks under the enemy's shield, but the defender blocks his way. The player sharply, on the run, passes the ball to a partner. He meets a rapidly flying ball with his fingers extended forward, takes his hand back somewhat, softening the force of the blow. Another moment - and the ball is in the opponent's basket...
...A stubborn struggle flared up on the volleyball court. Accurate pass, and the striker jumps to hit. But the enemy managed to put a double block. It seemed to the audience that the attack had already been repulsed. Suddenly, the attacker, sharply turning the brush, slightly hit the ball in the bypass of the block. The defender tries to get the ball, falls, but all in vain. Point lost...
...The goal seemed inevitable. Already some of the fans clutched their heads in despair. And then the annoyance was replaced by joy. The goalkeeper, stretching out like a string, in a jump manages to knock the ball over the front line with his hands. The attack was repulsed...
We have seen such episodes a thousand times at competitions. They talk about how important it is for a volleyball player, football goalkeeper, handball player, and especially a basketball player to have well-developed hands.
We recommend special exercises that can strengthen the hands and fingers and make them more flexible.
EXERCISES FOR DEVELOPING STRENGTH OF THE MUSCLE OF THE HAND
1. Arms extended forward, hands clenched into fists. Unbend your fingers as slowly as possible and bend quickly. It is important that the arms are as straight as possible and do not bend at the wrist.
2. Arms extended forward with palms down. The brushes are clenched into fists and maximally retracted up and back. Alternately bend and unbend your fingers.
3. Maximally extend the index, middle and ring (2nd, 3rd, 4th) fingers in the metacarpophalangeal and interphalangeal joints. Secure the main middle phalanges of these fingers with the second hand. Bend and unbend only the terminal phalanges (picture 1).
EXERCISES FOR DEVELOPING STRENGTH of the muscles of the hand
4. Lying down, rest against the floor with the ends of the straightened and spread fingers of both hands (picture 2). Lower and raise the body, bending and unbending the arms at the shoulder and elbow joints.
EXERCISES FOR THE DEVELOPMENT OF STRENGTH OF THE MUSCLE OF THE HAND
5. Starting position is the same as in exercise 4. Go to the emphasis on the whole palm (picture 3) and return to the starting position. For relief, you can additionally lean on one knee or perform the exercise, resting your palms on the wall or on the gymnastic bench.
EXERCISES FOR THE DEVELOPMENT OF STRENGTH of the muscles of the hand
At first, perform only inferior work (slowly descend on the entire palm), and when the muscles get stronger, proceed to the alternation of inferior and overcoming work (push-ups on the fingers).
6. Arms extended forward, palms inward, fingers extended. Maximally bend the brushes up and down in a vertical plane.
7. Grasp the back of the chair with your hands and put your hands through the rubber loop, as shown in the picture. 4. Unbend your fingers in the metacarpophalangeal joints, overcoming the resistance of the rubber.
8. Exercise with a tennis ball and foam rubber. Grasp the ball or rubber with the whole brush. Squeeze and unclench the brushes (picture 5).
In order to prevent muscle shortening from strength work, exercises with rubber bands should be combined with exercises for muscle relaxation and for the development of speed, which are given
EXERCISES FOR INDIVIDUAL JOINTS
. Fingers are together. Maximally spread and reduce straightened fingers ..
2. Starting position is the same. Alternately make circular movements with your fingers, starting with the thumb. First, you can perform the exercise with the other hand.
3. Same starting position. Alternately bend and unbend each finger, starting with the little finger.
4. Same starting position. Perform circular movements with brushes. The fingers are relaxed.
5. Arms extended forward, palms facing each other. The hands are connected, the fingers are interlaced. Make circular movements with the connected brushes in the carpal joints.
STRETCHING EXERCISES
1. The wrist joint is fixed in a straight or bent position. Maximally extend the fingers in the metacarpophalangeal joints with the help of the other hand.
2. Leaning with the fingers of both hands on a flat surface, unbend and bend the hands in the metacarpophalangeal joints.
3. Leaning on the palms, unbend and bend the wrist joints.
4. The arm (for example, the right one) is bent at the elbow joint. The hand is at shoulder level and turned with the thumb inward. The palm is turned up. Holding the ends of the fingers with the left hand, try to straighten the right hand as much as possible (picture 6). Then release your fingers. The hand bends sharply (picture 7). Repeat the same with the left hand.
EXERCISES FOR THE DEVELOPMENT OF SPEED
1. Arms extended forward, up or to the sides, fingers apart. Bend and unbend your fingers as quickly as possible. Bending - fingers reduce, unbending - spread.
2. The starting position is the same, only the hands are on a flat surface. Tap with brushes on the surface of the support, gradually accelerating the rhythm.
3. Same starting position. Tap alternately with the fingers of both hands.
4. Hands together, fingers interlaced. Bend the right hand at the wrist joint while simultaneously extending the left hand, and vice versa. Gradually speed up the movement.
5. Palms together, fingers crossed with middle phalanges. The fingers of the left hand are straightened, and the fingers of the right hand are bent (picture 8). Straighten the fingers of the right hand while bending the fingers of the left. Gradually increase the speed of movements.
6. The arm is bent at the elbow joint. The hand is relaxed and turned with the thumb inward. The palm is turned up. Sharply bend the hand without straining
To develop speed, you can take some exercises from other groups, but perform them at a higher pace.
EXERCISES TO RELAX THE MUSCLES OF THE HAND
1. Hands down. Shake with relaxed brushes.
2. Arms bent at the elbows, hands relaxed. Shake relaxed hands with rotational movements in the elbow joints.
3. Hands up. Having completely relaxed the muscles of the arms, successively bend them in the wrist, elbow and shoulder joints.
4. Hands down. The muscles of the hands are relaxed. Swinging movements of the arms up and down - first forward, and then through the sides.
EXERCISES WITH TENNIS AND FOOD BALLS
1. Throw a tennis ball at a target and at a distance (mainly with the movement of the hand).
2. Juggle several tennis balls, mostly with the hands.
3. Throw a medicine ball with one hand, competing in accuracy or distance. The exercise can be complicated by changing the starting position - throwing while sitting, lying down, kneeling.
4. Juggle small stuffed balls, tossing them with the movement of the hands.
5. Raise and lower small medicine balls by holding them on top with your fingers.
6. Throwing and catching medicine balls in various ways, similar to receiving and passing the ball in the game.
EXERCISES FOR THE BASKETBALL PLAYER
1. Grasp the basketball with the fingers of both hands wide apart from below, from the side or from above (picture 9). Push (“squeeze”) the ball, sharply reducing the flexors of the fingers (picture 10).
2. Do the same with one hand from below, from the side and from above (pictures 11 and 12).
3. Catching, dribbling and passing heavy basketballs. To make a basketball heavier, several defective (worn out) rubber chambers are used, which are threaded one into the other.
4. Double-sided play with a weighted ball.
5. In a semi-squat, alternately with the fingers of the right and left hands, push the ball from top to bottom (“dribbling in place”),
6. The same with two balls. Pushing the fingers of the right and left hands at the same time.
7. Alternately push the ball from top to bottom with the fingers of one hand (first with the index, then with the middle, etc.). You need to try not to hit the ball, but push it down, accompanying the moving ball with your fingers for some time.
8. Send the ball to the backboard. When the ball bounces off the shield, take it on the fingers of both hands and again send it to the shield with the movement of the fingers. The exercise is similar to receiving and passing in volleyball.
9. Do the same while jumping.
10. While jumping, try to throw the ball into the basket with the ends of your fingers.
11. Throw the ball at the backboard, while jumping with both hands, catch it after the rebound and throw it into the basket.
12. Perform the same exercise with one hand.
13. The same exercise, but made more difficult by partner's opposition.
14. Two people grasp one ball (each with both hands) at waist level, overhead or below. At the signal of the coach, they try to snatch the ball from each other.
15. The coach throws the ball between two trainees, each of them tries to catch it in a jump.
GUIDELINES
All of these general and specific exercises are recommended for daily self-study. When doing exercises, it is best to follow this sequence:
1. Exercises for individual joints.
2. Exercises for developing the strength of the muscles of the hand, combined with exercises for stretching and relaxing the muscles.
3. Exercises for the development of speed. Perform them, gradually increasing the pace.
It is impossible to strictly divide exercises into groups, because each of them affects not one muscle group, but several at once and, moreover, in different ways, that is, it develops different qualities. Each exercise is performed on average 10 to 20 times. In one lesson, include 2-3 exercises from each group. After four sessions, the exercises need to be changed.
The coach and players need to systematically monitor the development of the hand and fingers.
The development of hand and finger strength can be monitored using the Dynamometer. You need to squeeze it with the whole brush or just the ends of your fingers.
The development of the speed of finger and hand movements can be controlled by counting the number of movements (tapping) in a certain period of time.
E. GEVLICH, Candidate of Medical Sciences, Head of the Department of Anatomy of the Belarusian Institute of Physical Culture
A. KHARAZYANTS, Senior Lecturer, Department of Sports Games, Institute
How to strengthen fingers and joints
Hello, dear visitors of the website basketball-training.org.ua ! Today I want to tell you again about how to strengthen your fingers. Why did I write again?
The fact is that once this site was under the Joomla content management system (I think that some site visitors remember that time: there was user registration, a terribly terrible commenting form, low traffic and frequent “glitches” of the site itself). At one fine moment, I realized that this could not continue, and the site moved to WordPress, to which I have no complaints yet.
How to strengthen the fingers
So, when transferring the site, not all materials were copied: one part of them was of low quality, the other part did not carry a special semantic load. Quite recently, while traveling through sports-related websites, I came across a familiar text! Wow, I thought, it means good advice if they are reprinted and posted! After lengthy negotiations with the administration of the resource, I still managed to convince them that I am the author of the text and get a back link to my site! Guys with " Sporttime "- thanks for the adequacy!
Well, now I want to offer you a revised set of exercises that will help strengthen the fingers of the hands - one of the most painful places for many basketball players!
Strengthen fingers - exercises
After digging a little in my old records, I found a couple of interesting exercises that will allow your fingers to become much stronger , which means reducing the risk of injury from an accidental collision with an opponent, a bounced ball or an unsuccessful contact with something else.
Let's start with the very exercises that have already been published. Oh yes, if you regularly perform at least some of the exercises below, then your fingers will become not only strong, but also more flexible and tenacious. And in the fight for a controversial ball (the one in which they try to snatch the ball from the opponent's hands), you will have much more chances.
The first exercise is , it is also the basic one. The starting position is a meter and a half from the wall. Tilt your whole body forward and fall against the wall. And in order to stop the fall, we put our hands forward and rest our fingers against the wall. A sort of "lying emphasis", only you have to lie down on the wall. Try not just to stick your fingers into the wall (and you can break them), but to cushion, spring them.
The second exercise for the fingers consists in squeezing a tennis ball, while squeezing only with your fingers. You can also squeeze any wrist simulator, the main thing is to squeeze with your fingers.
Horizontal bar will help not only to pump up the muscles of the hands, but also to strengthen the fingers. How? Just try to hang as long as possible, holding only your fingers. Grip from below and hold with your fingers. How long will you last?
Finger push-ups can also help in the process of strengthening the fingers. The load on the joints is quite high, so I recommend starting with a few repetitions, and then gradually increase the load. Is it difficult (painful) to do push-ups on your fingers? Try to take an emphasis while lying on your knees - the load will decrease, but the effect will still be good.
The coolest exercise , which involves the hands and fingers, back and shoulders, abs - in general, a number of different muscles. What you need: a gymnastic stick (a leg from a stool, a handle from a shovel, etc.), a rope (a meter and a half long, depending on height) and a weighting agent (dumbbell, sledgehammer head, pancake from a barbell, an old iron). One end of the rope is tied around the middle of the stick, the second - to the weighting agent. We take the stick with both hands, the hands themselves are parallel to the floor. We begin to rotate the stick in such a way that the rope is wound and the load rises from the floor. When screwed to the end - just as slowly unwind back. Change the grip (upper and lower, wide and narrow) and the weight of the weighting agent (pro sports weights ) to get the most out of your workouts.
And now a few words about new ways to strengthen the fingers.
Strengthening the fingers - a few more exercises
This group includes exercises used by Russian special forces. The origins of these exercises go to the masters of martial arts. Do not be afraid, I will not agitate you to pierce the boards with your fingers with screams that frighten your enemies. Immediately introduced the Chinese master, who, putting a block shot, pierces the ball with his finger. The sun is warming something, and such thoughts come into my head!
Exercise #1. Brick work. Try throwing the brick up and catching it with the fingers of one hand. Caught? Now toss it with a spin and catch it again. Happened? Now try to rotate your arm at the elbow, while continuing to hold the brick with your fingers (just don't break the glass of your neighbors).
Exercise number 2. Lying support. The point is to take the prone position without using your thumb. We stand as long as possible (legs can be thrown to a certain hill to increase the load). Gradually reduce the number of fingers you rely on.
Exercise #3. Hands in front of you. We are trying to spread the straightened fingers as much as possible. Then - press your fingers to each other as much as possible. This exercise will bring you closer to gaining the ability to take the ball in your hand.


 And in the end this is why players work to get faster- it helps you make plays while on the court.
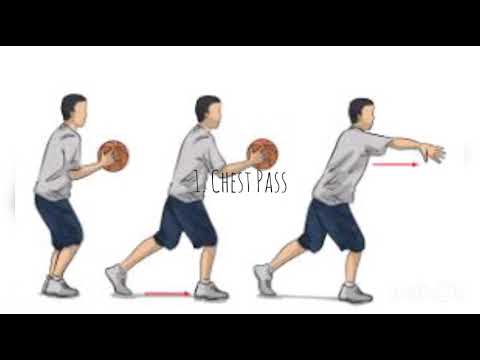 While the announcers and most fans will focus on the dunks these players finish with, please look beyond the dunk. I want you to focus on something else. How did they get open or how did they get to the rim?
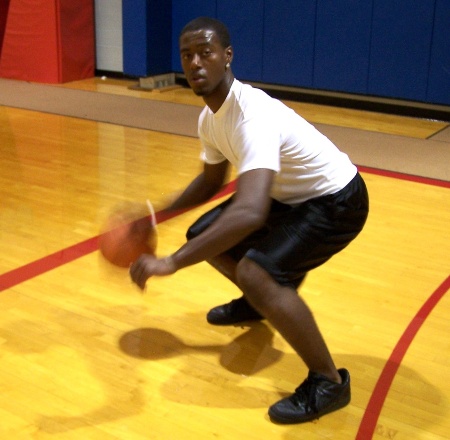

 Also, since this hand speed drill is for general training, use both of your hands.
 The defender tries to get the ball, falls, but all in vain. Point lost...
  The brushes are clenched into fists and maximally retracted up and back. Alternately bend and unbend your fingers.
 Fingers are together. Maximally spread and reduce straightened fingers ..


 Do the same while jumping.
 KHARAZYANTS, Senior Lecturer, Department of Sports Games, Institute
 One end of the rope is tied around the middle of the stick, the second - to the weighting agent. We take the stick with both hands, the hands themselves are parallel to the floor. We begin to rotate the stick in such a way that the rope is wound and the load rises from the floor. When screwed to the end - just as slowly unwind back. Change the grip (upper and lower, wide and narrow) and the weight of the weighting agent (pro sports weights ) to get the most out of your workouts.