Home »
Misc »
How to make a small basketball hoop
How to make a small basketball hoop
STEAM@Home: Make Your Own Basketball Hoop!
No application or registration needed.
Location
- Only virtual (online or over the phone).
Find an area where you can lay out materials and do some hands-on construction.
Additional information
Materials:
- A wire hanger. It cannot be a partially metal hanger made substantially of wood or plastic.
- A large, flat piece of cardboard.
- The tape of your choosing. Masking tape may be the easiest to work with; duct tape would certainly make the hoop durable.
- Markers or paint.
- Scissors.
- String (optional).
Instructions:
- Bend the wire hanger into a circle. You do not even have to dismantle the hanger, but just reshape it into a hoop.
- Bend the hook of the hanger so that it is at a 90 degree angle with the hoop. Do not cut away the hook, as it still can be of some use.
![]()
- Cut the cardboard to the size and shape of your liking. Standard high school, college, and NBA backboards are rectangular, if you are looking to replicate that appearance. Try to make sure the relative scale of the hoop and backboard seem reasonable. For comparative purposes, an NBA backboard is 6 feet wide, while the basket opening is 18 inches (1.5 feet). That means the basket width is 1/4 (or 25%) as wide.
- Decorate the hoop and backboard to your liking. Traditional hoops are painted red, but you can certainly customize it to fit whatever you desire. The backboard of most high schools, colleges, and all NBA franchises are now made of transparent glass; as there is no transparent cardboard, you can really be as creative as you want.
- Tape the hoop to the backboard. You can attach the hook (which you bent up earlier) to lower back side of the backboard. Make sure the rim is as close to the backboard as possible.
- Attach a net to the basketball rim (optional). You can make make a net out of string, or even out of twisted tape.
- Hang the completed basket to a wall or door. Masking tape will work well for this purpose, as it will not leave a sticky mess behind like duct tape would. There are two different taping methods you can employ.
This activity supports the practice of these STEAM Habits of Mind: Develop craft, engage & persist, observe, reflect, stretch & explore.
Tips for Supporting Your Children's Learning
Get your child actively involved in their own learning and having their questions drive the learning. Let them observe and figure out, and try to hold back from answering questions for them. Instead, try to ask: What do we know? What else can we find out? How might we figure that out? Don't be afraid to ask your child questions. Also, don't be afraid to say "I don't know--let's find out together!" as a way to respond to their questions.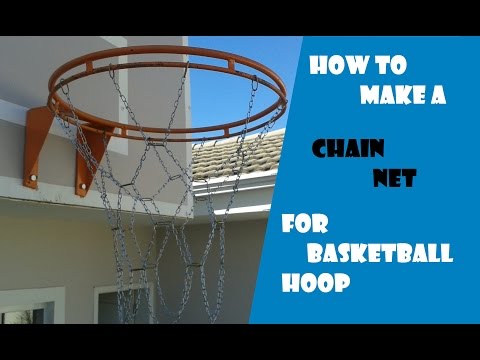 Here's an article to help you support this kind of learning: Of the Value of Saying I Don’t Know
-----------------------------------------------------------------------------------------
Want to learn more about making your own sports equipment?
- Science Club for Girls at Home - Make you own sports equipment challenge
- Instructables - MYO Basketball hoops
More hands on activities and learning opportunities:
- Homecourt - basketball skill building app
-
Cambridge Public Schools Virtual Enrichment Recommendations
-
Parkour Generations - Classes
-
Department of Human Services Sports Leagues
More STEAM@Home suggestions!
STEAM Habits of Mind - observe, reflect, engage & persist, stretch & explore, imagine, develop craft
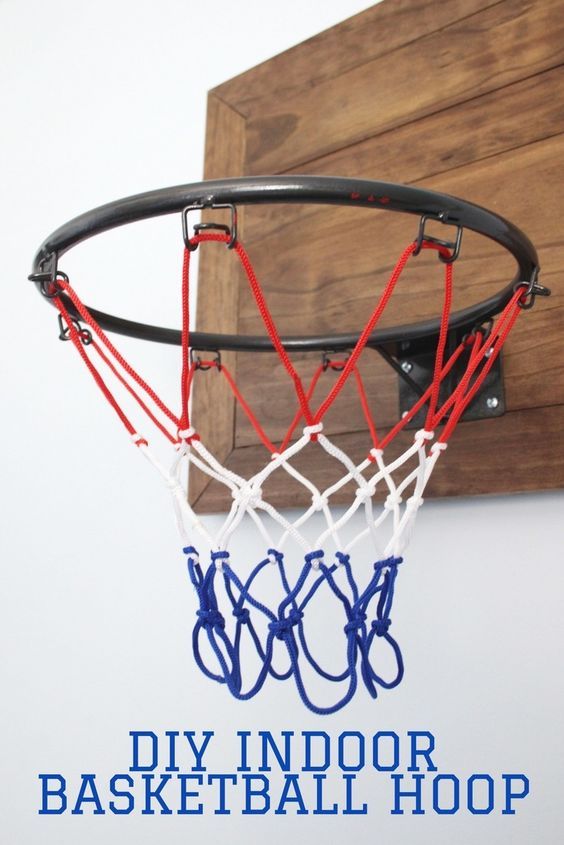
DIY Basketball Hoop for my boys bedroom ⋆ Tamaras Joy
Build your own Basketball hoop:
This post contains affiliate links
*this post contains affiliate links*
Slowly I am putting together a sports themed room for my eldest son.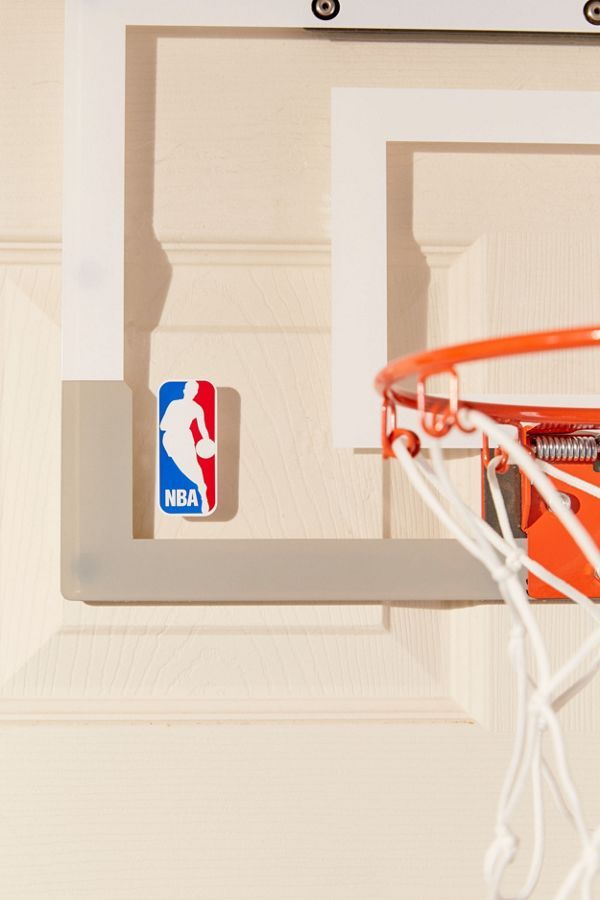 Of course a Mini Basketball Hoop would make a great addition to his decor.
My Basketball Hoop Inspiration:
I looked for Basketball hoops to hang on the wall and almost bought one but decided I could probably build a basketball hoop for the wall that would have the benefit of looking cute too!
Lets face it, although my boys enjoy my decorating they are not too interested in a pretty looking basketball hoop. All they want is function! But I just couldn’t resist.
I had to at least TRY to build a Basketball hoop.
DIY Basketball hoop for my boys room:
I did look for a metal hoop to add to a nice wooden backboard but couldn’t find any in my price range so I decided to build this out of wood as well.
My son is only 7 and so he isn’t exactly attempting slam dunks at the moment so a wooden circle ended up working out great! A year later and this thing is still intact!
Tools needed:
- Jig Saw OR Scroll Saw
- Drill with Pilot Point Twist Drill Bit
- Staple Gun
Estimated Cost:
- The hoop costs less then $10
- I used scraps and pallet boards but to buy the wood perhaps another $10
DIY Basketball hoop STEP ONE:
Take two buckets or two sized bowls to use as a template.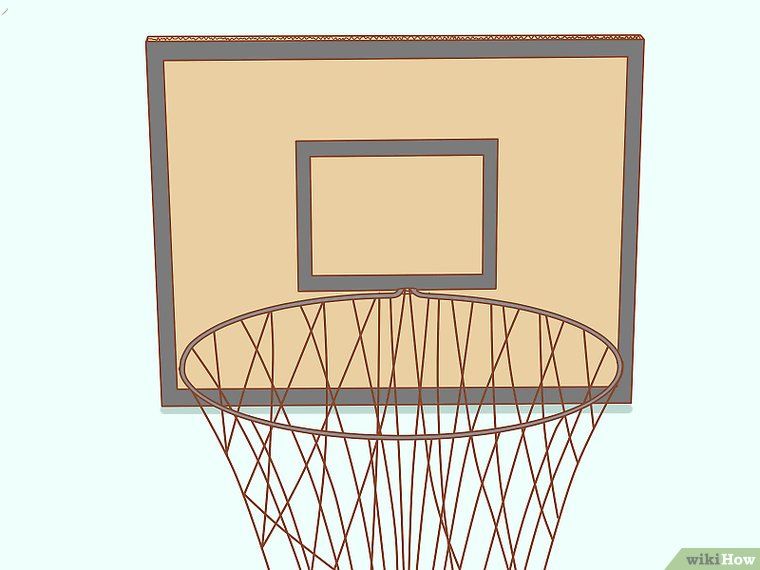
Then trace these circles onto the board you will be cutting.
Make sure there is enough thickness between the two circles to give this hoop the strength to withstand being played with!
DIY Basketball hoop STEP TWO:
Drill holes along the inner circle to make cutting this DIY Basketball hoop a whole lot easier.
DIY Basketball hoop STEP THREE:
It’s time to cut this DIY Basketball hoop out!
DIY Basketball hoop STEP FOUR:
Sand it down, stain & let dry.
DIY Basketball hoop STEP FIVE:
To put the backboard together I used wood sourced from a pallet. Putting two pieces vertical and nailed the horizontal boards to the vertical back boards. I didn’t take pictures of this step. oops.
DIY Basketball hoop STEP SIX:
Stain the backboard then add a painted white square on it.
DIY Basketball hoop STEP SEVEN:
It’s time to put these two pieces together. I pre-drilled small starter holes into the hoop so when I drilled the two screws through the backboard into the hoop it would make it easier not to split the hoop!
DIY Basketball hoop STEP EIGHT:
Add the netting with a staple gun and you are done! I found my netting at walmart, or you can check this one out: Basketball Net (White).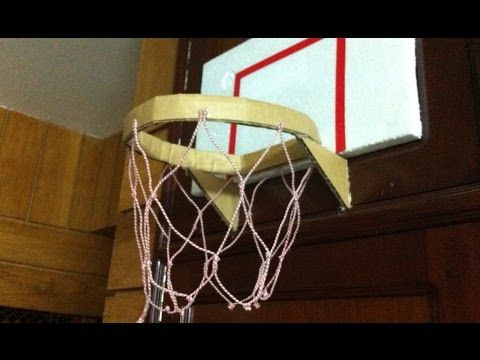
FINISHED! Its time to hang this beauty!
I used wire but you could always use picture framing hooks instead.
If you make this I would love to hear about it! Leave me a note in the comments 🙂
Please share this post by pinning these pictures. Thanks!
Basketball hoop - how to make a stand with a backboard with your own hands
Love basketball and want to make a hoop? I wanted to make it myself, not buy it, and I ended up making it. It's pretty cheap, especially if you have some of the stuff you need to assemble.
Let's start assembling the basketball hoop with our own hands.
Step 1: Shape the Ring
The first thing you will need is a ring, I made it with 12mm rod, but it doesn't have to be that size. The standard diameter of a basketball hoop is 450 mm.
To make it flat you need something to wrap it around, this thing should be about 400mm in diameter.
I found an old car rim of the right size, you will need to clamp it to the table with a clamp using a piece of wood.
As shown in photo 2, place another clamp a little further from the first with a rod between them.
As shown in photo 3, slowly wrap the rod around the disk, once you wrap the rod and its edges overlap, cut off the straight ends.
Use a clamp to press the ends together, then weld them together.
To complete this part, place the ring on the ground and straighten out all the curves.
Step 2: Frame
- Bend a piece of flat metal, mine was 4mm thick.
- Weld it to a flat point in the ring.
- Cut two rods 320 mm long.
- Weld them as shown in the photo.
- Drill four holes to match your existing bolts.
- If you need a netball ring, you can simply attach it to the pole and skip the rest of the steps.
Step 3: Mesh Staples (Optional)
Show 7 More Images
Do this step if you need mesh. If you need a network, you will have to buy it.
This step is not as difficult as it seems.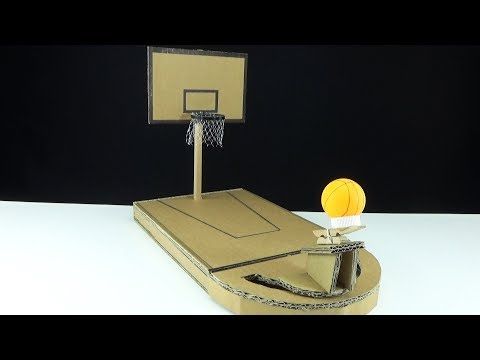
- cut 12 pieces of wire 90 mm long (I would recommend making a few spare parts, as they are easy to ruin.)
- bend them in the middle (it doesn't matter if the tips are the same length)
- clamp the wire in a vise with a steel rod at one end
- bend wire over rod
- repeat this with all parts of
- retighten the wire wrapped around the rod (see photo)
- bend it
- repeat with all parts
- retighten the wire wrapped around the rod
- bend it (at this point you can't just remove the wire from the rod - you will need to slide it to one of its edges and remove it from the edge)
- repeat with all parts of
- divide into 12 pieces and weld on the brackets
Step 4: Backboard
Cut the board to size. My board does not fit the full size of basketball boards. (the second picture shows the dimensions of a standard shield).
My measurements are 1100mm wide, 700mm high and 25mm thick.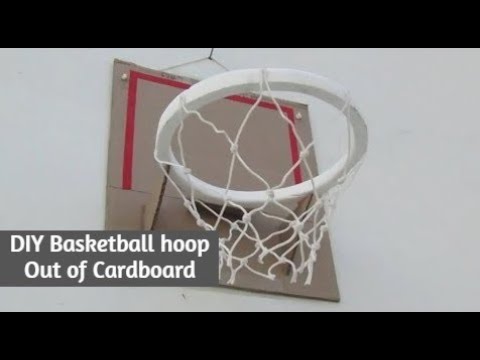 (You don't have to be that size.)
Step 5: Paint the Shield
Once you've drawn all the lines on the shield, lay masking tape over them. If you try, everything will look neat.
If you are using MDF, you will need to take care to protect the edges from moisture (as shown in photo 2).
Carefully paint over the areas around the masking tape.
Remove masking tape after enough coats of paint have been applied and the board looks complete.
Step 6: Paint the ring
First you need to sand the metal. I used a grinding disc on a grinder.
The ring must not be black or white, it must stand out from the shield. Usually the ring is painted orange or red.
The easiest way to paint inventory is from a can.
Step 7: Assemble
Put it all together. Screw the ring to the shield, hang a net on the ring.
Step 8: Installation
DIY Basketball Post is great to mount on a garage or house wall, but if you want to mount it on a pole, you can create one too.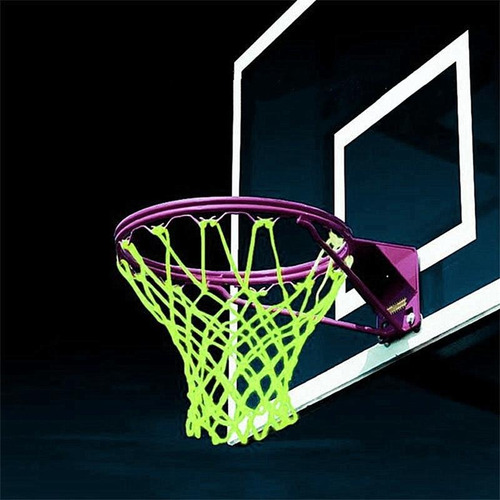
I installed my ring in the yard using heavy duty wood screws.
A standard basketball hoop must be placed 3 meters from the ground.
I am not responsible for any damage you cause to yourself or your property - you make your own ring.
Successful throws!
Basketball hoop - how to make a stand with a backboard with your own hands
Love basketball and want to make a hoop? I wanted to make it myself, not buy it, and I ended up making it. It's pretty cheap, especially if you have some of the stuff you need to assemble.
Let's start assembling the basketball hoop with our own hands.
Step 1: Shape the ring
The first thing you need is a ring, I made it with 12mm rod, but it doesn't have to be that size. The standard diameter of a basketball hoop is 450 mm.
To make it flat, you need something to wrap it around, this thing should be about 400mm in diameter.
I found an old car rim of the right size, you will need to clamp it to the table with a clamp using a piece of wood.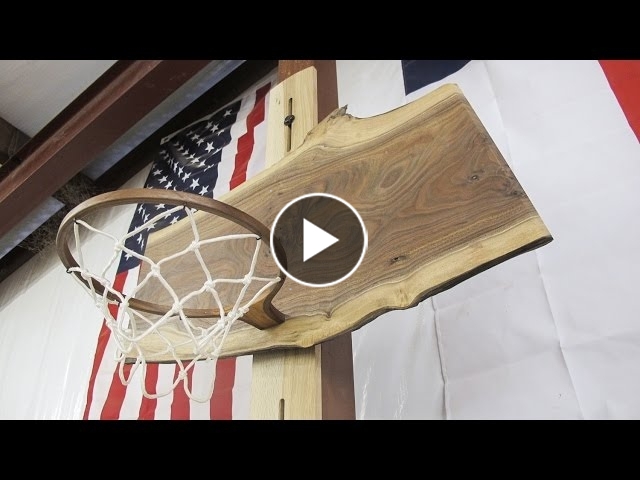
As shown in photo 2, place another clamp a little further from the first with a rod in between.
As shown in photo 3, slowly wrap the rod around the disk, once you wrap the rod and its edges overlap, cut off the straight ends.
Use a clamp to press the ends together, then weld them together.
To complete this part, place the ring on the ground and straighten out all the curves.
Step 2: Frame
- Bend a piece of flat metal, mine was 4mm thick.
- Weld it to a flat point in the ring.
- Cut two rods 320 mm long.
- Weld them as shown in the photo.
- Drill four holes to match your existing bolts.
- If you need a netball ring, you can simply attach it to the pole and skip the rest of the steps.
Step 3: Mesh Staples (Optional)
Show 7 More Images
Do this step if you need mesh. If you need a network, you will have to buy it.
This step is not as difficult as it seems.
- cut 12 pieces of wire 90 mm long (I would recommend making a few spare parts, as they are easy to ruin.)
- bend them in the middle (it doesn't matter if the tips are the same length)
- clamp the wire in a vise with a steel rod at one end
- bend wire over rod
- repeat this with all parts of
- retighten the wire wrapped around the rod (see photo)
- bend it
- repeat with all parts
- retighten the wire wrapped around the rod
- bend it (at this point you can't just remove the wire from the rod - you will need to slide it to one of its edges and remove it from the edge)
- repeat with all parts of
- divide into 12 pieces and weld on the brackets
Step 4: Backboard
Cut the board to size. My board does not fit the full size of basketball boards. (the second picture shows the dimensions of a standard shield).
My measurements are 1100 mm wide, 700 mm high and 25 mm thick. (You don't have to be that size.)
Step 5: Paint the Shield
Once you've drawn all the lines on the shield, lay masking tape over them. If you try, everything will look neat.
If you are using MDF, you will need to take care to protect the edges from moisture (as shown in photo 2).
Carefully paint over the areas around the masking tape.
Remove masking tape after enough coats of paint have been applied and the board looks complete.
Step 6: Paint the ring
First you need to sand the metal. I used a grinding disc on a grinder.
The ring must not be black or white, it must stand out from the shield. Usually the ring is painted orange or red.
The easiest way to paint inventory is from a can.
Step 7: Assemble
Put it all together. Screw the ring to the shield, hang a net on the ring.
Step 8: Install
A DIY basketball stand is great for mounting on a garage or house wall, but if you want to mount it on a pole, you can create one too.