Home »
Misc »
How to have a better grip on the basketball
How to have a better grip on the basketball
Palm a Basketball with this Grip Strengthening Basketball...
Skip to content
Athletes who plays basketball want to do three things: dunk the ball, spin the ball on their finger and palm the basketball.
Palming a ball requires grip strength. A strong grip will not only help you grip a basketball, it will also help your overall game. Grip strength will give you more control when you dribble and better “touch” when you shoot.
The following six grip-strengthening exercises will help you palm a basketball and improve your game in no time.
1. Barbell Reverse Grip Curls
Curls are a great biceps isolation move that can also increase your grip strength. Using a barbell instead of an EZ Bar forces you to use a fatter grip and really recruit your forearm muscles to keep the bar level. Using a reverse, or overhand, grip, you fight gravity more, making it harder to lift the bar.
How To Perform:
- Grasp a bar with an overhand grip, hands about shoulder-width apart.
![]()
- Keeping your back straight, elbows close to your body, and shoulders retracted, curl the bar by bending at your elbows.
- Do not flare your elbow, lean too far back or use your momentum to curl the bar.
- Sets/Reps: 3×10-12
For privacy reasons YouTube needs your permission to be loaded. For more details, please see our Privacy Policy.
I Accept
2. Fingertip Push-Ups
Palming a basketball is not just about forearm strength. It’s also about finger strength. Performing Push-Ups on your fingertips leads to an increase in finger strength and therefore grip strength.
How to Perform:
- Get into a standard push-up position with your hands shoulder-width apart, and your core, glutes and lower back contracted.
- Instead of placing the palms of your hands on the floor, hold yourself up with your fingertips spread out on the floor.
- Sets/Reps: 3×15-20
For privacy reasons YouTube needs your permission to be loaded. For more details, please see our Privacy Policy.
I Accept
3. Towel Grip Pull-Ups
Pull-Ups are one of the best upper-body exercises for athletes. How many you can do depends largely on your grip strength. A great way to add a grip variation to a normal Pull-Up is to wrap two towels around the bar and grasp those instead of the bar. The unusual neutral grip requires more muscle recruitment in the forearms and hand musculature.
How To Perform:
- Wrap two towels over a pull-up bar about shoulder-width apart, with the two ends of the towel hanging evenly.
- Grasp both ends of the towels with a neutral grip.
- Perform a standard Pull-Up, pulling with your upper back and not just your biceps.
- Sets/Reps: 3×10-12
For privacy reasons YouTube needs your permission to be loaded. For more details, please see our Privacy Policy.
I Accept
4. Cable Reverse Grip Tricep Push-Downs
This exercise mimics Barbell Reverse Grip Curls, but targets the triceps and forearms. Once again, the reverse grip provides less leverage, making your forearms and hand musculature work harder to push the weight down. This will ultimately lead to a stronger grip, making it easier to palm a basketball. The triceps muscles are important for basketball players, since they play a crucial role in shooting and passing strength.
How To Perform:
- Attach a straight curl bar to a cable and adjust the height so it is at the top of the tower.
- Grasp the bar with an underhand grip.
- Keeping your elbows close to your body and your back straight, push the bar down until your elbows are straight.
- Slowly raise the bar until your elbows are at 90 degrees, and repeat the motion.
- Sets/Reps: 3×10-12
For privacy reasons YouTube needs your permission to be loaded. For more details, please see our Privacy Policy.
I Accept
5. Towel Grip Inverted Rows
These confer the same benefits as Towel Grip Pull-Ups, but focus more on the rhomboid muscles than the biceps. Performing this exercise with towels also increases grip strength, which will help you palm the basketball and have more control when dribbling.
How To Perform:
- Adjust a Smith machine bar to waist height, or rack a barbell at waist height on a free-weight squat rack.
- Wrap two towels over the bar about shoulder-width apart, with the two ends of each towel hanging evenly.
- Lie down on the floor underneath the bar and grasp both ends of the towels.
- Keeping your back and legs straight, and your glutes contracted, pull your chest up to the bar.
- Focus on retracting your shoulders and using your rhomboids more than your biceps.
- Sets/Reps: 3×15-20
For privacy reasons YouTube needs your permission to be loaded. For more details, please see our Privacy Policy.
I Accept
6. Pinch Plate Farmer’s Walk
Holding a heavy weight plate in each hand while you walk can be a grueling workout for your hand musculature and forearms. To make them even harder, try grasping a weight plate with just your fingers. This will increase the muscular endurance of your grip.
How To Perform:
- Grasp a weight plate in each hand with a pinch grip. Don’t use the handles!
- Keeping good posture, walk 50 yards with the plates by your sides without stopping.
- Sets/Distance: 3×50 yards
For privacy reasons YouTube needs your permission to be loaded. For more details, please see our Privacy Policy.
I Accept
Continue your grip training with these workouts:
- Grip and Rip With Rice Bucket Hand-Strengthening Exercises
- 5 Time-Saving Grip Strength Exercises
- 3 Easy Steps for a Stronger Grip
[cf]skyword_tracking_tag[/cf]
Share This Story!
MOST POPULAR
Athletes who plays basketball want to do three things: dunk the ball, spin the ball on their finger and palm the basketball.
Palming a ball requires grip strength. A strong grip will not only help you grip a basketball, it will also help your overall game. Grip strength will give you more control when you dribble and better “touch” when you shoot.
The following six grip-strengthening exercises will help you palm a basketball and improve your game in no time.
1. Barbell Reverse Grip Curls
Curls are a great biceps isolation move that can also increase your grip strength. Using a barbell instead of an EZ Bar forces you to use a fatter grip and really recruit your forearm muscles to keep the bar level. Using a reverse, or overhand, grip, you fight gravity more, making it harder to lift the bar.
How To Perform:
- Grasp a bar with an overhand grip, hands about shoulder-width apart.
- Keeping your back straight, elbows close to your body, and shoulders retracted, curl the bar by bending at your elbows.
- Do not flare your elbow, lean too far back or use your momentum to curl the bar.
- Sets/Reps: 3×10-12
For privacy reasons YouTube needs your permission to be loaded. For more details, please see our Privacy Policy.
I Accept
2. Fingertip Push-Ups
Palming a basketball is not just about forearm strength. It’s also about finger strength. Performing Push-Ups on your fingertips leads to an increase in finger strength and therefore grip strength.
How to Perform:
- Get into a standard push-up position with your hands shoulder-width apart, and your core, glutes and lower back contracted.
- Instead of placing the palms of your hands on the floor, hold yourself up with your fingertips spread out on the floor.
- Sets/Reps: 3×15-20
For privacy reasons YouTube needs your permission to be loaded. For more details, please see our Privacy Policy.
I Accept
3. Towel Grip Pull-Ups
Pull-Ups are one of the best upper-body exercises for athletes. How many you can do depends largely on your grip strength. A great way to add a grip variation to a normal Pull-Up is to wrap two towels around the bar and grasp those instead of the bar. The unusual neutral grip requires more muscle recruitment in the forearms and hand musculature.
How To Perform:
- Wrap two towels over a pull-up bar about shoulder-width apart, with the two ends of the towel hanging evenly.
- Grasp both ends of the towels with a neutral grip.
- Perform a standard Pull-Up, pulling with your upper back and not just your biceps.
- Sets/Reps: 3×10-12
For privacy reasons YouTube needs your permission to be loaded. For more details, please see our Privacy Policy.
I Accept
4. Cable Reverse Grip Tricep Push-Downs
This exercise mimics Barbell Reverse Grip Curls, but targets the triceps and forearms. Once again, the reverse grip provides less leverage, making your forearms and hand musculature work harder to push the weight down. This will ultimately lead to a stronger grip, making it easier to palm a basketball. The triceps muscles are important for basketball players, since they play a crucial role in shooting and passing strength.
How To Perform:
- Attach a straight curl bar to a cable and adjust the height so it is at the top of the tower.
- Grasp the bar with an underhand grip.
- Keeping your elbows close to your body and your back straight, push the bar down until your elbows are straight.
- Slowly raise the bar until your elbows are at 90 degrees, and repeat the motion.
- Sets/Reps: 3×10-12
For privacy reasons YouTube needs your permission to be loaded. For more details, please see our Privacy Policy.
I Accept
5. Towel Grip Inverted Rows
These confer the same benefits as Towel Grip Pull-Ups, but focus more on the rhomboid muscles than the biceps. Performing this exercise with towels also increases grip strength, which will help you palm the basketball and have more control when dribbling.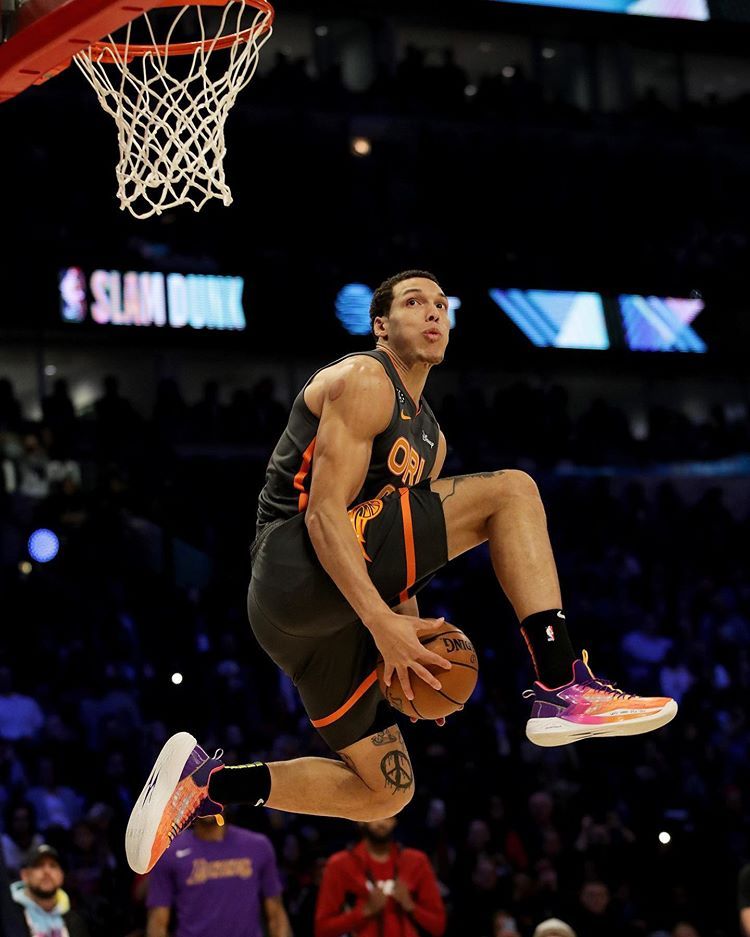
How To Perform:
- Adjust a Smith machine bar to waist height, or rack a barbell at waist height on a free-weight squat rack.
- Wrap two towels over the bar about shoulder-width apart, with the two ends of each towel hanging evenly.
- Lie down on the floor underneath the bar and grasp both ends of the towels.
- Keeping your back and legs straight, and your glutes contracted, pull your chest up to the bar.
- Focus on retracting your shoulders and using your rhomboids more than your biceps.
- Sets/Reps: 3×15-20
For privacy reasons YouTube needs your permission to be loaded. For more details, please see our Privacy Policy.
I Accept
6. Pinch Plate Farmer’s Walk
Holding a heavy weight plate in each hand while you walk can be a grueling workout for your hand musculature and forearms. To make them even harder, try grasping a weight plate with just your fingers. This will increase the muscular endurance of your grip.
How To Perform:
- Grasp a weight plate in each hand with a pinch grip. Don’t use the handles!
- Keeping good posture, walk 50 yards with the plates by your sides without stopping.
- Sets/Distance: 3×50 yards
For privacy reasons YouTube needs your permission to be loaded. For more details, please see our Privacy Policy.
I Accept
Continue your grip training with these workouts:
- Grip and Rip With Rice Bucket Hand-Strengthening Exercises
- 5 Time-Saving Grip Strength Exercises
- 3 Easy Steps for a Stronger Grip
[cf]skyword_tracking_tag[/cf]
Share This Story!
Page load link
Slippery Basketball? Get The Grip Back In 5 Steps – Get Hyped Sports
When you play a game outside in the rain and dust, your basketball will eventually become almost impossible to dribble or catch. A slippery basketball can be a pain, especially as you start failing to make shots and lose control of the ball across the court.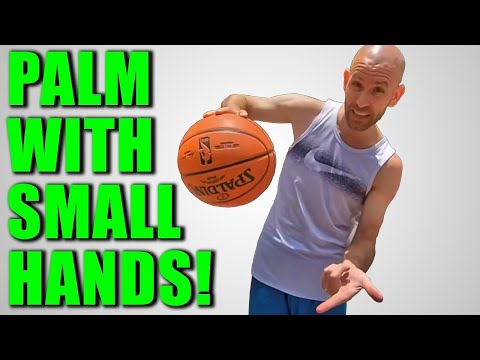
You must clean the basketball with a wet cloth and soapy water, ensuring that you move in circular motions to get between the dots on the ball. If you have a leather ball, you must dry it and apply the leather cleaner, while rubber balls can be left to dry before using again.
As easy as it may sound, people learn a few things through only practice and making mistakes while cleaning their basketballs. Because of some basketballs’ relatively high cost, we need to ensure that you are not damaging the surface while cleaning the ball.
How To Get the Grip Back On A Leather Basketball
Leather basketballs are what you will find being used in official games, most school gymnasiums, and, if you are lucky, in your court. These balls are all handmade and cost a significant amount more than their composite rubber counterparts, which is why they require more care.
Many pro athletes have made it clear that these basketballs feel significantly different from the other and are generally better.
Understanding how to clean a leather basketball will be the difference between having it for a lifetime or having a cracked mess within a year. A basketball with a grip will give you more control and help you palm it.
Find A Flat Surface
To start the process, find a clean flat surface that can get wet and place the leather basketball on it, preferably something on the ground.
Ensure that you can hold the ball in place with one hand so that the ball won’t roll away and get dirty again later on.
Many people try to do this on a table or work surface that they have access to, only to find that the table needs to be cleaned once the process is done.
When using a clean surface on the ground, either a garage floor or just a patio, you can sweep away or hose away from any residue that stays behind.
Hold Ball
This is ironically the most challenging part of the process because the ball will get highly slippery before you can get a proper grip on it.
Many people recommend deflating the ball slightly to ensure it is easier to grip while initially washing it before applying the leather care.
You should ensure that you can grab onto the ball simultaneously, ensuring that the ball cannot randomly slip out of your hand while cleaning.
Getting a good grip on the ball means that you are not pushing it down too hard or that you may lose your grip on the ball.
Use Rag and Dish Soap
This will be the first stage of cleaning the ball; the leather will be damaged if you dunk the ball into the water or use too much.
We recommend that you get a rag and soak it in mildly hot water, spreading a few drops of dish soap onto the rag instead of the ball.
Using the rag, you should start cleaning the ball in a circular motion, turning it around, so you get every part of the ball. If the rag is too wet or you have too much soap, a residue will be left behind; after everything is cleaned, use a dry cloth to wipe away any excess water and soap.
See Our Complete List Of Helpful Basketball Articles Here.
Leather Cleaner
This step will not be required every time and should only be done once the ball is older than a year. After you have cleaned the entire surface of the ball and it has dried completely, you need to move it to a dry surface and start treating the leather.
You cannot simply use any leather cleaner; most sports equipment stores will have the right leather cleaner and treatment for leather basketballs.
If you use the wrong type, you can cause the ball to be more slippery than ever, ruining the ball almost permanently. If you’re looking for a leather cleaner, we like this one.
Use Circular Motion
The most crucial part about cleaning the basketball is moving in a circular motion, ensuring that you get into the grooves of the ball. The circular motion will clean between the dots of the ball, ensuring that it is spotless before applying anything else.
When drying the ball, you need to follow the same motion, ensuring no moisture is trapped between the dot and the grooves of the ball.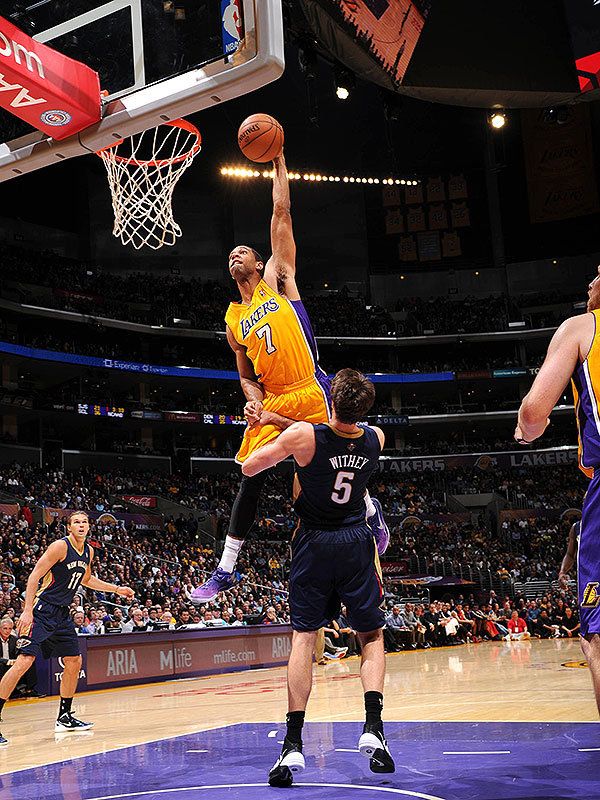
If you apply leather treatment or cleaner, you need to follow the motions to ensure it gets everywhere.
Get The Grip Back On A Plastic Or Rubber Basketball
Plastic, rubber, or composite balls are vastly different from the leather basketballs used in professional basketball games. These balls are significantly less expensive than their counterparts and are a lot easier to clean than leather basketballs have ever been.
The steps may seem similar to what they are for leather basketballs, but they are not nearly as complicated. Many people enjoy these balls when practicing and having fun because they are easier to clean and allow you to care a bit less about how and where they are used.
Add Water And Soap In Sink
The most significant difference is that we wash these balls in the sink, either in the kitchen, the bathroom, or the sink used in the washroom. Because the material is not sensitive to excessive water and soap, you can be rougher and more thorough when cleaning.
Usually, filling the sink with an inch or two of hot, soapy water will be enough to clean every part of the basketball thoroughly.
This provides enough water to do everything needed, and the hot water will aid in cleaning off any substances like oil, sweets, or cooldrink on the surface.
Cover Entire Ball with Soapy Water
Before cleaning the ball thoroughly, we recommend turning it around in the water for a few minutes, ensuring that every part has soaked in the water. This will make it easier to start scrubbing, having water everything, and the loose dirt and dust away to reveal the stains.
Rubber and composite materials can be stained with more stubborn dirt and fluid, almost absorbing it into the fabric. To clean these stains, you need to have the water-soaked onto the surface of the basketball, not merely splashed or on the surface.
Wash With Rag or Brush
Now that the ball is wet and hot, you can grab a brush or rag and start scrubbing away, moving in any way you are comfortable. You do not have to be too careful as the materials are resilient and are not easily damaged by your motions while cleaning them, even in hot water.
A brush is an easy way to get into the grooves of the basketball, while the rag is perfect for cleaning the dots and more expansive surfaces of the ball. To ensure that you are not having a problem cleaning the ball, we recommend doing this with one hand holding onto the ball while the other brushes.
Leave In Sunny or Windy Area
Unfortunately, plastics, rubbers, and composite materials never clean when dried with a towel. You will have to leave the ball in a slightly sunny, indoor area or with a fan on it to get it dry entirely, usually going it for half a day or more.
This ensures that the surface is not wet when you start dribbling the ball on the courts, which will cause more problems as the wetness soaks up dust and dirt. We highly recommend that you make sure it is dry; otherwise, you will have to start from the beginning again.
Conclusion
Basketballs may be inexpensive or extremely expensive, but they will always be easy to clean, with only leather basketballs requiring extra attention to how you are cleaning them.
We recommend following these steps to ensure you can perfectly dunk on anyone that challenges you.
Whatever you do, please don’t let a leather basketball soak in water for more than a few minutes!
Basketball coaching hacks: how to score goals for beginners
Even if you are a novice basketball player, we will not give you a training plan, but we will tell you why the ball flies anywhere but into the ring and into your hands. It's all about technique: even with regular training and perseverance, novice adults and children often make simple mistakes. It's a shame, let's fix it. Below are 11 life hacks on how to hone your technique to increase the likelihood of a goal for your team.
Basketball Shot Rules for Beginners
1. Hands up
In pursuit of the attacker, raise your hands, even if you are standing with your back to the pass, and even more so if the ring is in front of you. Your raised hands will increase the chance of intercepting the ball from the opponent by 2 times. Don't overlook this little thing!
2. Make shield rolls
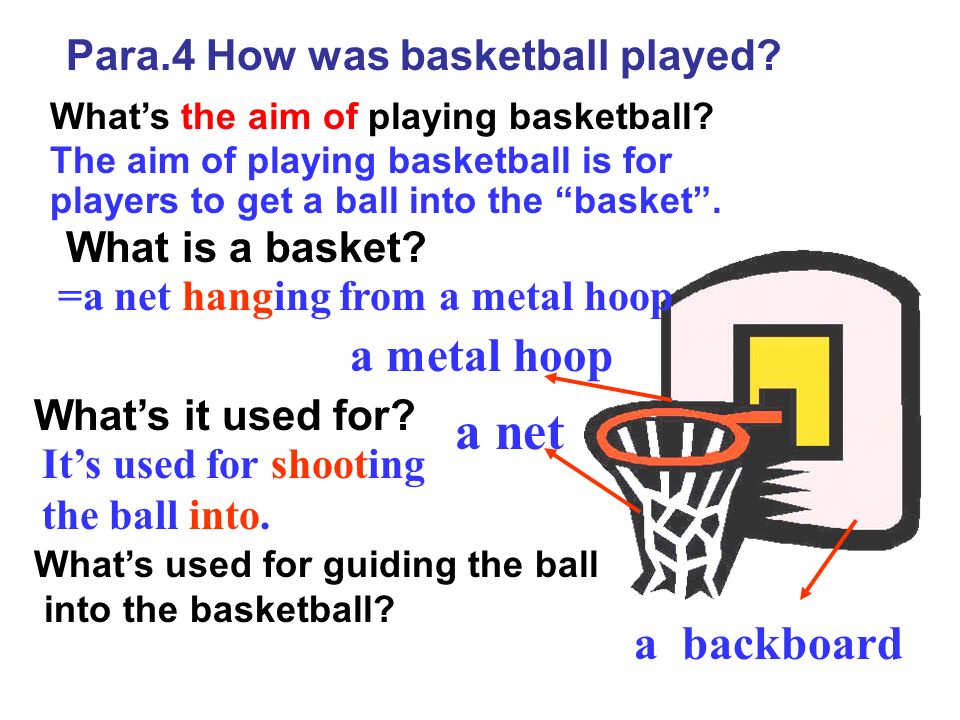
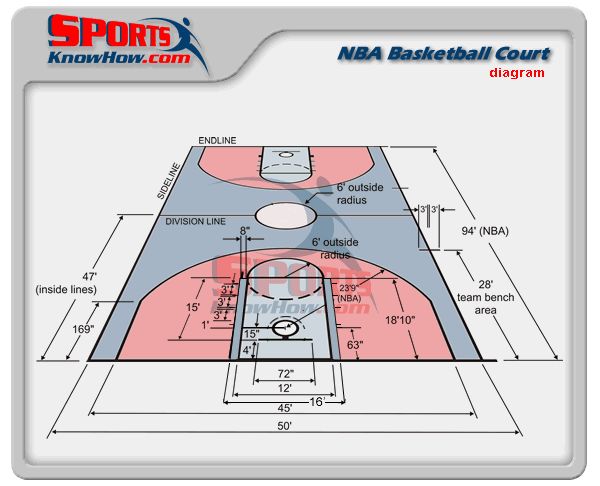
Even Tim Duncan did not neglect them! A square is drawn on the basketball backboard. If you are standing opposite the ring, then aim at the middle of the upper part of the square, if you are standing on the side, then at the corner. If you hit this square, then the ball is at 90% of cases will fall into the ring. The law of physics and no cheating!
3. Look at the ring, not at the ball
Practice driving the ball with your hand, not your eyes, develop tactile control. Your eyes should be on the hoop while dribbling and be aware of the position of your body in relation to the hoop. Then you will be able to take the correct posture, and the throw will be effective.
4. Dribble with the balls of your fingers only
The palm should not touch the ball, only the pads of the fingers.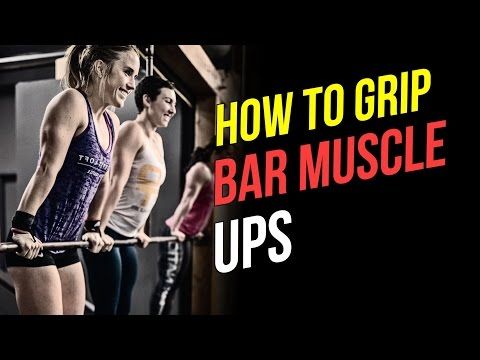 Dribbling should become familiar to you, like an extension of your hand. Then you can change its trajectory at any time and you will have more chances to score goals. Practice with the ball constantly.
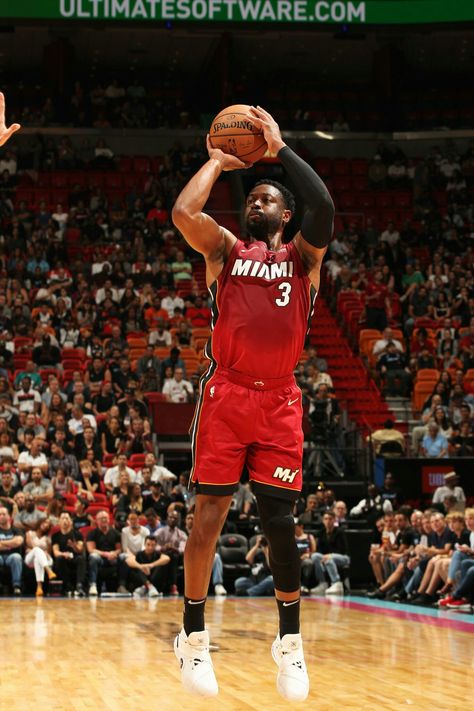
5. Throw with one hand
If you throw the ball with two hands, you reduce the chance of hitting the basket. All the efforts of the throw are in one hand (in the right for right-handers, in the left for left-handers). The other hand only holds the ball, the leading one holds it with the fingers, not the palm.
6. Do not jump when protecting the ring
Jumping is the main mistake of rookie defenders. To intercept the ball and block the shot, simply stick out your hands. When you are in a jump, the attacker will easily bypass you.
7. Don't look back
When you dribble, don't look back, but dribble and aim for the ring, focus on shooting (or passing to another player on your team).
8. Bring the throw to automatism
Incorporate the most basic basketball techniques into your training plan and bring the shot to automatism. Throw first from a distance of half a meter from the ring, gradually increasing it. Learn to throw the ball so that it hits the hoop without touching the edge.
Throw the ball with all fives and jump
Throwing Rules:
- Head in the center of the body - if tilted, accuracy is lost.
- Look at the ring: mentally build a trajectory. If you are far away, the ball flies in a curved curve with a maximum height of 2 meters above the hoop.
- A strong hand is in front and throws, a weak hand is on the side and directs, only holding the ball. The elbow of the throwing hand must be in line with the ring.
- The ball must rest on the fingers without touching the palm. The fingers are as far apart as possible and grab the ball.
- Throwing arm bent 90 degrees, forearm perpendicular to the floor. If you bend less, then you get not a throw, but a throwing of the ball horizontally.
The main thing in the throw is the position of the body and its balance. Place your feet apart and parallel to each other: it is important to orient them in the middle of the basket. Then the direction of the body during the jump will coincide with the direction of the throw, and the ball will fly straight into the ring. When the feet are uneven, the ball flies in the wrong direction or does not reach (although the throw was normal).
Take a deep breath and release as you exhale.
How to hold the ball and shoot in basketball
How to throw correctly: straighten your arm, point your wrist up, and with your hand set the ball to rotate in the opposite direction from the flight. The ball should seem to "roll" off your fingers.
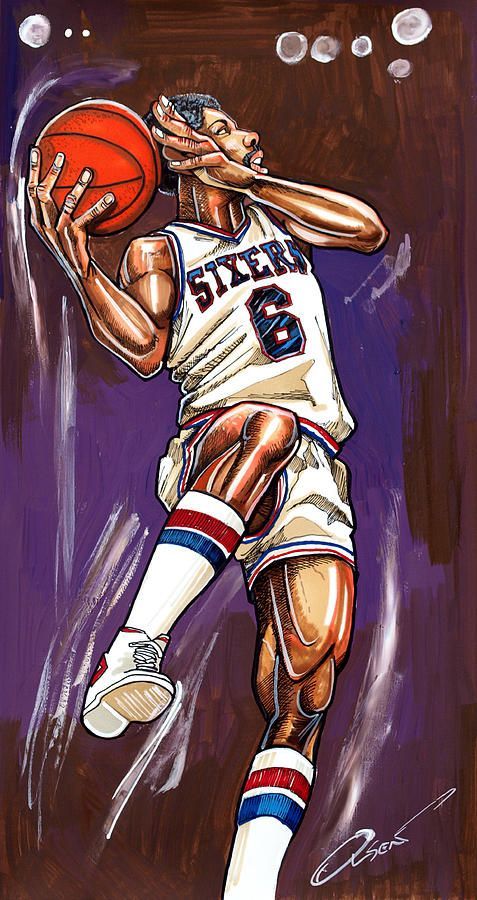
9. Copy masters and play as a team
Watch professional basketball games and try to copy the movements of your favorite players in training. And be sure to conduct game sparring - this will allow you to develop more techniques.
10. Do not throw in a straight line
The higher the arc of the ball, the greater the chance of a goal and the less chance of blocking by the opponent.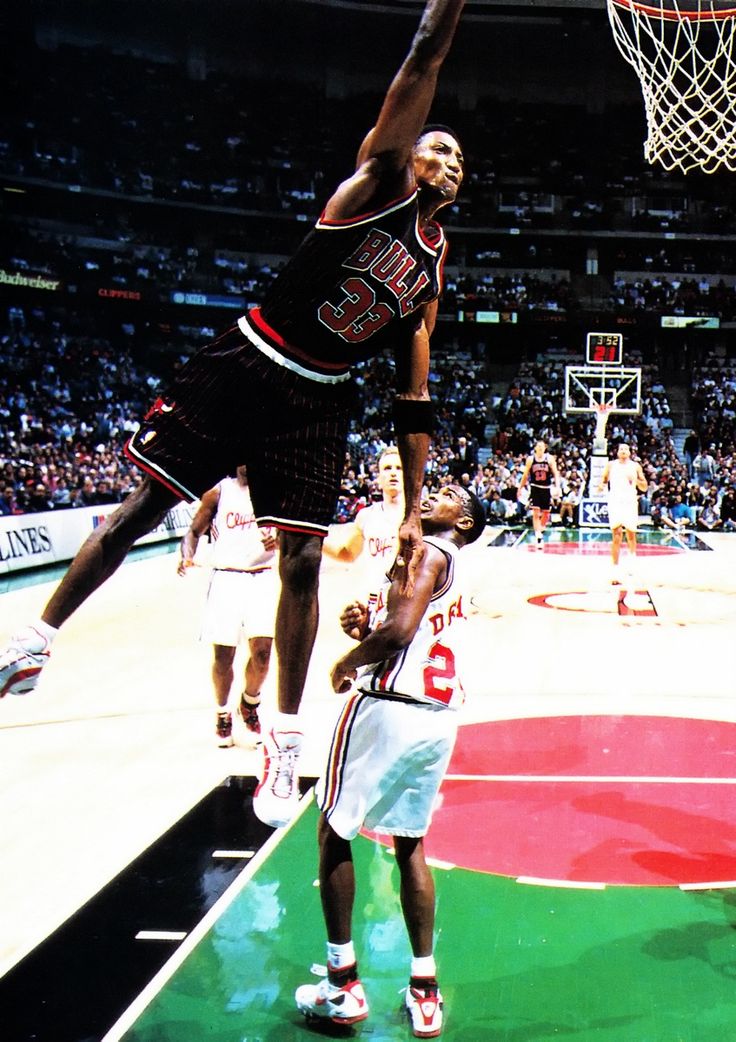
11. Do not throw the ball from a full height stand
This is the biggest newbie mistake!
Before the throw, bend your knees slightly and at the moment of the throw, straighten your body, making a jump. You need to straighten up and push off the ground at the same time. When squatting, keep the elbow of the throwing arm close to the body and towards the ring.
The jump will give momentum to the ball and will allow you not to make sudden movements with the brush.
***
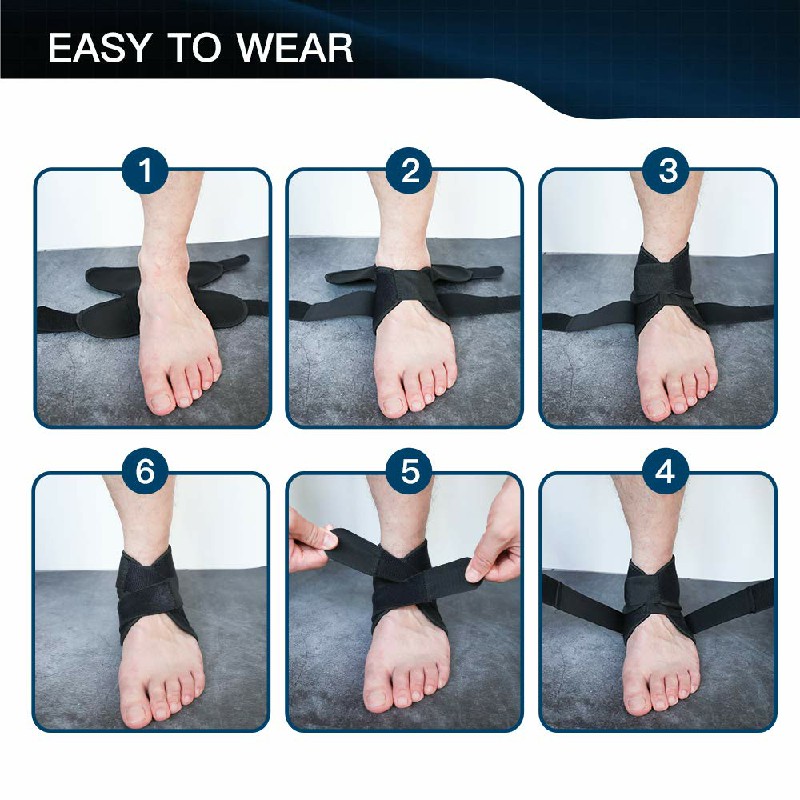
And to be a long-term player, do not forget about your health: take care of your joints and muscles, use tapes, do a warm-up. And be sure to strengthen your arms, legs and shoulder girdle, develop coordination. Regular exercises on uneven bars and horizontal bars will help you with this.
How to learn to spin a basketball on your finger
To skillfully spin a basketball on your finger, you need to learn a few simple techniques, find the ball and set aside 10 minutes of training per day. After a week of practicing your skills, you will master the technique of this trick and show it to your friends. In the step-by-step instructions below, we will show you how to learn how to spin a basketball on your finger.
Tossing the ball correctly
You can train on the sports ground, near the house or even in the apartment, but in any place you need to take into account the environment. For example, when practicing a trick in a room, the ball can bounce and break fragile objects. When a place is found and inventory is prepared, you can begin training. Initially, you need to learn how to properly hold and throw the ball into the air:
- Hold the ball so that its stripes are vertical. Horizontal scrolling looks ineffective and it is very difficult to catch a projectile from this position.
- Select throw method:
- Two hands. You need to keep the ball not on the sides, but so that 1 hand “looks” at you, and the second from you.
 Having fixed the object, sharply spread your arms and slightly “throw” the ball up.
 - With one hand. To throw with one hand, place your fingers along the lines of the ball. It is important that there is free space between the palm and the inventory. Lightly squeeze the ball. Turn the brush outward until it stops, and then gently turn it back. At the last moment, you need to give additional rotation to the ball with your fingertips. But we do not recommend using a large one, because. this will upset the balance and the ball will fly away.
- Throw the ball parallel to the floor, do not allow the projectile to “wag”. It is important that when thrown, the projectile rises above eye level. When its bottom surface is visible, the ball is easier to catch.
These steps must be repeated until fully automated. Usually it takes two days. When the throws are confident, you can move on to the second level.
Learning to catch the ball
Once you have learned how to throw correctly, try catching the ball with your finger. To do this, remember the following nuances:
- You need to catch the projectile on the nail, not the finger itself. In this case, it is important that the brush is turned with the palm towards you.
- The finger must be placed exactly in the center, at the junction of the vertical lines, otherwise the ball will slide off.
- When your finger touches the ball, gently and smoothly lower your hand down. So you will improve the cushioning, the inventory will not bounce, and you will not damage your finger.
This stage is one of the most difficult and requires patience on the part of the freestyler, athlete and just wanting to master the skill. When you learn how to catch the ball, at first it can control you: jump off and make you “run” after it to keep your balance. Be patient and keep practicing.
Once you are comfortable with a spinning ball, try to keep it spinning and spin it further. To do this, with light flapping movements, move your free hand along a tangent.