Home » Misc » How to install a wall mount basketball hoop
How to install a wall mount basketball hoop
How To Install A Basketball Hoop On A Garage, House, Or Wall – Backyard Sidekick
Setting up a new basketball hoop can be a bit of a challenge. If you’ve decided to go with a more permanent approach as opposed to a mobile hoop, there are a couple options. Installing a permanent pole in the ground, or getting a wall mount for the hoop and installing it on the garage, the house, or a wall.
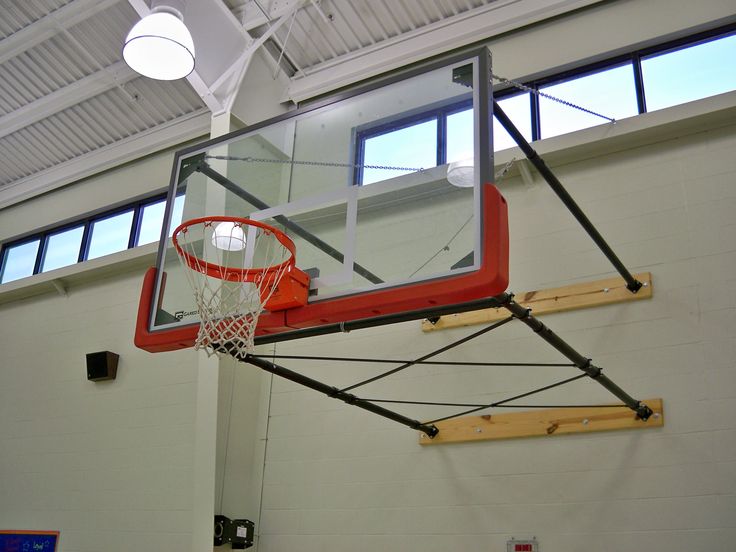
To install a basketball hoop on the garage, you will need a basketball hoop wall mount and compatible basketball backboard and rim. Set the height of the rim to the ground at 10 feet, and draw a free throw line 15 feet from the hoop to comply with NBA regulations for a more realistic practice.
That sounds simple enough right? Well, there’s a bit more to it so I will go into more detail about the planning, set up, and installation so keep reading.
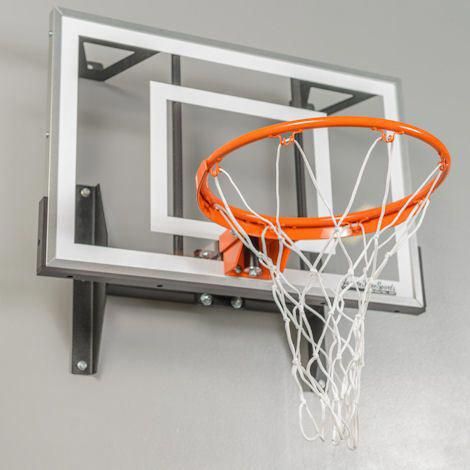
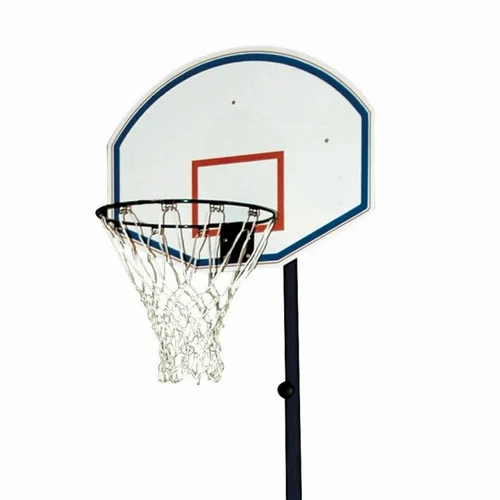
If you already have a basketball wall mount set, then great, let’s jump into the steps. If you haven’t selected a hoop yet, I recommend at least a 54″ wide backboard for a two car driveway sized area, like this Silverback 54″ Wall Mounted Basketball Hoop Set (link to Amazon).
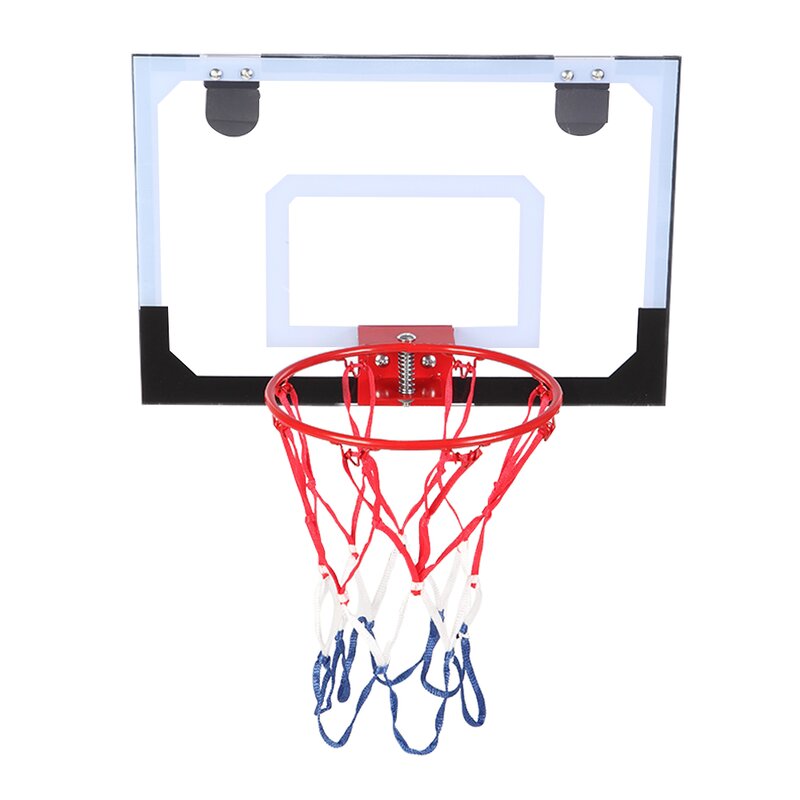
Smaller areas can get away with smaller backboards, but it’s best to get as close to regulation size as possible for training purposes.
Plan Hoop Location
This might be the most important step starting right away. You want to make sure the location you pick will be suitable for playing basketball, but also that players won’t be in the way of other things going on in the area.
Centered on playing area
Out of the way if possible
Highest hoop adjustment will set the top of the rim 10 feet from the ground
Enough area to draw a free throw line 15 feet from the backboard
If at all possible try to mount the hoop in the center of the playing area, for example if you plan on playing on a concrete slab or a driveway. Keep in mind the height you will want the hoop to be at. It’s recommended for 4th and 5th graders to play on an 8 ft hoop, 6th graders to play on a 9 ft hoop, and everything above should play on the regulation height 10 ft hoop.
The hoop I recommended above has a 2.5 foot adjustment range to cover all of those heights. It’s best to make sure that the top of the rim will be 10 feet from the ground wherever you plan on installing the hoop if you want to be within high school, NCAA, and NBA court regulations.
A regulation free throw line is 15 feet from the front of the backboard. If you plan on practicing for an actual basketball game, It’d be nice to have at least that much space on the court. We will get into the other markings later on, but up front, it’s good to have a plan to fit your needs.
Tools And Set Up Equipment
Now that you’ve decided where you want the hoop to be mounted, it’s time gather the tools and equipment. Most of the wall mount basketball hoops will come with lag bolts meant to mount the bracket, and I was able to do so with just an impact drill and the correct size socket.
Tools Required:
Lag bolts (if not included) or nuts and bolts
Socket set and drill, or a set of wrenches
Stud finder (recommended)
Ladder (or two if you have help)
The equipment you will need should all come in a set if you got it from a decent company. For example, the Silverback 54″ Wall Mounted Basketball Hoop Set (link to Amazon) comes with everything you need. The wall mount, backboard, and rim.
If you’re piecing these parts together yourself, be careful that not all companies make the equipment to the same specs. The holes won’t line up or you’ll need to make modifications and things like that. That being said, they do make a Universal Mounting Bracket from Amazon, but still make sure it will work with your backboard before buying.
Find Studs To Install The Wall Mount
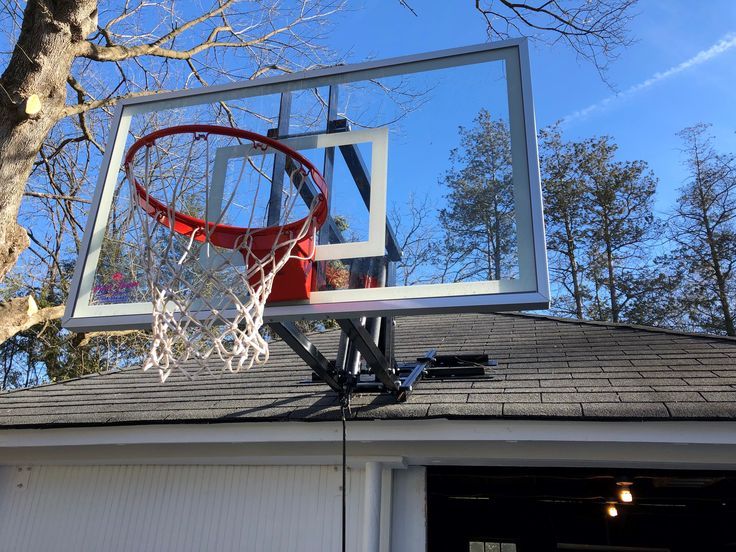
We’ve got all the tools, equipment, and know where to mount the hoop now. I recommend finding a wall stud to drill the wall mount into. This is easy to do on an unfinished garage usually, because you can look on the inside of the wall and find a stud to use. I’ve actually added pieces of 2×4 into the wall to keep the hoop centered where I wanted it.
On the side of a house, or a wall that is covered on the other side, this may be a little tougher. In that case, use a stud finder and do your best to install the wall mount securely into a frame stud.
For a concrete or brick wall, I would simply not use the lag bolts and use concrete anchors of an appropriate size to install the wall mount.
Install The Wall Mount
Hopefully you were able to find a stud, or add 2×4’s where you want to mount, without too much trouble. Before trying to just drill the lag bolts into the stud, you should drill a pilot hole first. This will help the lag bolt seat correctly and lower the chances of splitting the stud.
Some sets will come with a nut and bolt rather than a set of lag bolts. If that’s the case, drill a hole the size of the bolt, and simple bolt the mount into place using the bolt, nuts, and washers.
Here’s a video of the steps we’ve covered so far that might help you out if you prefer a visual. This guy was piecing together a backboard he got that didn’t come with a wall mount, but it might help to see the issues he had.
Install The Backboard And Rim
Some sets come with backboard and rim already installed onto the wall mount, and some come in all separate pieces. If they come in separate pieces, I found it easier to install the wall mount when it was a standalone piece by itself. Then attaching the backboard and rim with the included bolts.
On the other hand, I then had to make three trips up and down the ladder to install each part individually. It’s all personal preference which approach you take here.
If you feel like you could use some help on any of those steps, I suggest looking somewhere like HomeAdvisor Handyman Services where you can find a local helper to give you a hand.
Check Tightness Of Equipment
Once the wall mount is secure and everything’s in place, I like to do a once over check on all the equipment, moving parts, and bolts to make sure everything’s nice and tightened down properly. If you did a good job, this step will be quick, easy, and will give you a little peace of mind.
This is also a good time to make sure the adjustable action of the hoop mount is functioning properly. Simply move from it’s lowest setting to its highest and confirm everything’s in working order.
Mark The Basketball Court
I wrote a whole article about Basketball Court Dimensions for high school, College, and NBA regulation courts. So if you have the space, and you’re picky, you can check out all the official measurements. But for the average backyard or driveway basketball court set up, you’ll probably be fine with a simple key and free throw line.
I recommend using a decent kit like this Easy Basketball Court Stencil Kit (link to Amazon) to map out the court under the hoop. I think it adds a nice touch to the feel of the court, even if it’s simply in a driveway.
Here’s the instructional video for the stencil kit above, so you can see if it’s a project you want to tackle.
Play Basketball
That’s it! You now a have a sweet basketball hoop set up to play basketball on. Check out these 14 Fun Basketball Games For All Ages to get some ideas for the different games you can play on your new hoop.
There shouldn’t be too much maintenance for these types of wall mount basketball hoop set ups. Once a year I like to go out and check the tightness of all the bolts again, usually when spring starts before the hoop starts getting a lot use.
Helpful Links:
Silverback 54″ Wall Mounted Basketball Hoop Set (link to Amazon)
Easy Basketball Court Stencil Kit (link to Amazon)
10 At Home Basketball Training Drills
How To Get Better At Basketball: Skills Improvement
Sharing is caring!
Facebook
Twitter
Installation Instructions – BasketballHoop.
com
Read all instructions from the owner's manual associated with your specific Brand and Model before beginning installation. You can find all manuals at the bottom of this page.
WALL MOUNT INSTALLATION INSTRUCTIONS
Frame Attachment:
Determine where you would like the frame to sit on the mounting surface. The frame is 28” high x 21” wide. The frame holes are 16” on center.
Draw a horizontal line at least 21” (533 mm) on the mounting surface that is 88” (2.235 m) up from the playing surface.
Take the frame out of it’s packaging. Set it aside extension arms, jack mounting brackets and jack.
Center and position the frame bottom on the horizontal line with the frame’s safety stops at the top.
Level the frame vertically and horizontally using a level. Mark the mounting holes needed for attaching the frame
Put frame down.
Drill the appropriate size holes needed for mounting surface based upon the type of wall fastener you will be using.
Attach frame loosely to mounting surface using the intended fasteners.
Level frame horizontally and vertically using a level and appropriately tighten fasteners.
Frame Assembly:
Unpack jack mounting brackets and extension arms
Align lower extension arm holes to outside holes of the frame flange. Make sure the decal is facing up! Align holes in lower jack mounting bracket (14" – 35.56 cm) to inside holes of the frame flange. Snug tighten only - do not over tighten!
Attach the upper extension arms and upper jack mounting brackets (20 ½" – 52.07 cm) to the frame flange.
Attach upper mount of jack assembly to jack mount clevis on upper extension arm.
Attach lower mount of jack assembly to the upper and lower jack mounting brackets.
Tighten all extension arm bolts to extension arms and mounting brackets.
Board Attachment:
Remove the lid from the backboard box. Slide the backboard, facing down, so that the rim plate is facing the goal mountain surface.
Lift the backboard from the box and line up the upper backboard holes with upper extension arm holes.
Line up the lower backboard holes with the lower extension arm holes.
Rim Attachment:
Unpack rim. Remove any remaining cardboard edge protectors and protective sheeting from backboard.
Remove cover plate and screws from rim assembly.
Starting with the top two mounting holes, attach rim loosely to backboard using the order indicated in the instruction manual.
Repeat hardware sequence outlined in Step 3 for lower rim mounting holes.
Level rim side to side before fully tightening hardware.
Position cover plate and attach with cover plate screws.
Always call 811 to mark your dig site. Please have two or three people in good physical condition and capable of lifting at least 90-100 lbs. available to help with safe installation and assembly.
Locate and unpack the 6” ground anchor (Item G2660).
Determine hole location
Dig hole 48” - 50” deep and 18” in diameter
Mix Concrete in wheelbarrow as recommended on the bag
Add some of the concrete into the hole (approximately 28”-30” deep)
Position 6” ground anchor in center of hole, with hinge side toward and parallel to the playing surface. Use a level to ensure your installation is even on all sides. Ground anchor should be 1-3” above the playing surface.
Add more concrete to until the bottom of the anchor plate is level with the landscape or concrete is 1-1.5” from bottom of anchor plate.
STOP! Wait 48 hours for concrete to cure before continuing.
Pole Assembly:
Remove 5 plastic plugs, hinge pin and hex nut from threaded holes in the ground anchor. Keep these close by (you will need them soon!)
Unpack main hoop pole and included jack.
Line up pole hinge with anchor plate hinge and insert the hinge pin. Hand tighten the hexnut.
Raise pole up to around 30° and attach the installation clip. This will provide stability while you assemble your backboard and hoop.
Jack Attachment:
Unpack the jack.
Attach lower end of jack to the bracket on the main pole
Extend the jack until aligned with holes in lower extension arm.
Attach upper end of jack to lower extension arm
Backboard Attachment
Slight backboard facing down underneath the lower extension arm. Make sure the rim mounting plate is facing toward the goal system.
With 2 people, lift the bottom of the backboard to line up the lower holes with the lower extension arm holes. Use 2 backboard bolts, 4 flat washers and 2 lock nuts. These should be snug but not over tightened.
Lift the top half of the backboard to line up the upper holes with the upper extension arm. Use the same equipment from the previous step.
Goal Alignment:
Remove banding, edge protection and the top ⅓ of protective sheeting from the backboard.
Located the 5 ground anchor bolts.
Carefully push up the backboard in order to raise the goal to it’s final position.
Tighten the pole to the ground anchor plate by tightening the anchor bolts.
Check that your goal is level before fully tightening your anchor bolts.
Rim Attachment:
Unpack rim and remove any protective layering from the backboard.
Remove cover plate screws and cover plate from rim
Loosely attach rim to backboard starting with the two upper mounting holes.
Loosely attach rim with two lower mounting holes.
Level rim side to side before fully tightening.
Attached cover plate
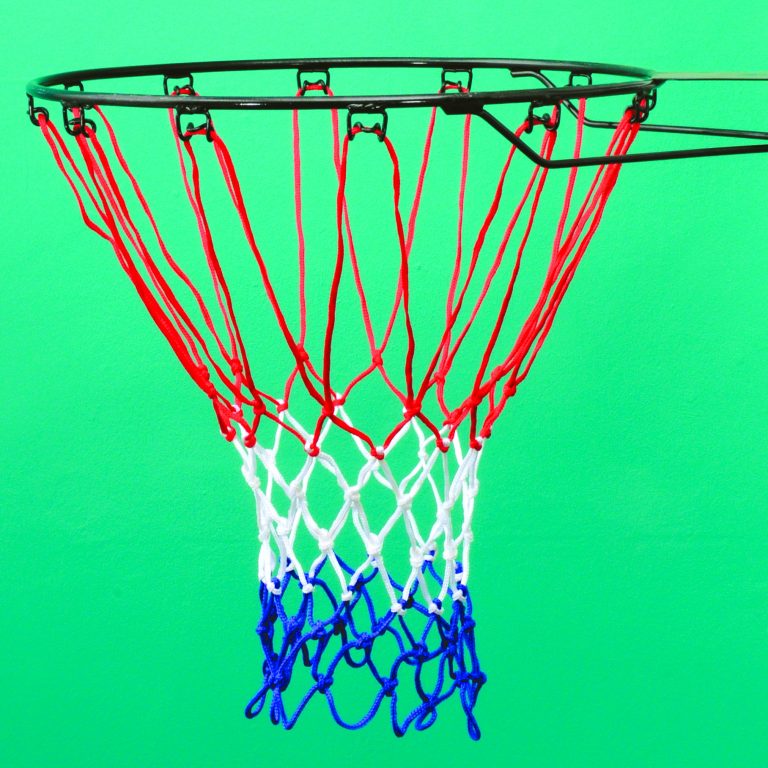
Attach net to the rim
Read all instructions associated with your specific Brand and Model before beginning installation.
Check out the Goalrilla In-Ground Hoop Installation Videos:
Part 2
Basketball hoop - how to make a stand with a backboard with your own hands
Love basketball and want to make a hoop? I wanted to make it myself, not buy it, and I ended up making it. It's pretty cheap, especially if you have some of the stuff you need to assemble.
Let's start assembling the basketball hoop with our own hands.
Step 1: Shape the Ring
The first thing you will need is a ring, I made it with 12mm rod, but it doesn't have to be that size. The standard diameter of a basketball hoop is 450 mm.
To make it flat you need something to wrap it around, this thing should be about 400mm in diameter.
I found an old car rim of the right size, you will need to clamp it to the table with a clamp using a piece of wood.
As shown in photo 2, place another clamp a little further from the first with a rod between them.
As shown in photo 3, slowly wrap the rod around the disk, once you wrap the rod and its edges overlap, cut off the straight ends.
Use a clamp to press the ends together, then weld them together.
To complete this part, place the ring on the ground and straighten out all the curves.
Step 2: Frame
Bend a piece of flat metal, mine was 4mm thick.
Weld it to a flat point in the ring.
Cut two rods 320 mm long.
Weld them as shown in the photo.
Drill four holes to match your existing bolts.
If you need a netball ring, you can simply attach it to the pole and skip the rest of the steps.
Step 3: Mesh Staples (Optional)
Show 7 More Images
Do this step if you need mesh. If you need a network, you will have to buy it. This step is not as difficult as it seems.
cut 12 pieces of wire 90 mm long (I would recommend making a few spare parts, as they are easy to ruin.)
bend them in the middle (it doesn't matter if the tips are the same length)
clamp the wire in a vise with a steel rod at one end
bend wire over rod
repeat this with all parts of
retighten the wire wrapped around the rod (see photo)
bend it
repeat with all parts
retighten the wire wrapped around the rod
bend it (at this point you can't just remove the wire from the rod - you will need to slide it to one of its edges and remove it from the edge)
repeat with all parts of
divide into 12 pieces and weld on the brackets
Step 4: Backboard
Cut the board to size. My board does not fit the full size of basketball boards. (the second picture shows the dimensions of a standard shield).
My measurements are 1100mm wide, 700mm high and 25mm thick. (You don't have to be that size.)
Step 5: Paint the Shield
Once you've drawn all the lines on the shield, lay masking tape over them. If you try, everything will look neat.
If you are using MDF, you will need to take care to protect the edges from moisture (as shown in photo 2).
Carefully paint over the areas around the masking tape.
Remove masking tape after enough coats of paint have been applied and the board looks complete.
Step 6: Paint the ring
First you need to sand the metal. I used a grinding disc on a grinder.
The ring must not be black or white, it must stand out from the shield. Usually the ring is painted orange or red.
The easiest way to paint inventory is from a can.
Step 7: Assemble
Put it all together. Screw the ring to the shield, hang a net on the ring.
Step 8: Installation
DIY Basketball Post is great to mount on a garage or house wall, but if you want to mount it on a pole, you can create one too.
I installed my ring in the yard using heavy duty wood screws.
A standard basketball hoop must be placed 3 meters from the ground.
I am not responsible for any damage you cause to yourself or your property - you make your own ring.
Successful throws!
Basketball hoop - how to make a stand with a backboard with your own hands
Love basketball and want to make a hoop? I wanted to make it myself, not buy it, and I ended up making it. It's pretty cheap, especially if you have some of the stuff you need to assemble.
Let's start assembling the basketball hoop with our own hands.
Step 1: Shape the ring
The first thing you need is a ring, I made it with 12mm rod, but it doesn't have to be that size. The standard diameter of a basketball hoop is 450 mm.
To make it flat, you need something to wrap it around, this thing should be about 400mm in diameter.
I found an old car rim of the right size, you will need to clamp it to the table with a clamp using a piece of wood.
As shown in photo 2, place another clamp a little further from the first with a rod in between.
As shown in photo 3, slowly wrap the rod around the disk, once you wrap the rod and its edges overlap, cut off the straight ends.
Use a clamp to press the ends together, then weld them together.
To complete this part, place the ring on the ground and straighten out all the curves.
Step 2: Frame
Bend a piece of flat metal, mine was 4mm thick.
Weld it to a flat point in the ring.
Cut two rods 320 mm long.
Weld them as shown in the photo.
Drill four holes to match your existing bolts.
If you need a netball ring, you can simply attach it to the pole and skip the rest of the steps.
Step 3: Mesh Staples (Optional)
Show 7 More Images
Do this step if you need mesh. If you need a network, you will have to buy it. This step is not as difficult as it seems.
cut 12 pieces of wire 90 mm long (I would recommend making a few spare parts, as they are easy to ruin.)
bend them in the middle (it doesn't matter if the tips are the same length)
clamp the wire in a vise with a steel rod at one end
bend wire over rod
repeat this with all parts of
retighten the wire wrapped around the rod (see photo)
bend it
repeat with all parts
retighten the wire wrapped around the rod
bend it (at this point you can't just remove the wire from the rod - you will need to slide it to one of its edges and remove it from the edge)
repeat with all parts of
divide into 12 pieces and weld on the brackets
Step 4: Backboard
Cut the board to size. My board does not fit the full size of basketball boards. (the second picture shows the dimensions of a standard shield).
My measurements are 1100 mm wide, 700 mm high and 25 mm thick. (You don't have to be that size.)
Step 5: Paint the Shield
Once you've drawn all the lines on the shield, lay masking tape over them. If you try, everything will look neat.
If you are using MDF, you will need to take care to protect the edges from moisture (as shown in photo 2).
Carefully paint over the areas around the masking tape.
Remove masking tape after enough coats of paint have been applied and the board looks complete.
Step 6: Paint the ring
First you need to sand the metal. I used a grinding disc on a grinder.
The ring must not be black or white, it must stand out from the shield. Usually the ring is painted orange or red.


 For example, the Silverback 54″ Wall Mounted Basketball Hoop Set (link to Amazon) comes with everything you need. The wall mount, backboard, and rim.
  In that case, use a stud finder and do your best to install the wall mount securely into a frame stud.
 I think it adds a nice touch to the feel of the court, even if it’s simply in a driveway.
 com
com
 Please have two or three people in good physical condition and capable of lifting at least 90-100 lbs. available to help with safe installation and assembly.
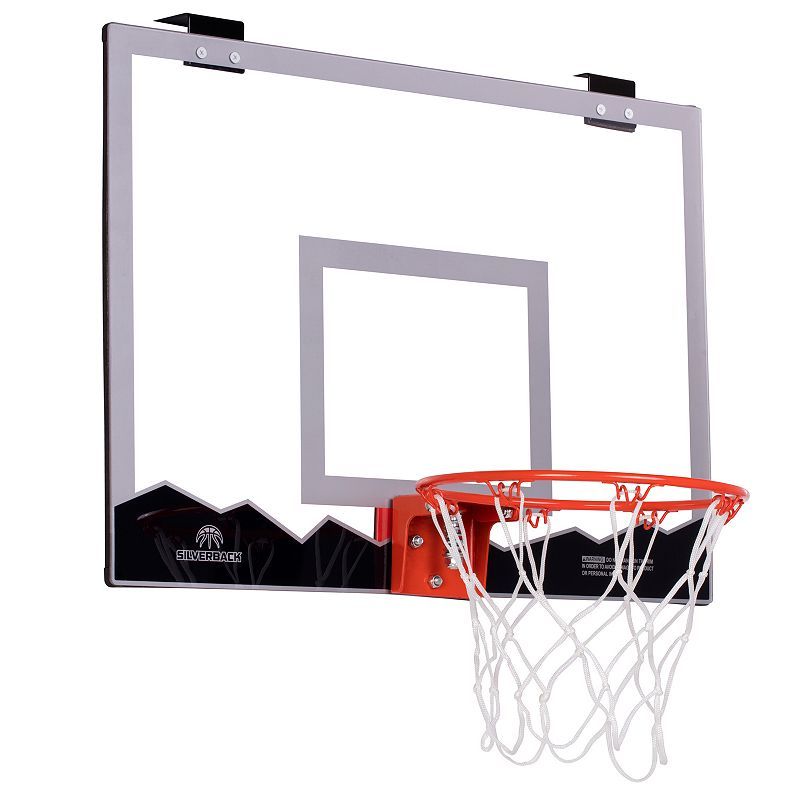 Ground anchor should be 1-3” above the playing surface.
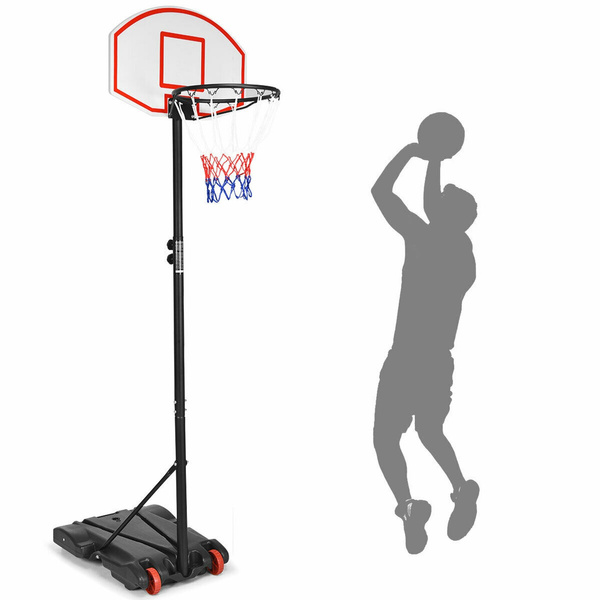
 It's pretty cheap, especially if you have some of the stuff you need to assemble.
 My board does not fit the full size of basketball boards. (the second picture shows the dimensions of a standard shield).
 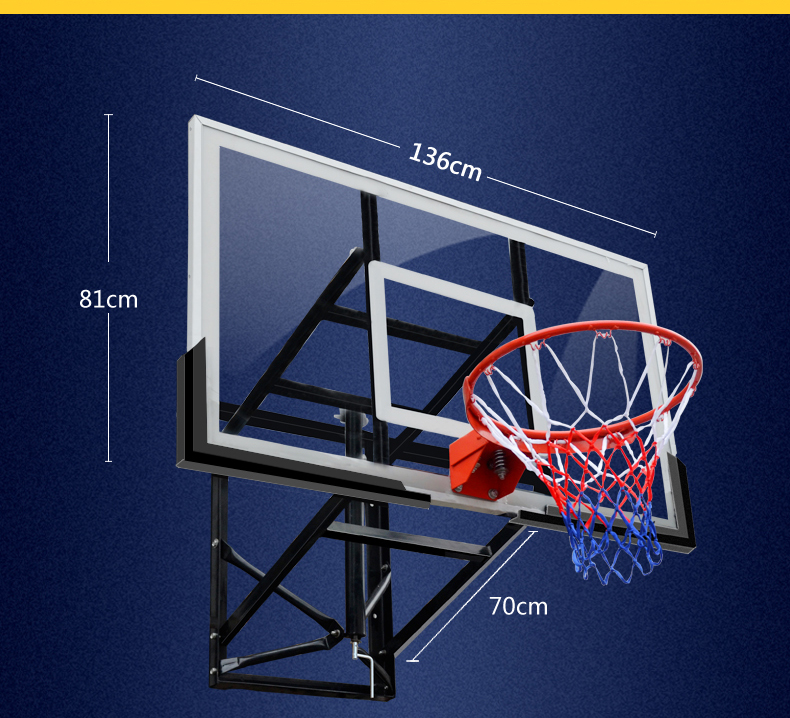 Screw the ring to the shield, hang a net on the ring.
 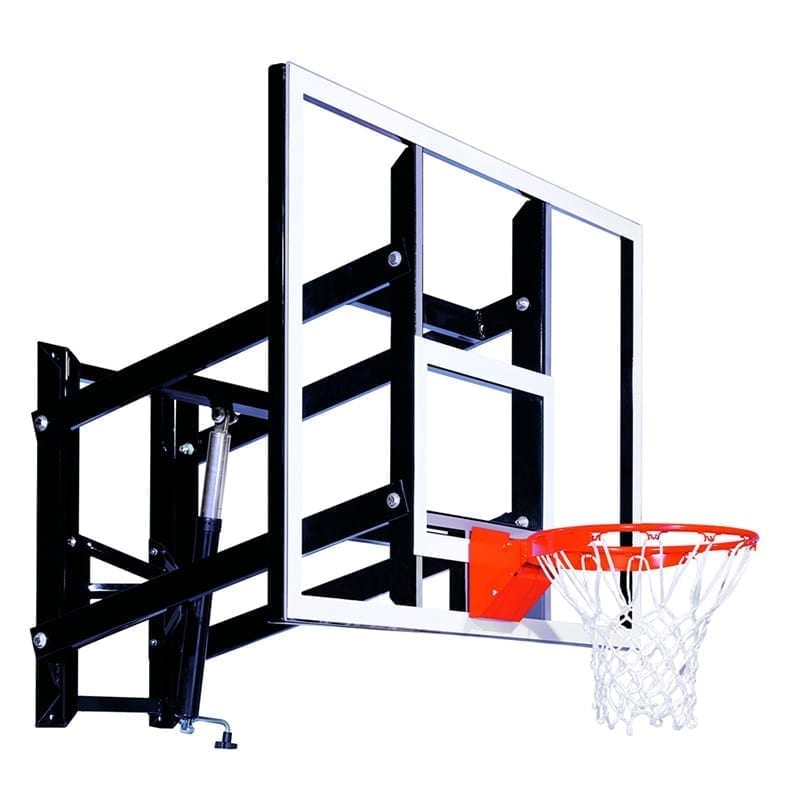 The standard diameter of a basketball hoop is 450 mm.
 My board does not fit the full size of basketball boards. (the second picture shows the dimensions of a standard shield).